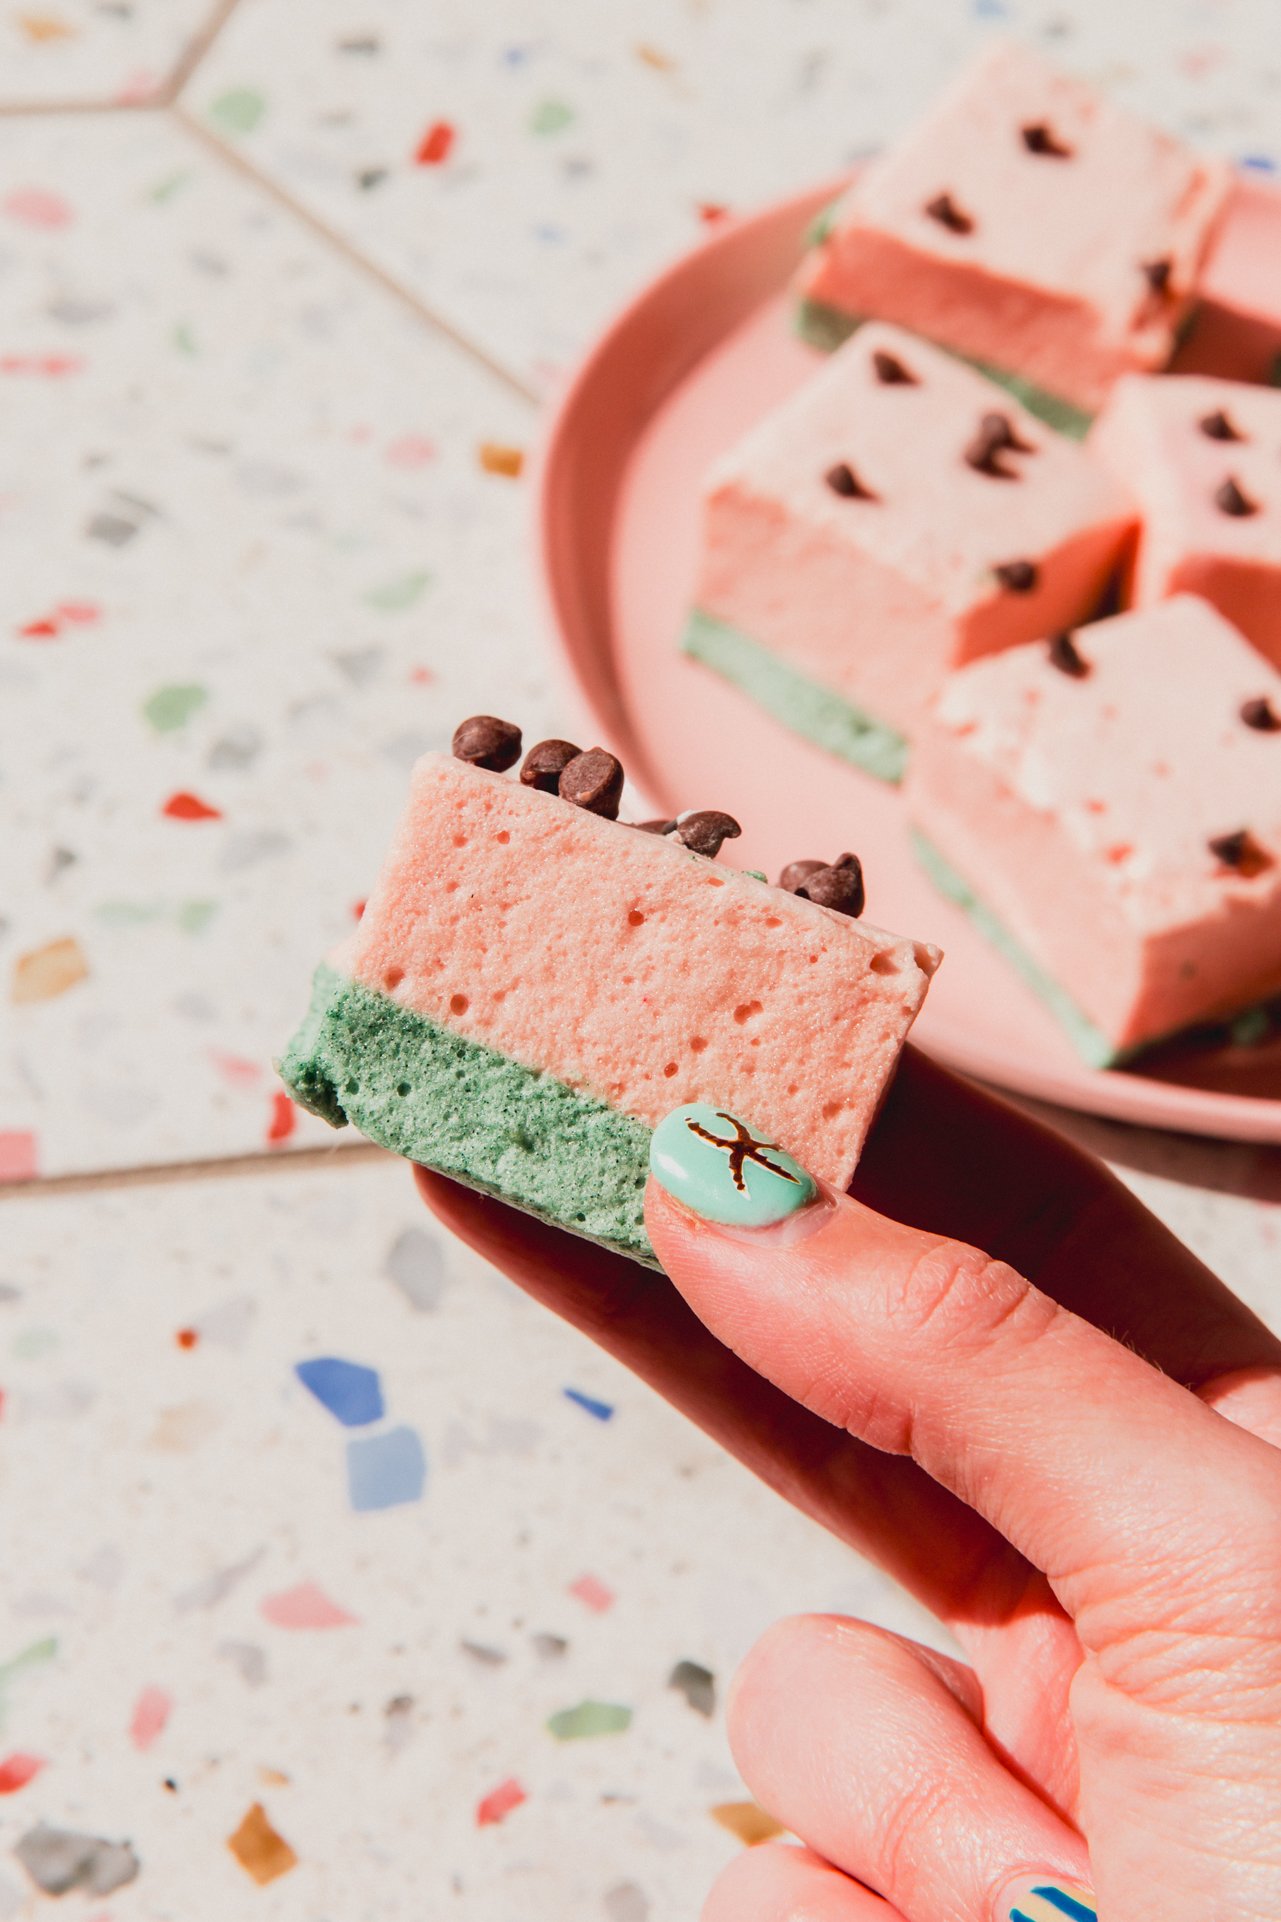
Watermelon Marshmallows
These homemade watermelon marshmallows are the perfect summer treat! They’re made with honey, gelatin, watermelon juice, and natural food coloring.
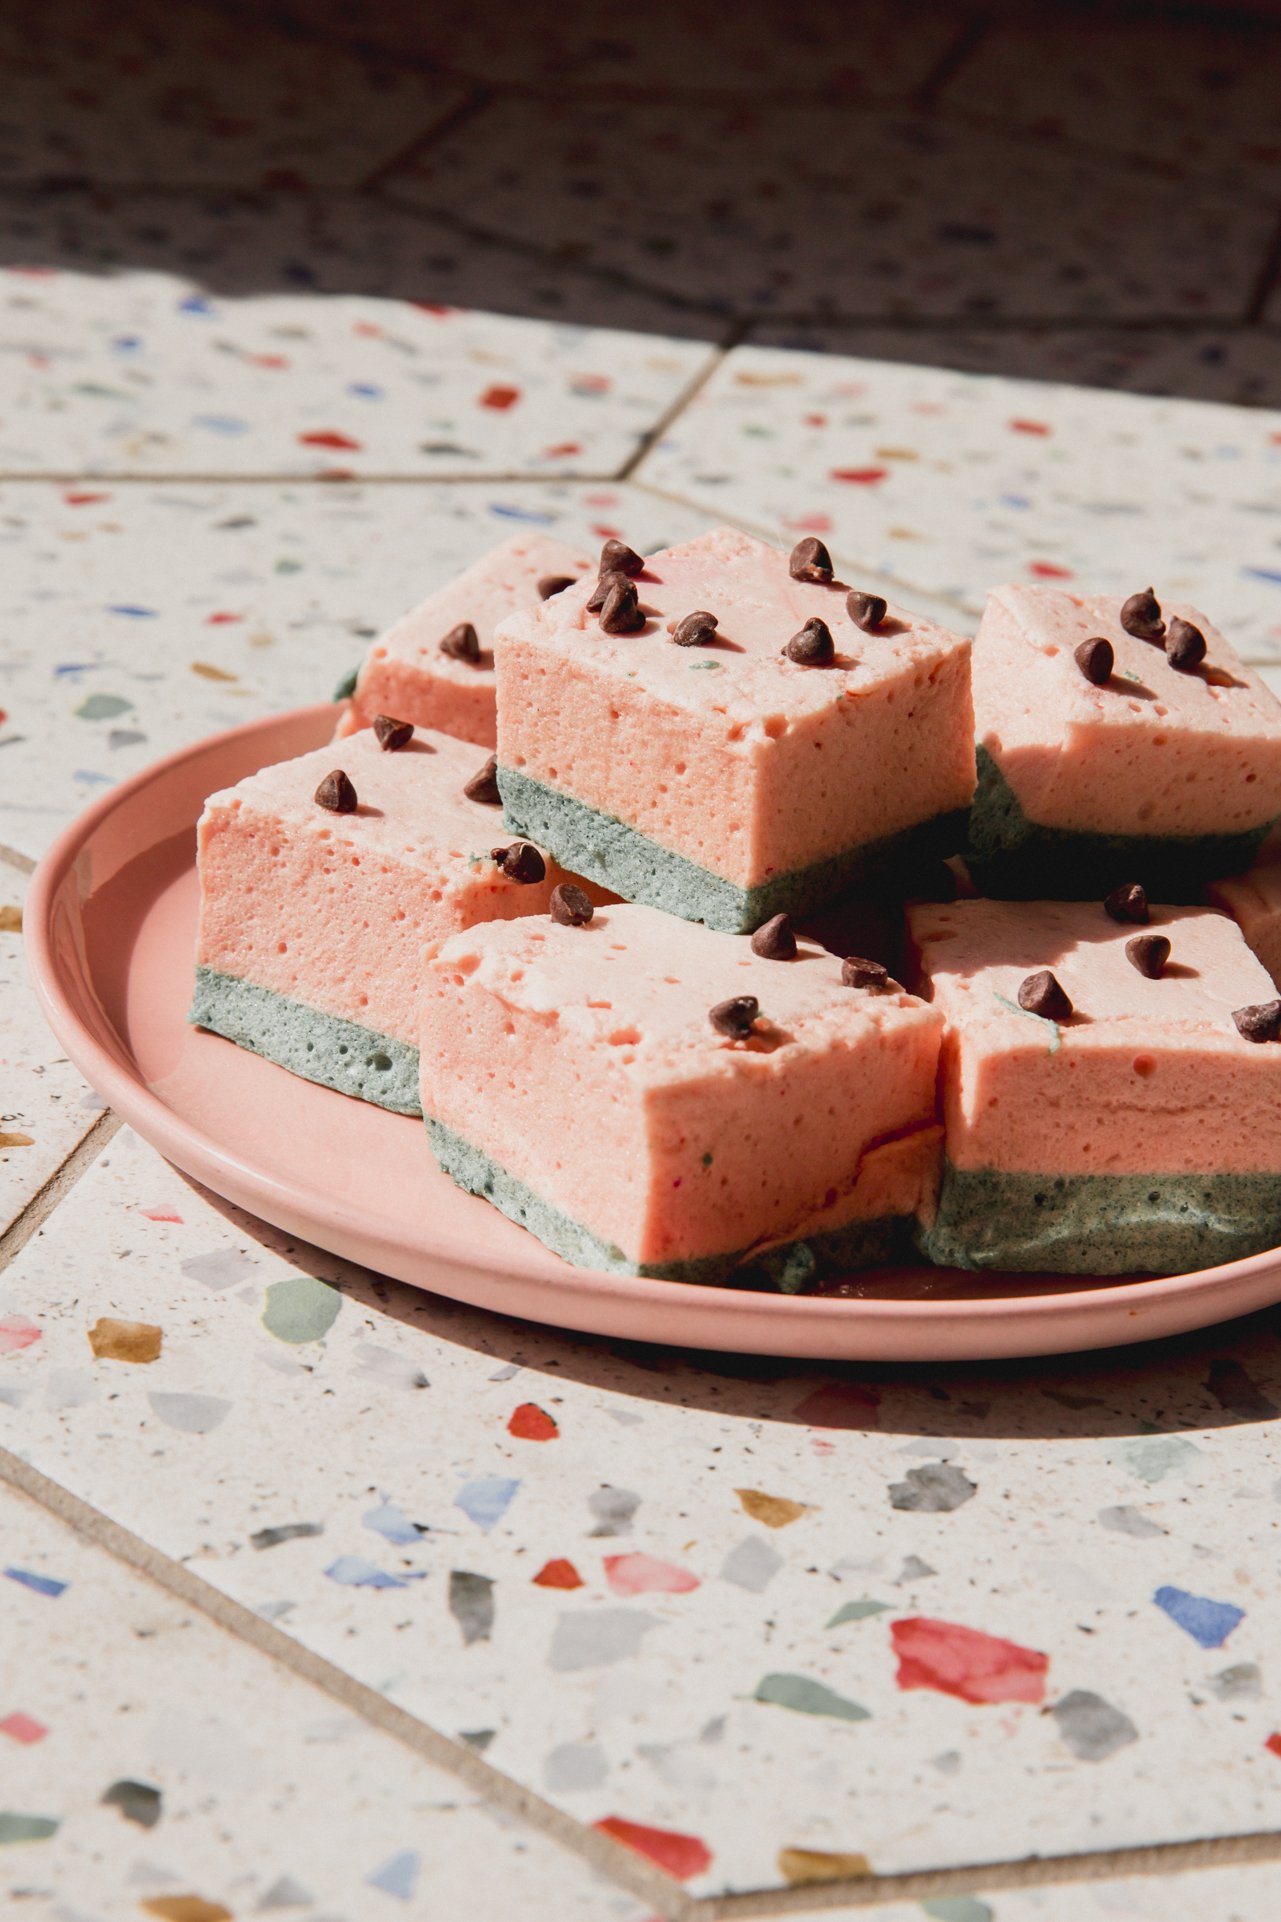
Table of contents
Why you’ll love these watermelon marshmallows
Fun food is my love language! Whether it be watermelon jello in a watermelon rind, watermelon dole whip, or homemade peach ring gummies, I LOVE fun, colorful homemade treats. What better way to celebrate summer than with watermelon, and these watermelon marshmallows are the perfect fun summer treat!

- Fun to make! This recipe is the best simple project to make. There’s no baking required, no tedious decorating, but the end result is so fun and vibrant.
- Wholesome ingredients. This recipe is made with real watermelon juice and natural food coloring.
- It’s corn-free. If you’re like me and have a corn intolerance, you know how hard it is to find candies without corn syrup or corn starch. This recipe is corn-free!
Recipe Ingredients
See the recipe card below for full information on ingredients and quantities.
| Ingredient | What it does | Potential swap |
| Honey | This is needed as a base for the sweet marshmallow. | You can potentially make this with maple syrup. |
| Gelatin | This is a binder that adds extra moisture to the patties | You can potentially make a similar recipe with agar. |
| Water | This is needed as a base for the marshmallow. | This can’t be swapped out. |
| Watermelon juice | This recipe uses real watermeloon juice! | I wouldn’t suggest swapping this out. |
| Spurilina | This adds the green color. | Matcha |
| Beet powder or strawberry powder | This adds a vibrant pink color! | You can easily omit this, but you’ll have a less vibrant color. |
| Mini chocolate chips | These act as watermelon seeds! | You can try black sesame seeds. |
How to Make Watermelon Marshmallows
Here are the simple steps, with photos, to make this recipe. Find full instructions in the recipe card.
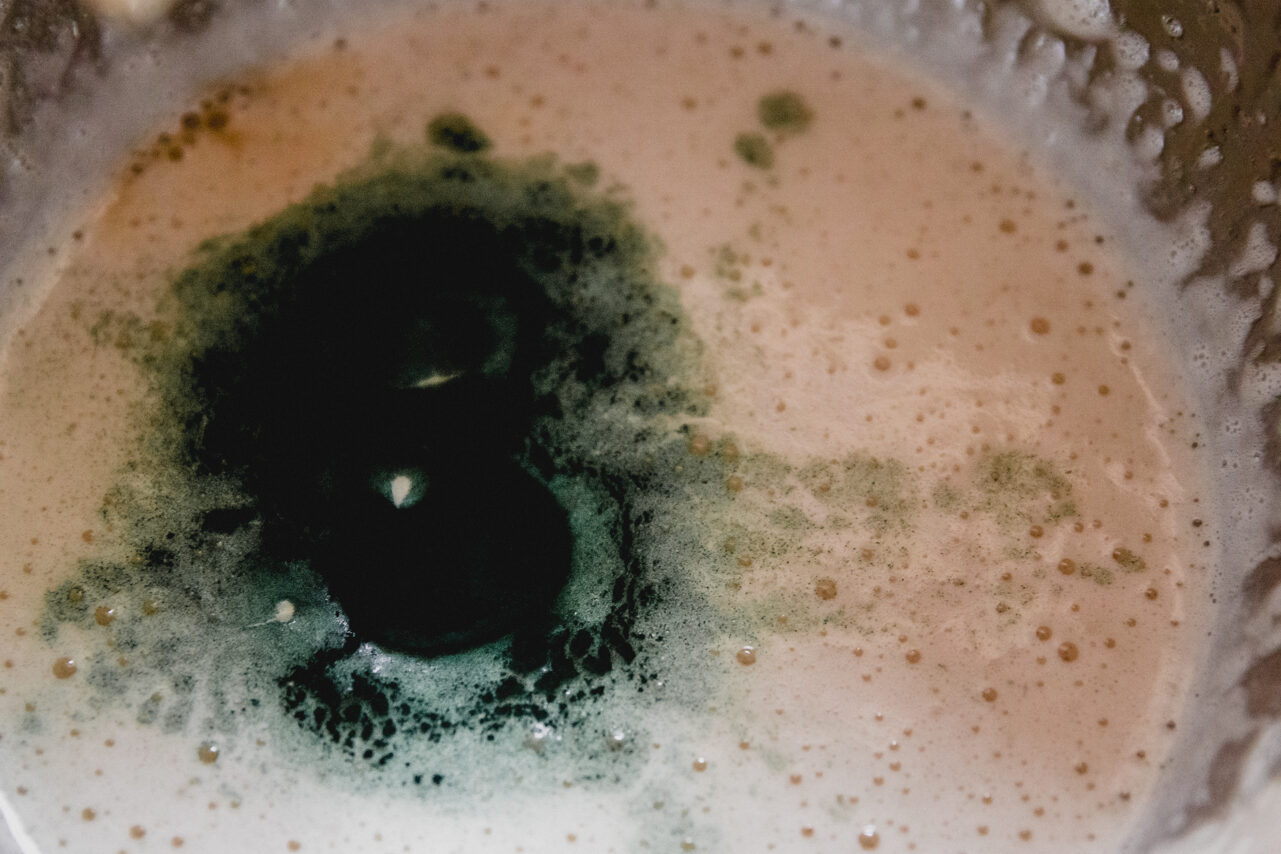
Step one. Make a gelatin egg then set aside. Slowly heat the honey combined with the other 1/2 cup of water. Then add in the honey mixture to gelatin mixture as you whisk on high with either an electric hand mixer or a stand mixer. Add 1/2 tsp of matcha or spurilina at a time until your get your desired color, along with the vanilla extract. Continue to whip the mixture until it is thick and starts to form in the marshmallow mixture.
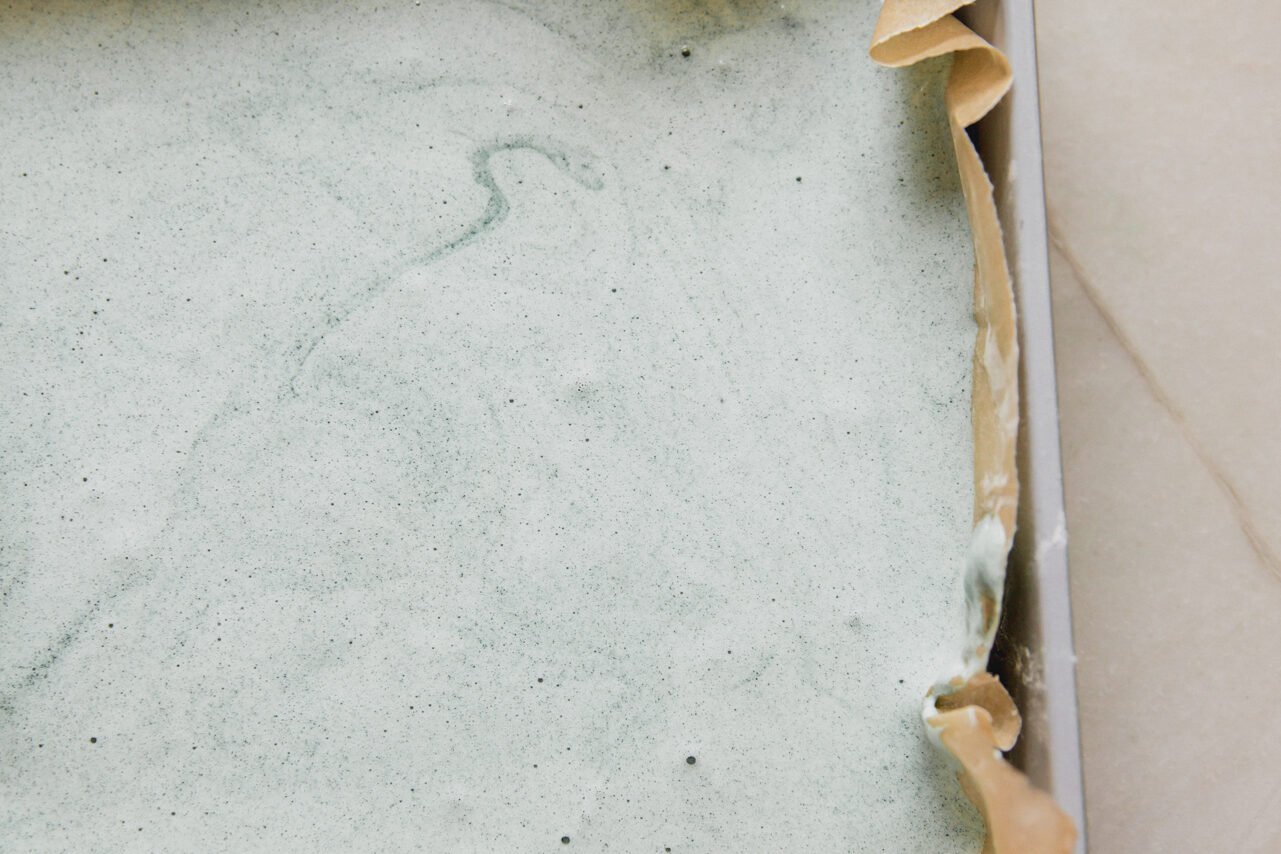
Step two. Pour the mixture over the prepared baking dish and transfer to the fridge for at least 30-45 minutes to begin to set.
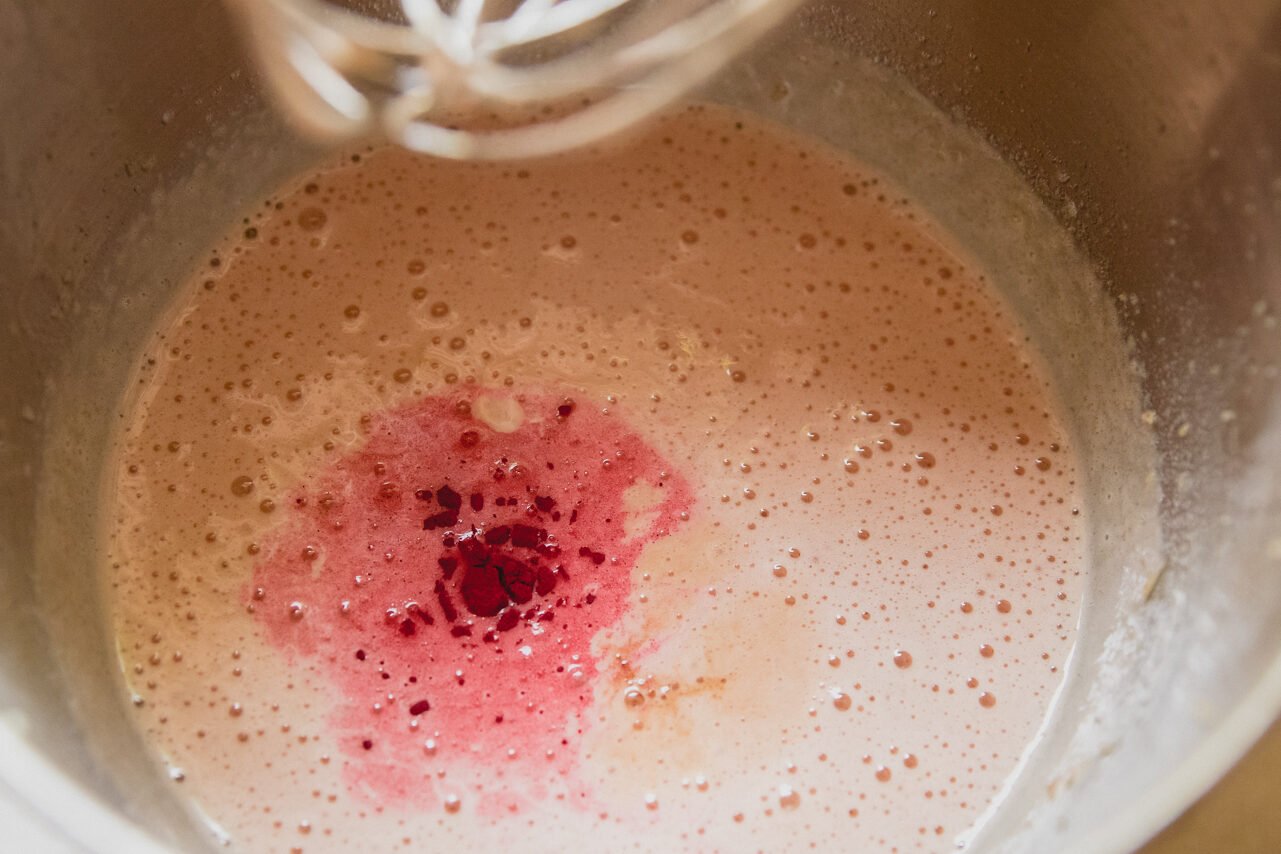
Step three. Pour 1/2 cup of watermelon juice into a small bowl and sprinkle the gelatin over top. Stir gently to ensure the gelatin is combine and set aside. Slowly heat the honey combined with the other 1/2 cup of water. Then add in the honey mixture to gelatin mixture as you whisk on high with either an electric hand mixer or a stand mixer. Add 1/2 tsp of strawberry or beet powder at a time until your get your desired color (if using for a brighter color), along with the vanilla extract. Continue to whip the mixture is thick and starts to form in the marshmallow mixture.
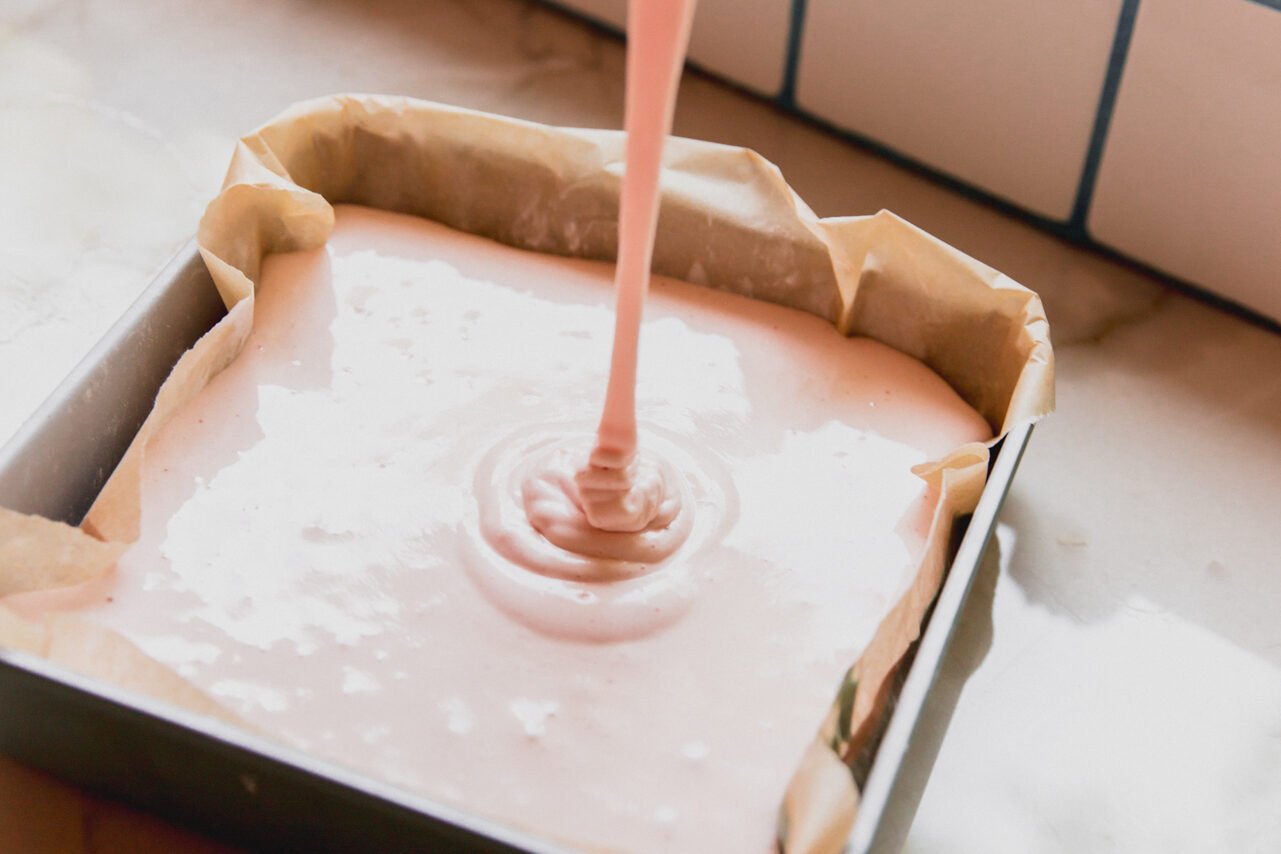
Step four. Remove the green layer from the fridge and immediately pour the pink layer over top. Return to the fridge to set for another 30-45 minutes.
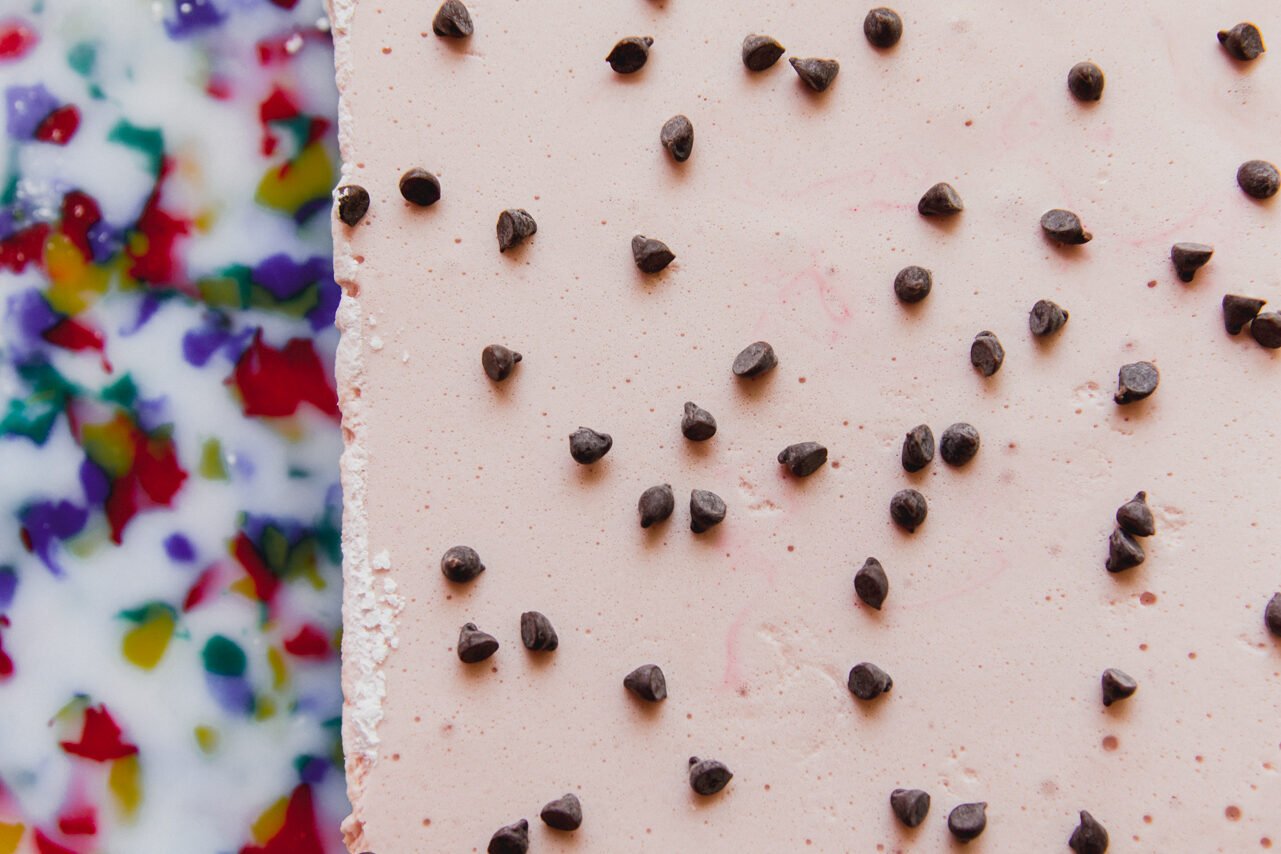
Step five. Sprinkle the chocolate chips on top and return to the fridge to harden for 3-4 hours or until soft and springy to the touch.
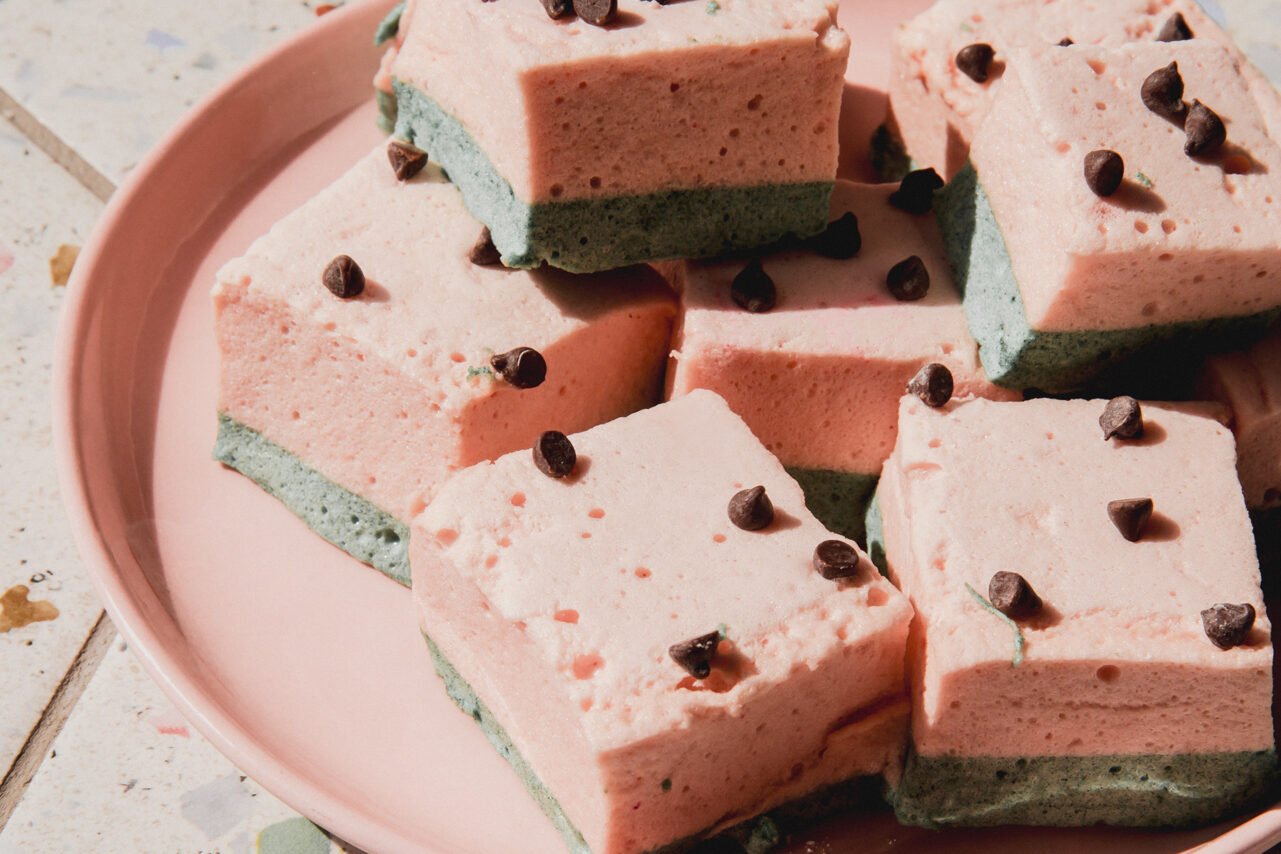
Step six. When the marshmallows are set, coat your knife in arrowroot starch and slice as desired. Enjoy!
Michelle’s Tips and Tricks
- Make sure you set the green layer first! You’ll want to set the green layer in the fridge for at least 30-45 minutes before adding the pink layer on top. If you pour them too soon, it could cause the colors to blend rather than settle in separate layers.
- The time needed to whip the marshmallows will vary depending on the tools you use. For a stand mixer, they will get thick a lot faster and you’ll only need a few minutes. If you’re whipping them with a hand mixer, you’ll likely need more time. What you’re looking for are stiff peaks to form and for the mixture to thicken!
- Once you whip the marshmallow, work fast to pour. The biggest mistake I see with marshmallows is that most people overwhip them or let them sit too long before transferring to the prepared baking dish. Marshmallows set fast, and it’s easy to over-whip them. Once you see stiff peaks form, stop whipping! Your marshmallow should pour evenly.
Recipe FAQS
I’ve never personally used agar to make marshmallows, but I would check out some vegan marshmallow recipes and apply the same coloring method in this recipe!
Yes, you should be able to swap those 1:1.
Other Gluten-Free Watermelon Recipes to Try…
If you tried these Watermelon Marshmallows or any other recipe on my blog please leave a rating and let me know how it went in the comments below. Thanks for visiting!
Watermelon Marshmallows
Want to save this for later?
Just drop your name and email below. Then we’ll email right to your inbox. ✉️
Ingredients
For the green layer
- ½ cup water, divided
- 1 ½ tbsp gelatin
- ½ cup honey
- 1 tsp spurilina , sub matcha
- ½ tsp vanilla extract
For the pink layer
- ½ cup watermelon juice
- 3 tbsp gelatin
- ½ cup water
- 1 cup honey
- 1/2-1 tsp strawberry powder or beet powder, optional, for added color
- 1 tsp vanilla extract
For topping
- 2 tbsp mini chocolate chips, I use the brand enjoy life
Equipment
Instructions
- Using an 8×8" pan, line with parchment paper and lightly dust with arrowroot starch.
For the green marshmallow layer
- Pour 1/2 cup of water into a small bowl and sprinkle the gelatin over top. Stir gently to ensure the gelatin is combined. Set aside.
- Using a medium-sized pot slowly heat the honey combined with the other 1/2 cup of water. Slowly bring the temperature to 235-240 F degrees on low heat. Remove from heat immediately once the mixture comes to temperature.
- Slowly add in the honey mixture to gelatin mixture as you whisk on high with either an electric hand mixer or a stand mixer. Continue whisking on high for about 5 minutes. The mixture should start to turn white. Add 1/2 tsp of matcha or spurilina at a time until your get your desired color, along with the vanilla extract. Continue to whip the mixture is thick and starts to form in the marshmallow mixture. This generally takes 7-10 minutes total, depending on your stand mixer.
- Pour the mixture over the prepared baking dish and transfer to the fridge for at least 30-45 minutes to begin to set.
For the pink marshmallow layer
- Pour 1/2 cup of watermelon juice into a small bowl and sprinkle the gelatin over top. Stir gently to ensure the gelatin is combined. Set aside.
- Using a medium-sized pot slowly heat the honey combined with the other 1/2 cup of water. Slowly bring the temperature to 235-240 F degrees on low heat. Remove from heat immediately once the mixture comes to temperature.
- Slowly add in the honey mixture to gelatin mixture as you whisk on high with either an electric hand mixer or a stand mixer. Continue whisking on high for about 5 minutes. The mixture should start to turn pink. Add 1/2 tsp of strawberry or beet powder at a time until your get your desired color (if using for a brighter color), along with the vanilla extract. Continue to whip the mixture is thick and starts to form in the marshmallow mixture. This generally takes 7-10 minutes total, depending on your stand mixer.
- Remove the green layer from the fridge and immediately pour the pink layer over top. Return to the fridge to set for another 30-45 minutes.
- Sprinkle the chocolate chips on top and return to the fridge to harden for 3-4 hours or until soft and springy to the touch.
- When the marshmallows are set, coat your knife in arrowroot starch and slice as desired. I prefer to slice big marshmallows, but you can also slice them small! Store in the fridge.

Oh, these look so cool!
Is the watermelon juice just regular stregth, or is it juice that has been reduced to 1/2 C?
Thanks!