Gingerbread Rudolph Reindeer Cookies {gluten free}
These Gingerbread Rudolph Reindeer Cookies are the cutest holiday cookies for kids! They’re gluten-free and egg-free and have a popsicle stick on the back so your kiddos can pretend they’re Rudolph.
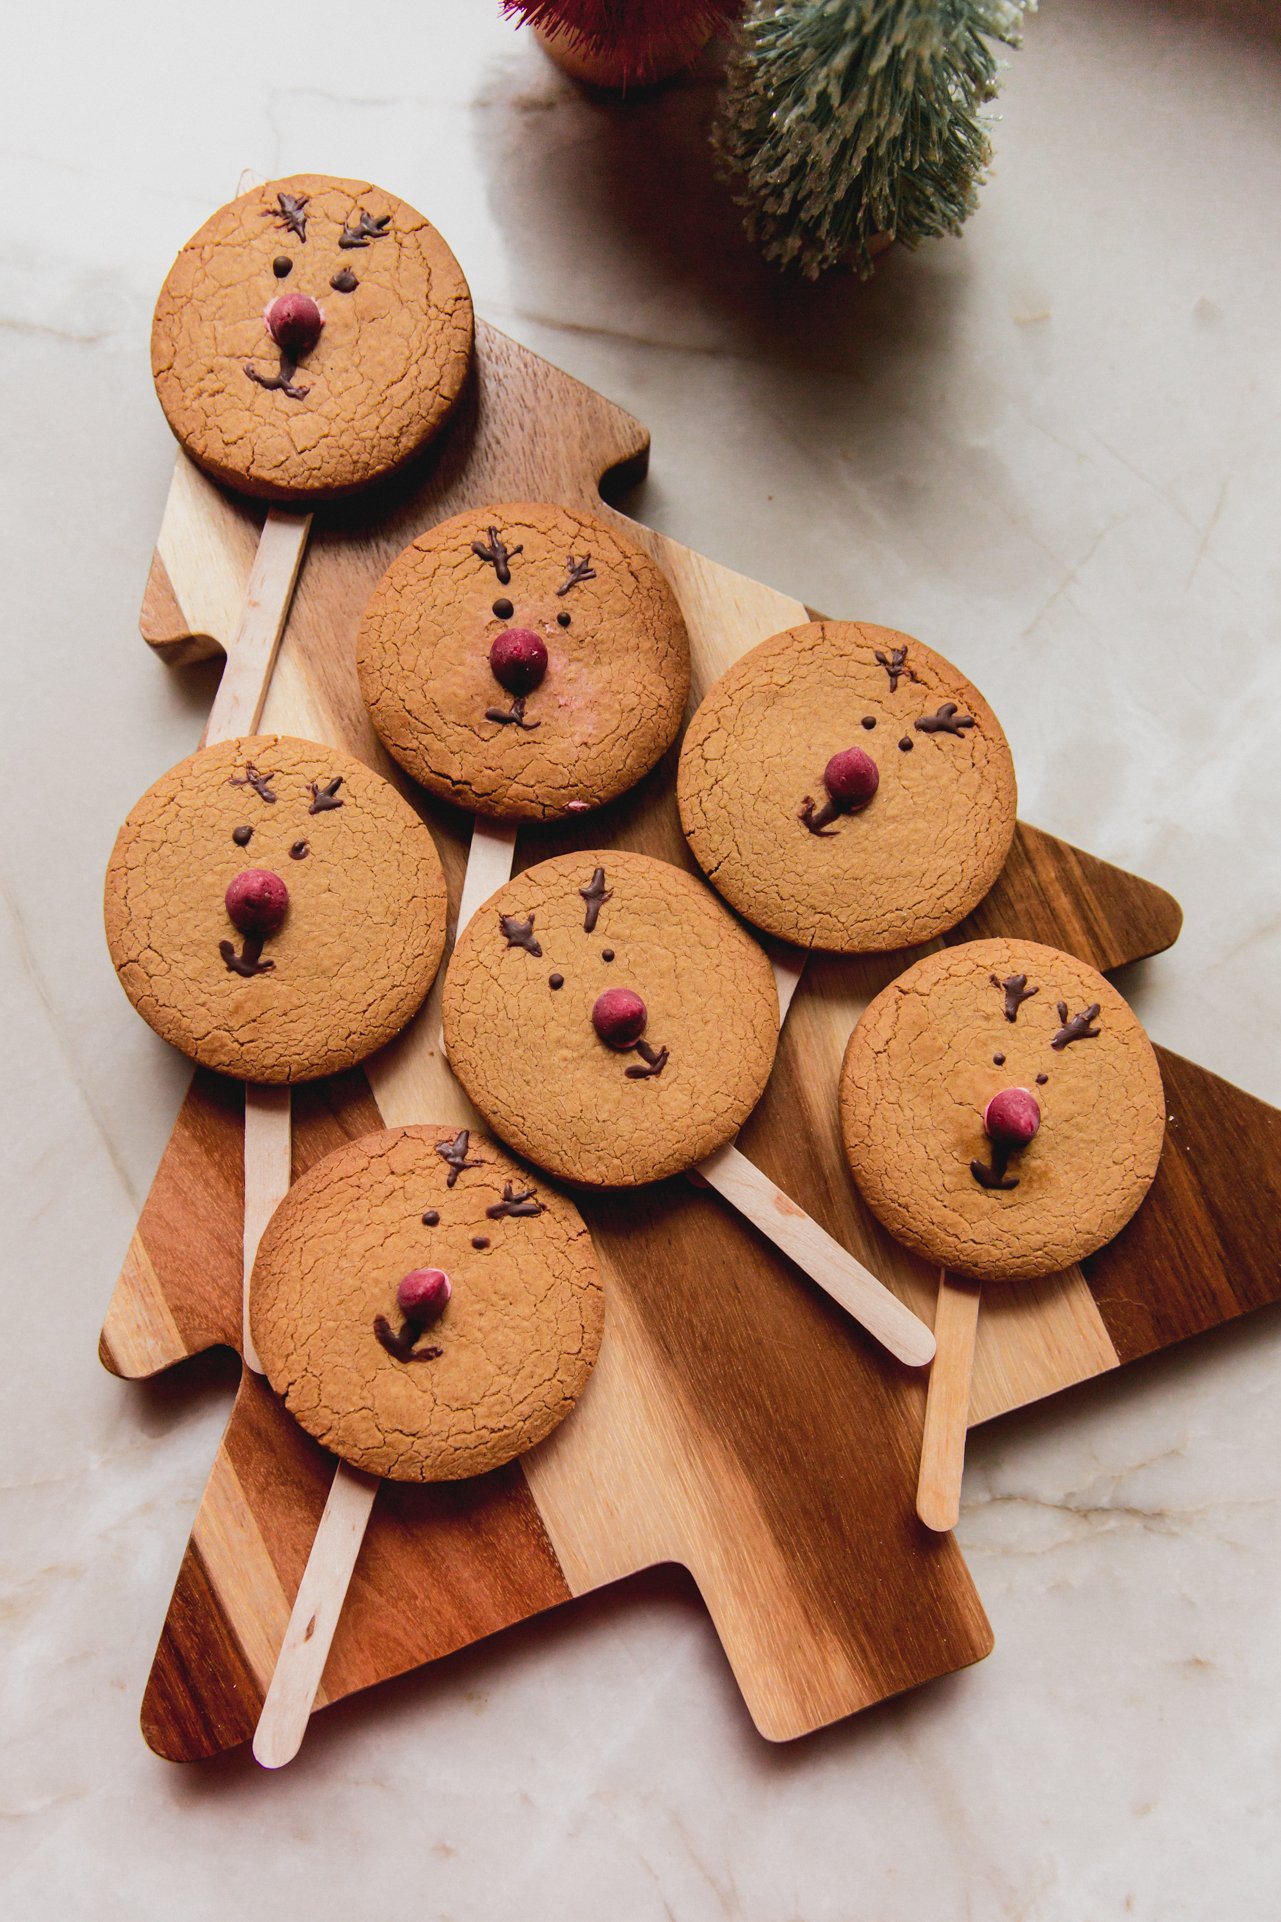
Gingerbread cookies are such a classic for the holidays, and I love unique takes on it like this gingerbread cookie cake, and gingerbread hot cocoa. My original AIP gingerbread cookie recipe, which came from my cookbook, inspired these cute gingerbread Rudolph reindeer cookies, with a few slight modifications and a fun spin with the cutest little face.
These Gingerbread Rudolph Reindeer Cookies are truly amazing! They taste just like the holiday classic but are oh so cute as well!
Table of contents
Why you’ll love these reindeer cookies
- Kids love them! My 4-year-old son was so excited to see these when I first made them. We brought the leftovers to a friend’s house, and they were a hit! All of the kids used them to pretend they had a Rudolph nose!
- They’re allergen-friendly. Gluten, dairy AND egg free.
Recipe ingredients
See the recipe card below for full information on ingredients and quantities.
- Arrowroot starch and tapioca starch
- Gelatin powder. This goes into the recipe dry and acts as a binder. I haven’t tried egg as a substitute and it would likely be too much added moisture
- Red melting morsels.
- Palm shortening. This is the substitute for a vegetable shortening or butter.
- Maple syrup and blackstrap molasses. This is what gives gingerbread cookies that deep flavor!
Substitutions and modifications
- Pomegranate seeds. You can easily use this for the red nose!
- Tapioca starch. This will sub 1:1 for the arrowroot starch.
How to make Gingerbread Rudolph Reindeer Cookies
Here are the simple steps, with photos, to make this recipe. Find full instructions in the recipe card.
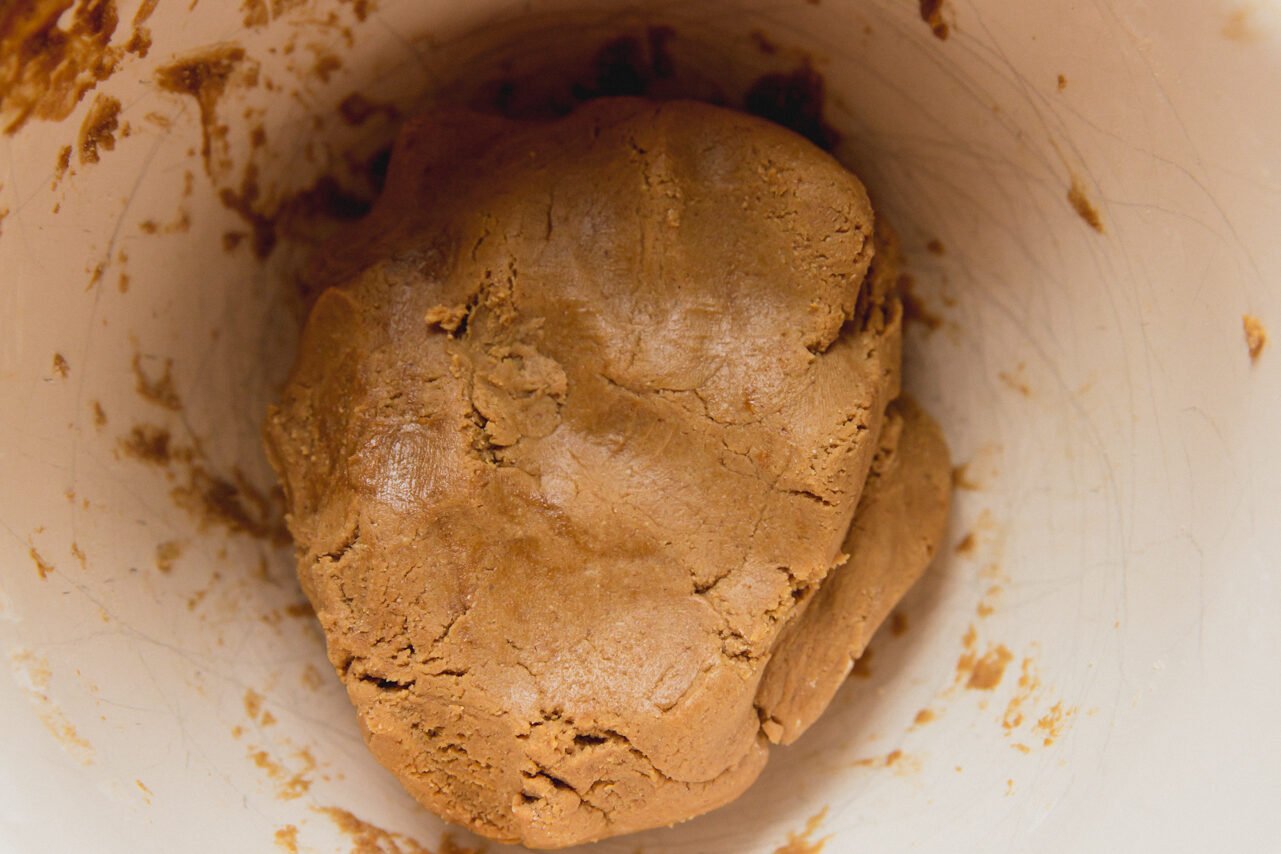
Step one. Make the dough.
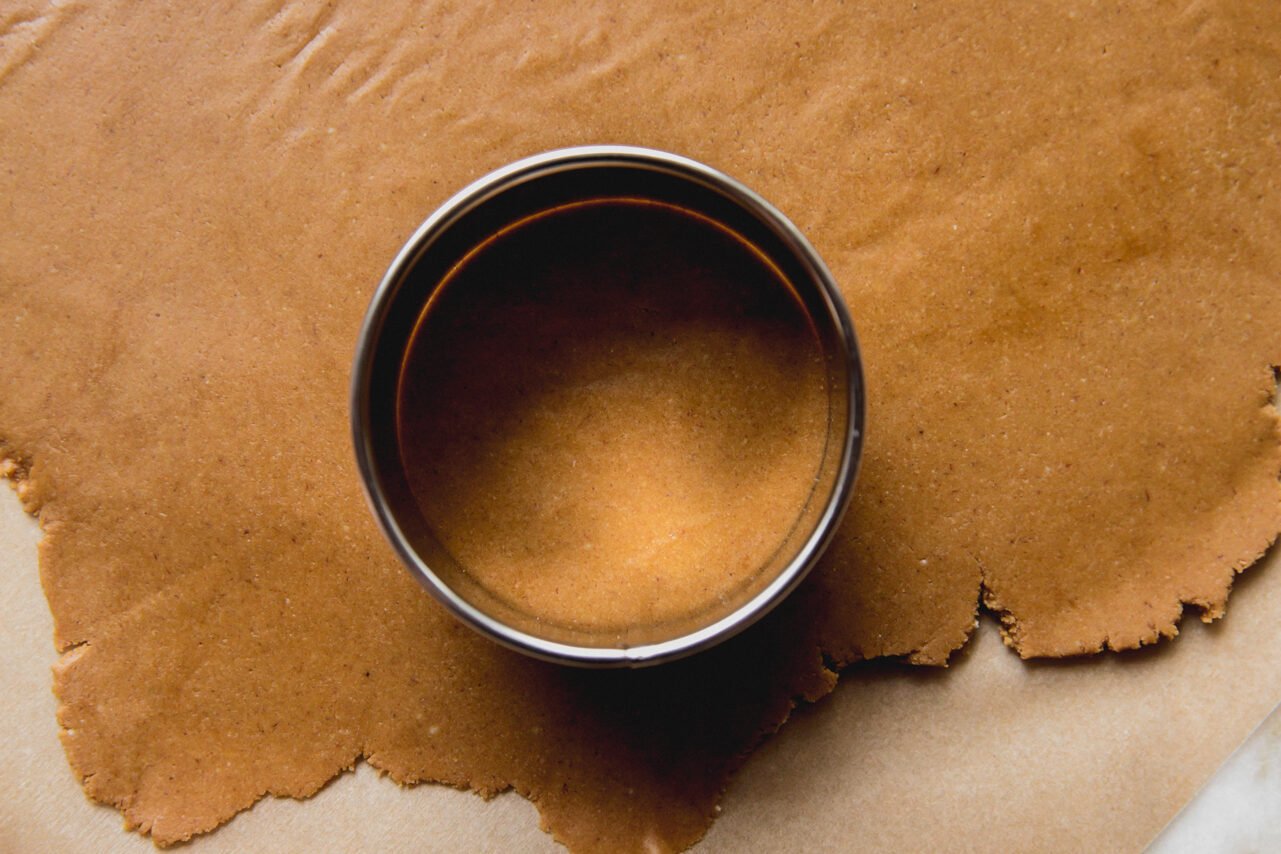
Step two. Roll out the dough and use a round cookie cutter to cut 9 round cookies.
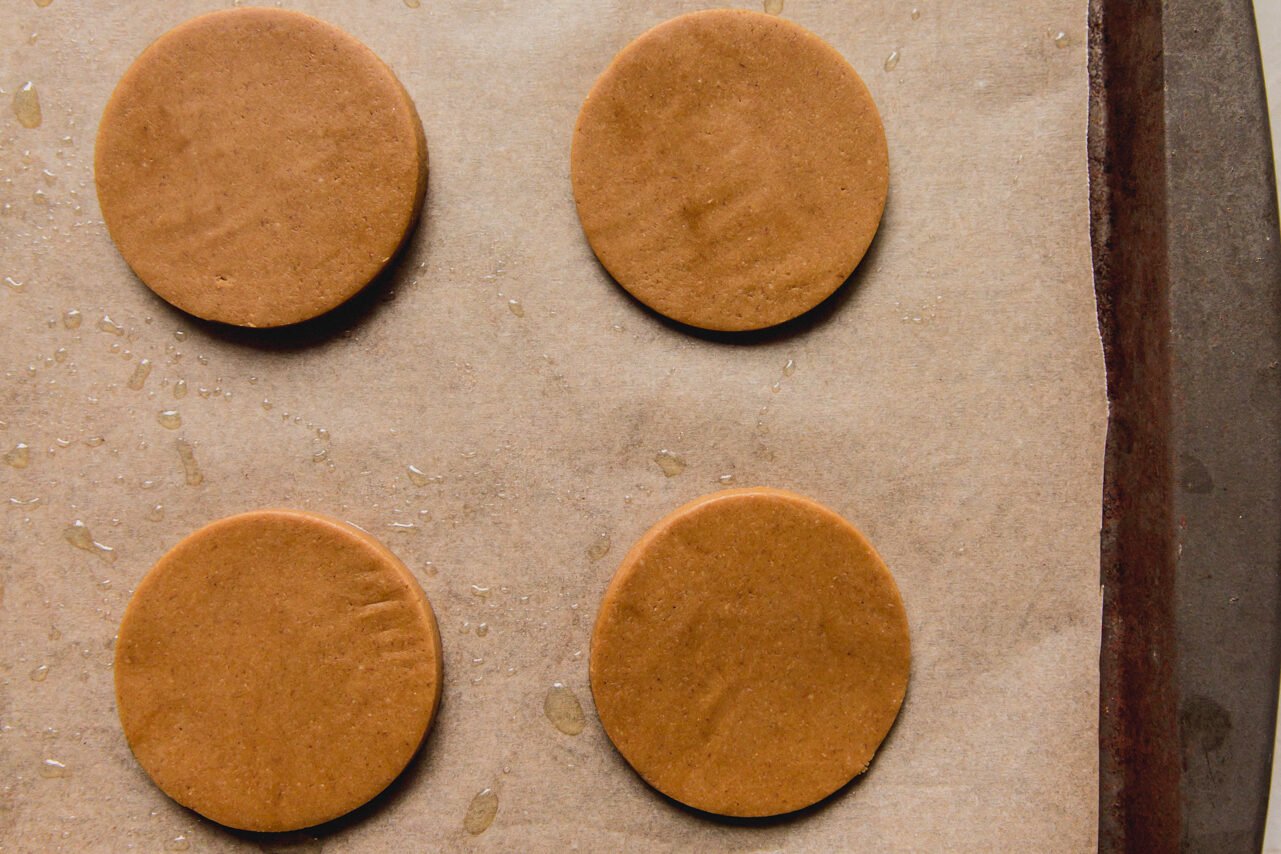
Step three. Transfer the cut dough to the baking sheet.
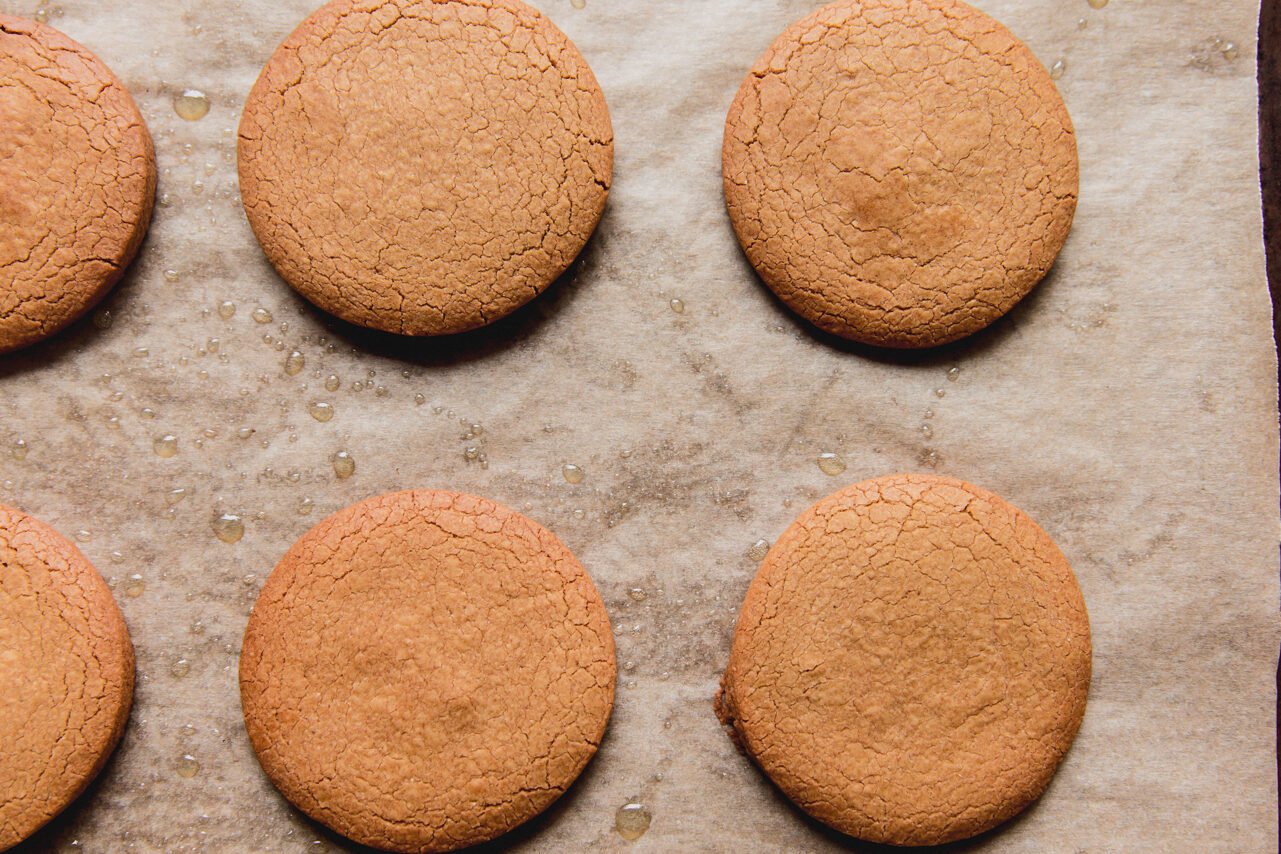
Step four. Bake until golden brown and allow to cool.
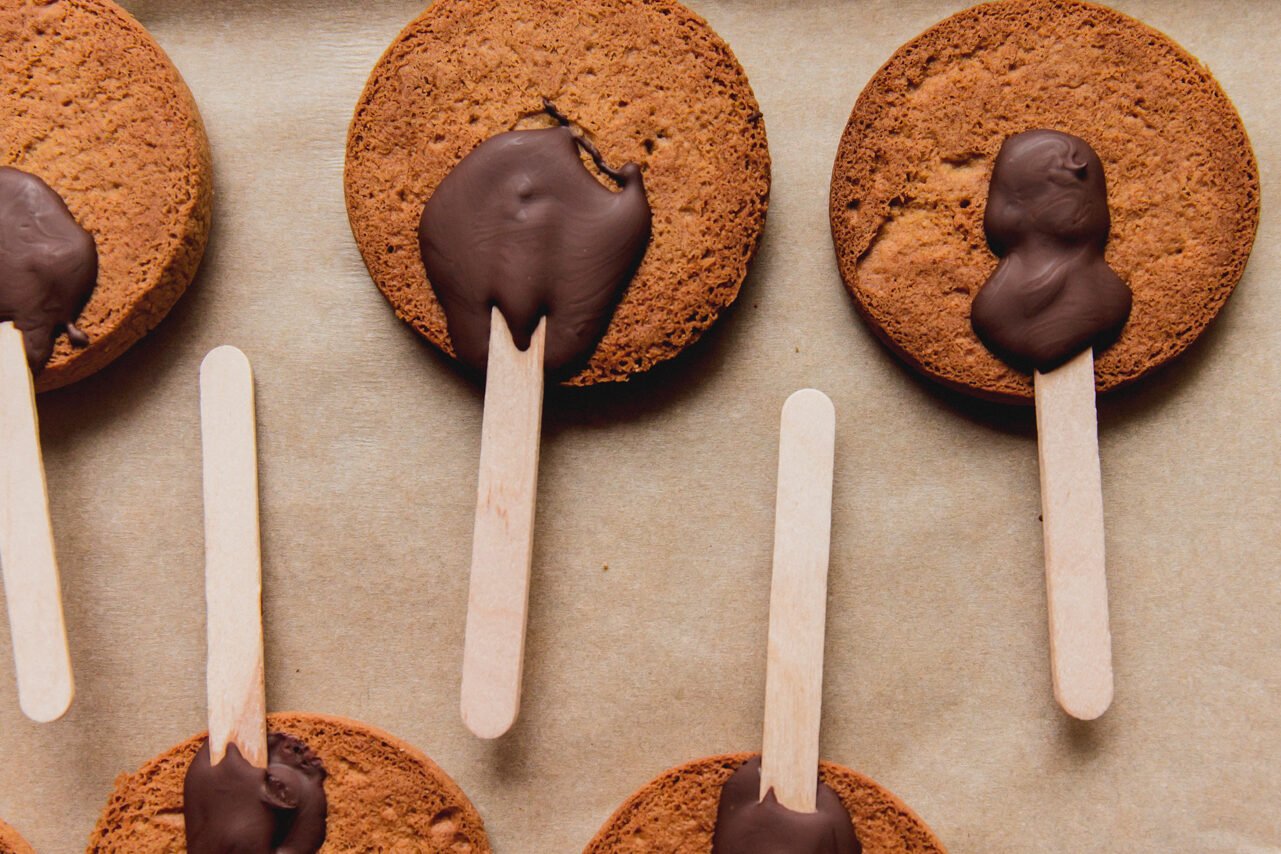
Step five. Melt chocolate and coconut oil together and then use to add the popsicle sticks to the cookies.
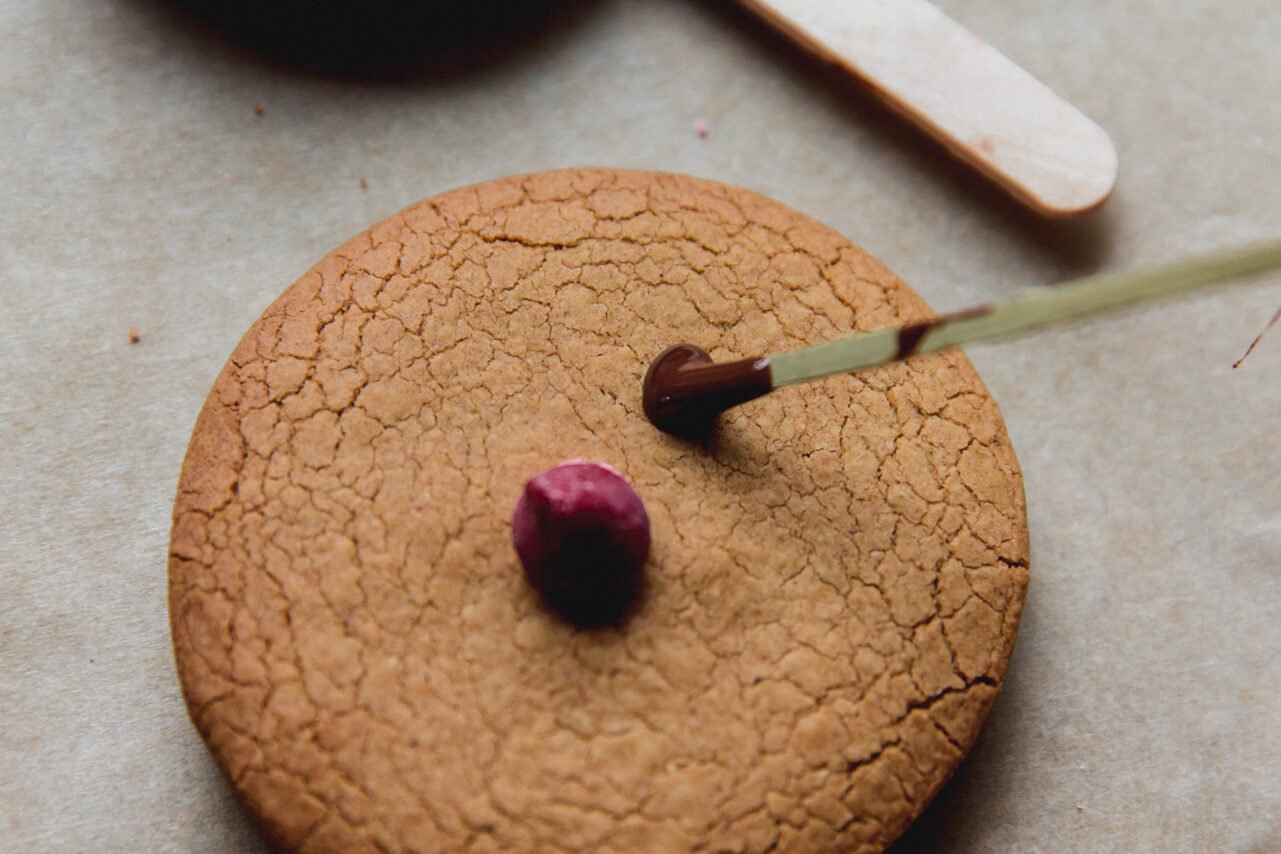
Step six. Decorate the cookies with the red nose, and draw on face and antlers with the melted chocolate.
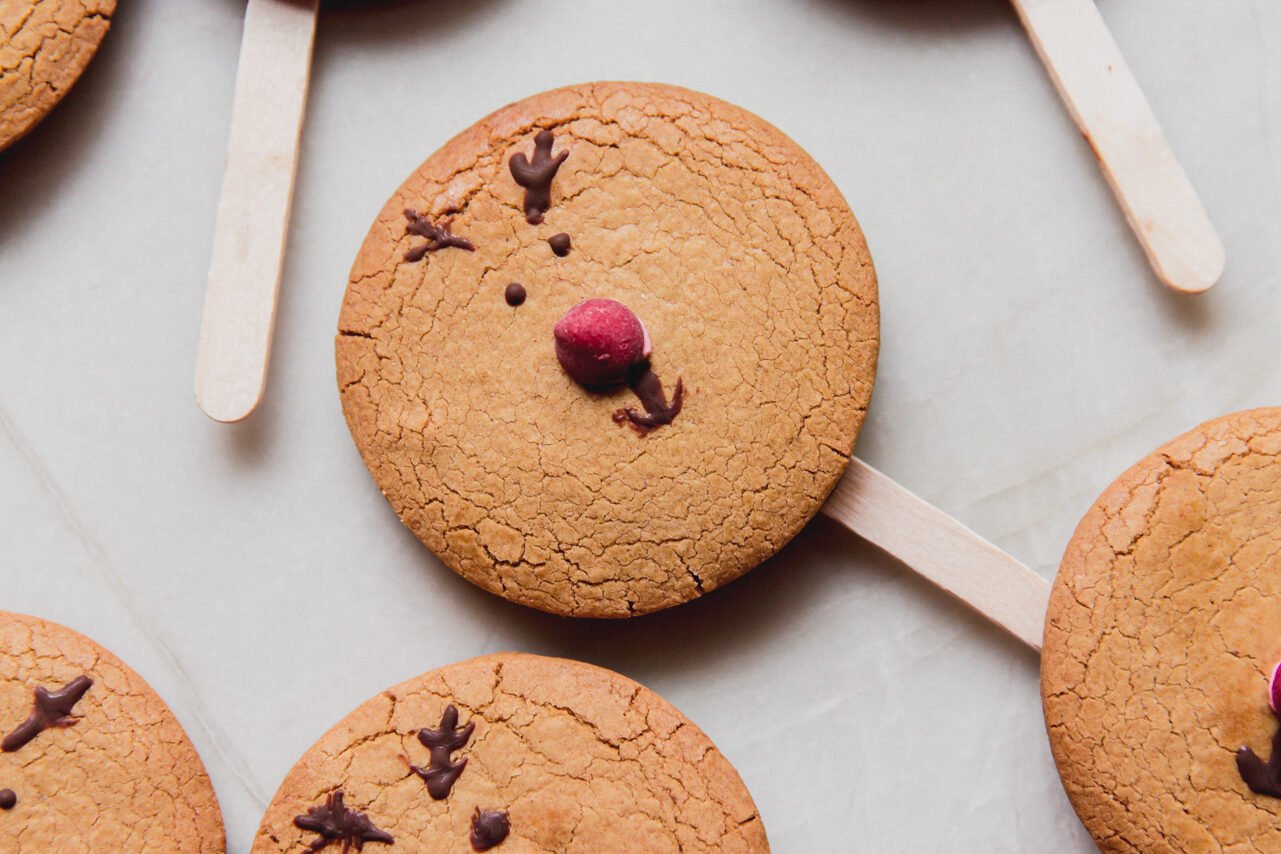
Step seven. Transfer the cookies back to the fridge to allow the chocolate to set.
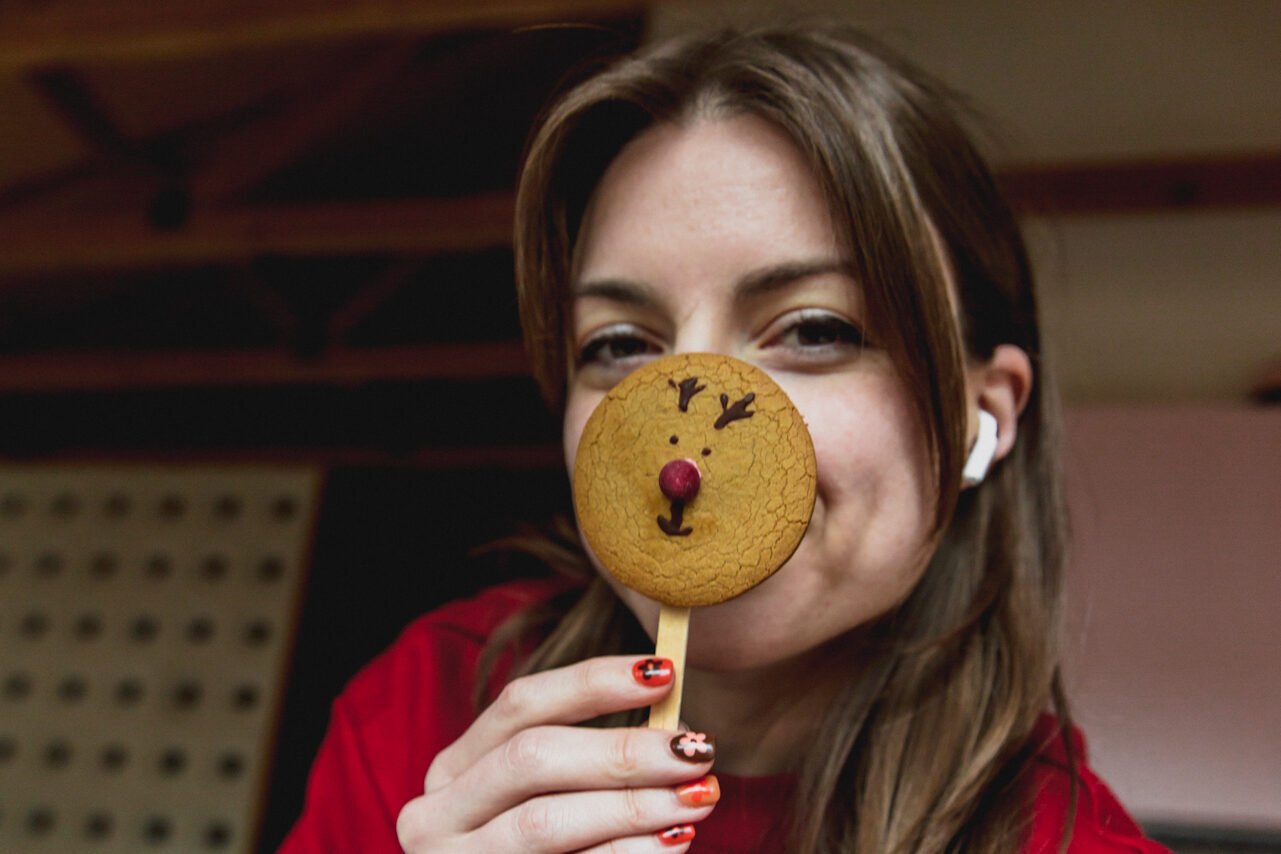
Step eight. Enjoy the cookies!
Tips & Tricks
- Your kids will get chocolate on their noses, so keep wipes on hand! Somehow, I didn’t plan for this from the start, but when I brought these cookies to a friend’s house for all of the kids to try, they all wound up with melted chocolate from the back of the cookie on their noses 😂 Obviously, it was cute, and the kids honestly didn’t care either way, but be prepared to have wipes on hand.
- Use a cup to shape the cookies if you don’t have a cookie cutter. I love making tons of fun shapes for cookies, like these Gluten-free Spritz Cookies, but you don’t need fancy tools to make these. Just grab a cup and use that to cut the dough.
Recipe FAQS
Yes! You can make them and store them in the fridge for 1-2 days fully decorated, or if you’d like to have the kids decorate them, you can bake them ahead of time and let the kids decorate.
I like using the food-dye-free candy, but a pomegranate seed would be another great option!
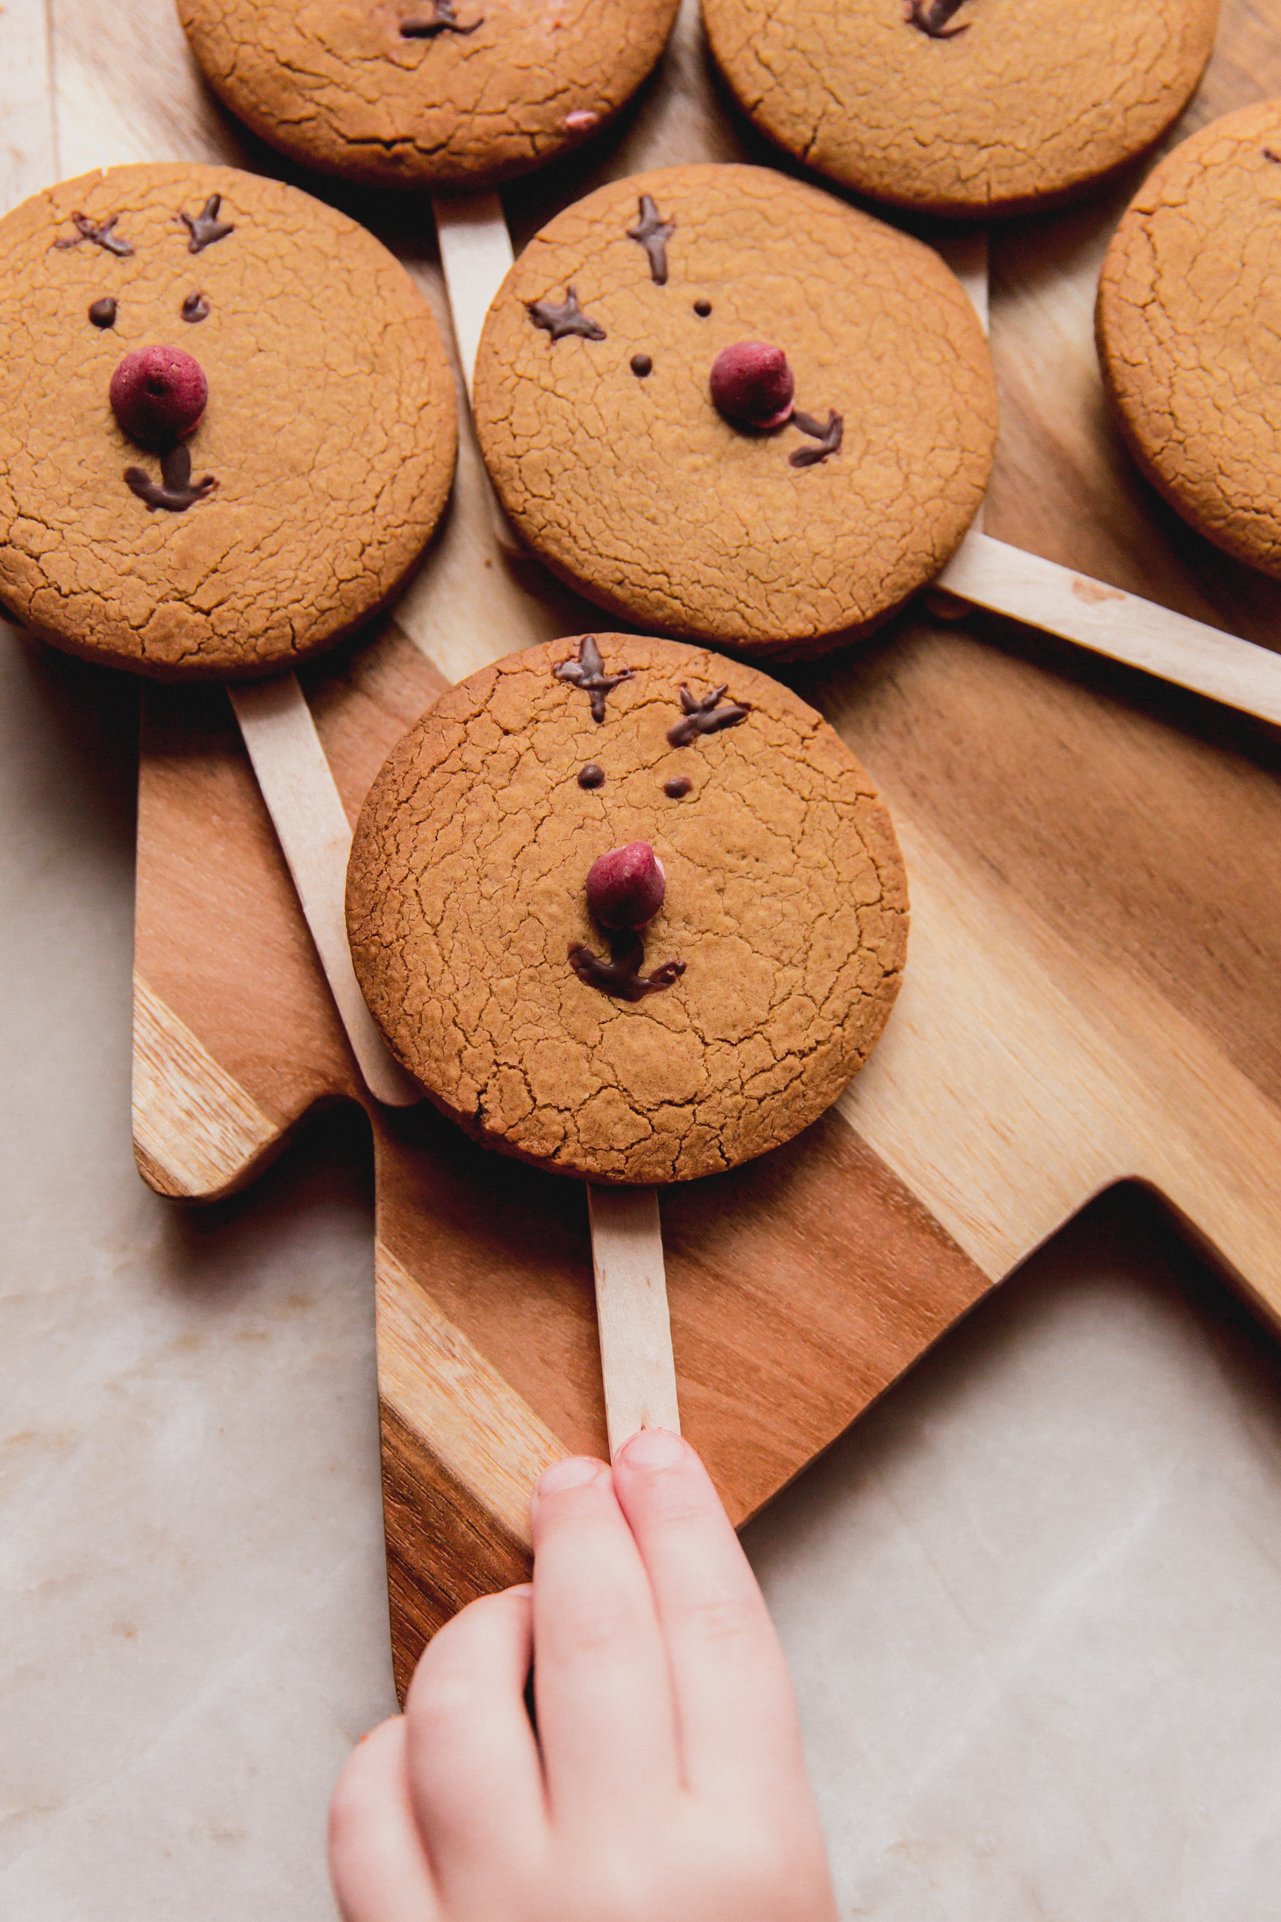
Other related gluten-free Christmas cookies to check out.
If you tried these Gingerbread Reindeer Cookies or any other recipe on my blog please leave a 🌟 star rating and let me know how it went in the 📝 comments below. Thanks for visiting!
Print
Gingerbread Rudolph Reindeer Cookies {gluten free}
- Prep Time: 20
- Cook Time: 12
- Total Time: 32 minutes
- Yield: 8 servings 1x
- Category: Dessert
- Method: Baked
- Cuisine: Global
- Diet: Gluten Free
Description
These Gingerbread Rudolph Reindeer Cookies are the cutest holiday cookies for kids! They’re gluten-free and egg-free and have a popsicle stick on the back so your kiddos can pretend they’re Rudolph.
Ingredients
For the cookies
- 3/4 cup arrowroot starch
- 1/2 cup tigernut flour
- 1 tbsp gelatin powder
- 1/4 tsp baking soda
- 1 tsp ground ginger
- 3/4 tsp ground cinnamon
- 1/3 cup palm shortening
- 3 tbsp maple syrup
- 2 tbsp blackstrap molasses
- 1 tsp vanilla extract
For the decorations
- 1/2 cup chocolate chips
- 1 tsp coconut oil
- Red Melting morsels
- Frosting
- Beet powder
Instructions
To make the cookies
- Preheat the oven to 350°F & line a baking sheet with lightly greased parchment paper.
- In a large bowl, combine the dry ingredients. In a medium bowl, cream together the palm shortening, maple syrup, and molasses. Add the wet mixture to the dry ingredients. Stir in the vanilla extract and combine well until all ingredients are blended and form a dough. The dough will be sticky and firm.
- Transfer the dough to a clean piece of parchment paper. Top with another piece of parchment paper and roll out flat with a rolling pin. Use a round cookie cutter to cut 9 round cookies, rolling out the dough again with the scraps of dough if more surface area is needed.
- Transfer the cut dough to the baking sheet, evenly spaced. Bake for 12 minutes or until the cookies are light golden brown.
- Carefully transfer to a cooling rack and let cool completely before decorating. Transfer the cookies to a parchment lined plate or platter.
To decorate the cookies
- To add the popsicle stick on the back, melt the chocolate and coconut oil together in the microwave at 20-second intervals, stirring in between, until fully melted. Working with one at a time, turn the tip a the popsicle in the chocolate and place it on the flat side of one of the cookies. Place the cookie on the parchment paper, with the popsicle stick side up. Repeat with all of the cookies. Transfer to the freezer for 10-15 minutes or until the chocolate is fully set. Turn the cookies over to decorate.
- To make the nose, combine the frosting with beet powder until you reach your desired color. Add to a piping bag and dot a nose in the center of the cookie. Either leave this as is, or add a baking chip for more dimension.
- To draw the face and antlers, use a tooth pick and the remainder of the melted chocolate. Dip the tooth pick in the chocolate and slowly draw eyes, a mouth, and antlers on each cookie. Transfer the cookies back to the fridge to allow the chocolate to set before enjoying!
Notes
The popsicle sticks are optional, but kids really love it!
Swap out the baking chip nose for a pomegranate seed if desired.
Tools used: Popsicle sticks, rolling pin, and cookie cutter.
Nutrition
- Serving Size: 1 cookie
- Calories: 267
- Fat: 15.4g
- Carbohydrates: 33.7g
- Fiber: 4.1g
- Protein: 2.3g

