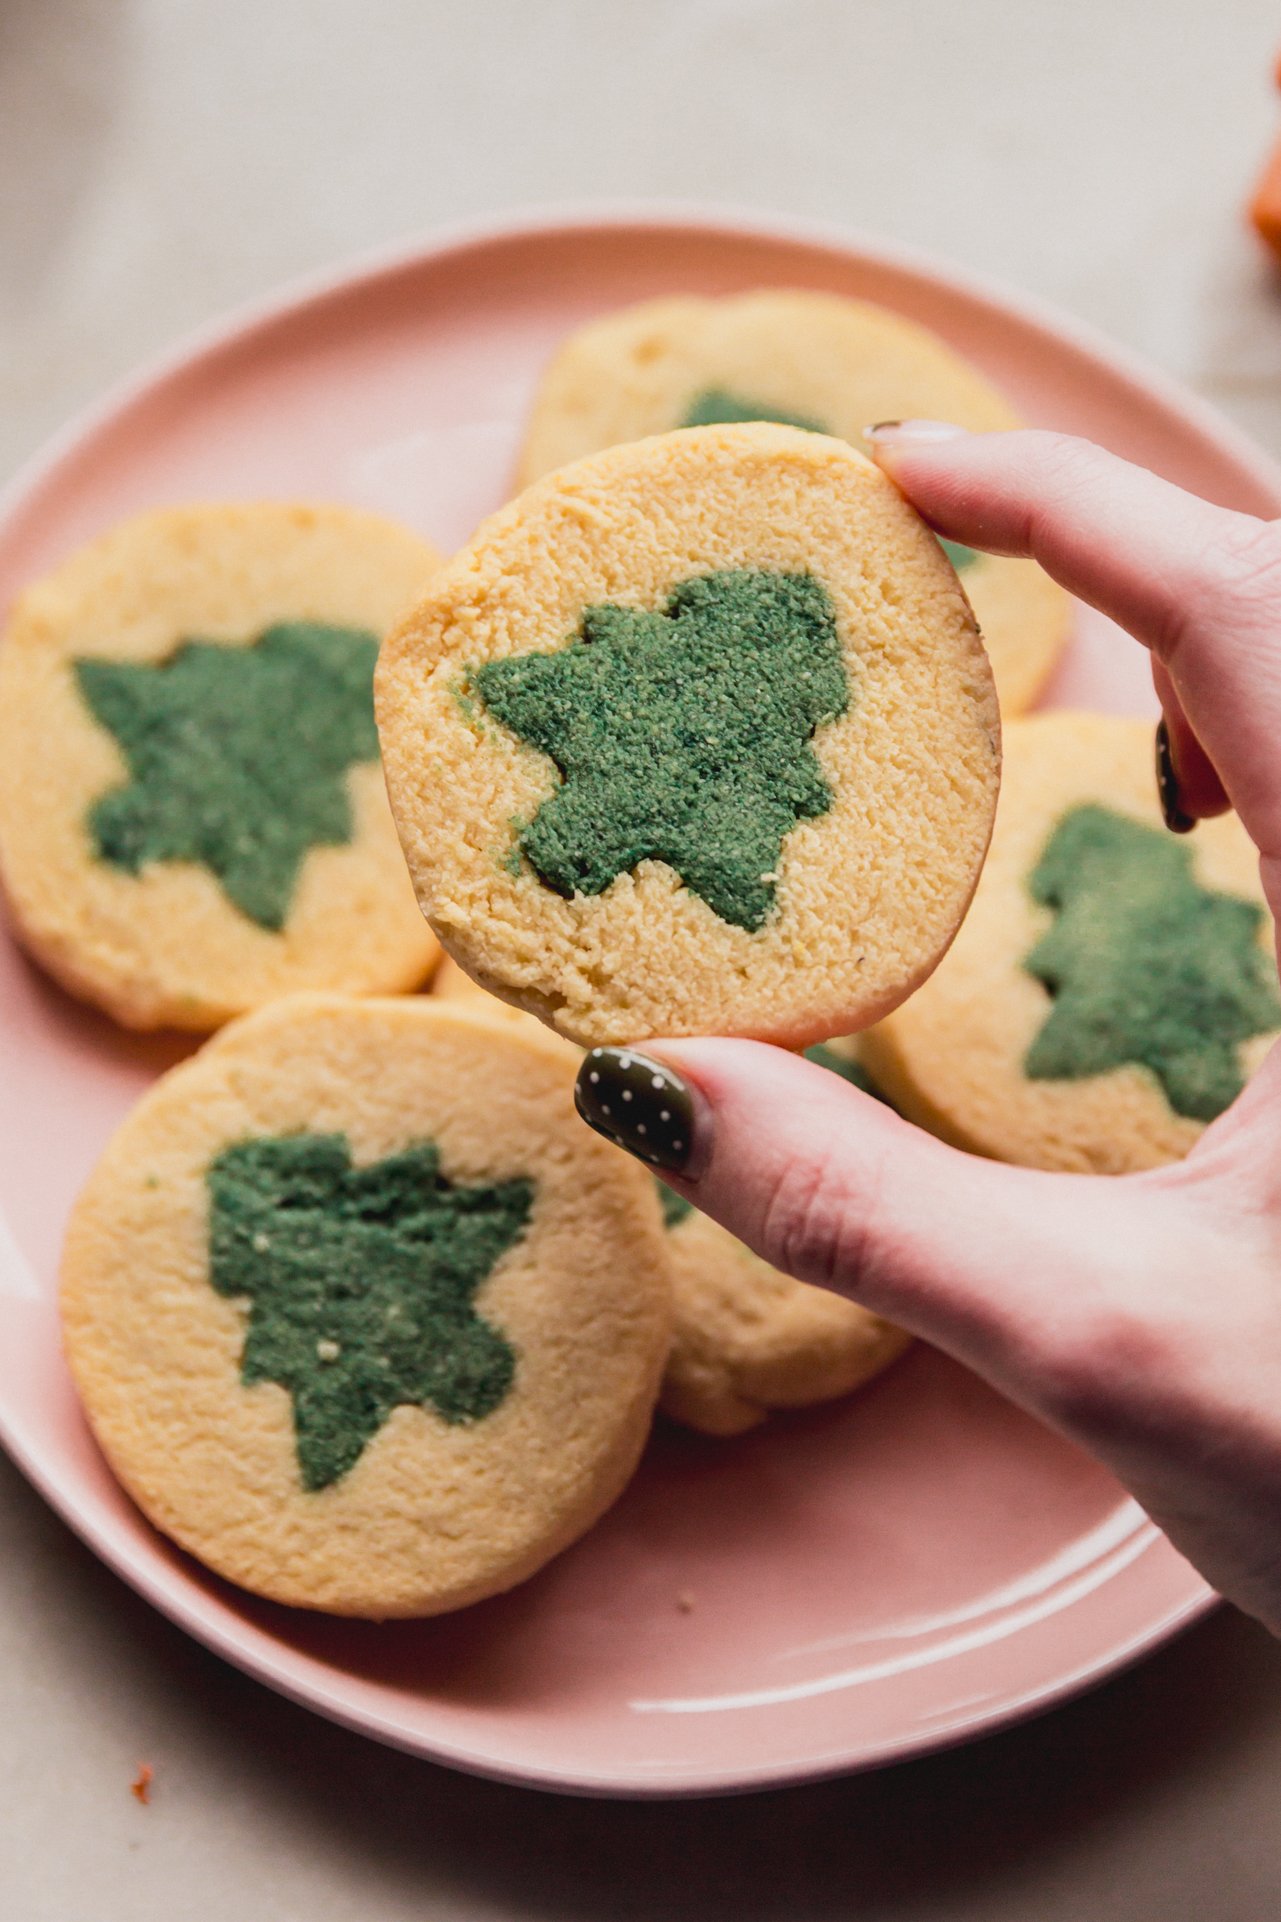
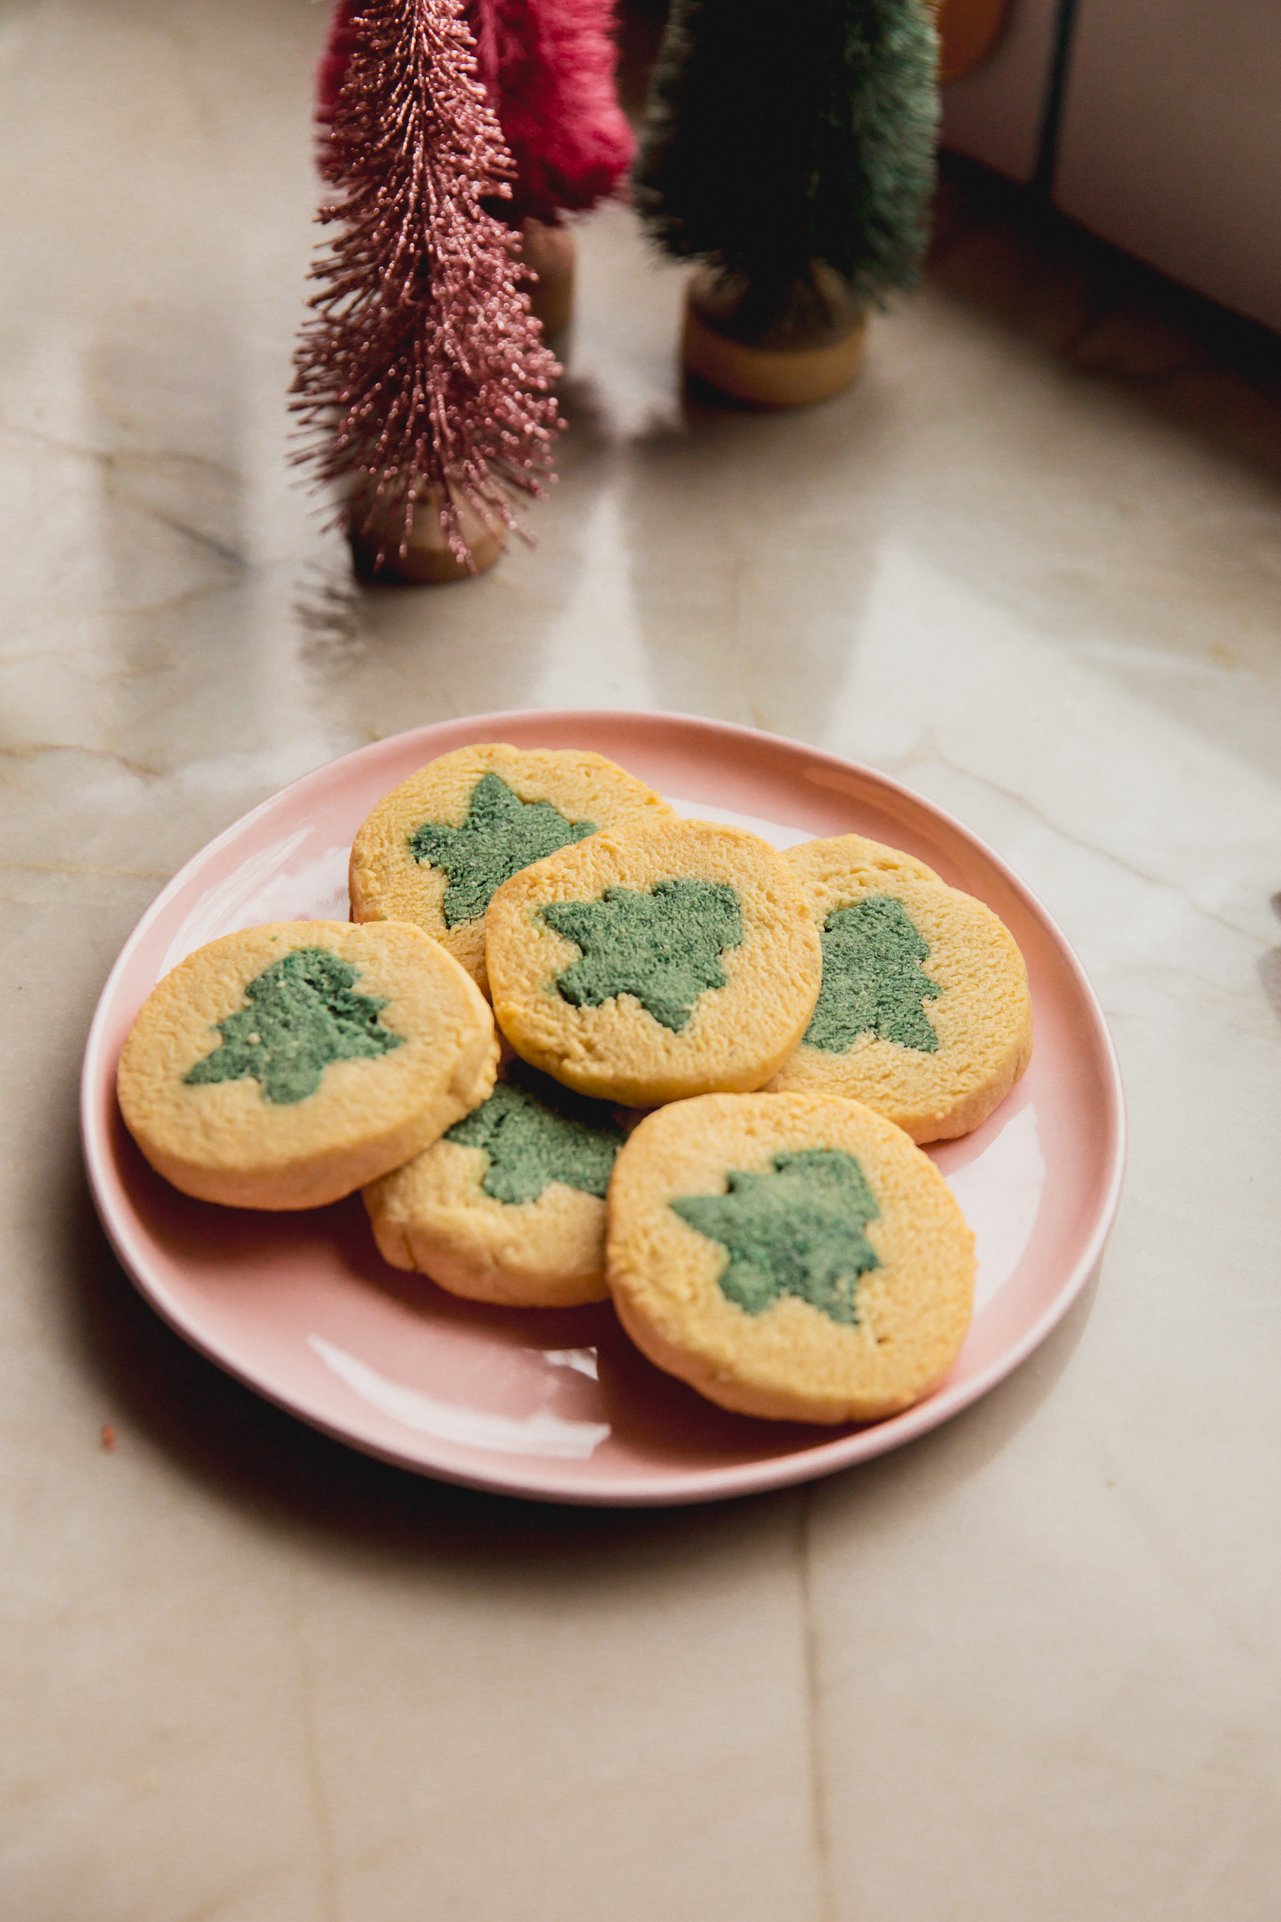
Gluten Free Slice and Bake Cookies
These gluten-free slice-and-bake cookies are the perfect nostalgic holiday magic. They’re even better than store-bought!

Michelle’s Fav Holiday Cookies
Pillsbury slice-and-bake cookies were one of my favorites as a kid. I loved getting the different designs for Halloween, Christmas, and Valentine’s Day!
Even though I’ve been able to make really delicious almond butter blossoms and gluten-free spritz cookies, this one intimidated me. I never thought I’d be able to recapture the magic of these cookies as a gluten-free version, but I finally tackled it and got it perfect for you!
Why you’ll love it: Holiday nostalgia but totally gluten-free!!
What to know: The secret ingredient is time! You have to follow the chill and freeze times to have the shape set perfectly and to make the dough easier to roll out!
Recipe Ingredients
See the recipe card below for full information on ingredients and quantities.
- Almond flour, arrowroot starch, and coconut flour. I prefer this to a gluten-free all-purpose flour.
- Palm shortening and ghee. Rather than using butter, I use a palm shortening and ghee mixture. The palm shortening makes the cookies a touch lighter, and the ghee is clarified butter, which removes the lactose and casein.
- Sugar. I use cane sugar for this recipe to give it a neutral color
- Egg. I haven’t tried to swap the egg in this recipe for an egg substitute.
- Vanilla Extract.
- Natural coloring. I like to use spirulina for the green color in this recipe, but matcha should also work.
Substitutions and modifications
- Swap arrowroot starch for tapioca starch. This is easily interchangeable!
- Sugar substitutes. You may be able to use a golden coconut sugar, but keep it mind it will impact the color.
- Swap the ghee and palm shortening. I prefer the blend of both, but you can swap one for the other in a pinch and still have a similar result.
How to make Gluten-Free Slice and Bake Cookies
Here are the simple steps, with photos, to make this recipe. Find full instructions in the recipe card.
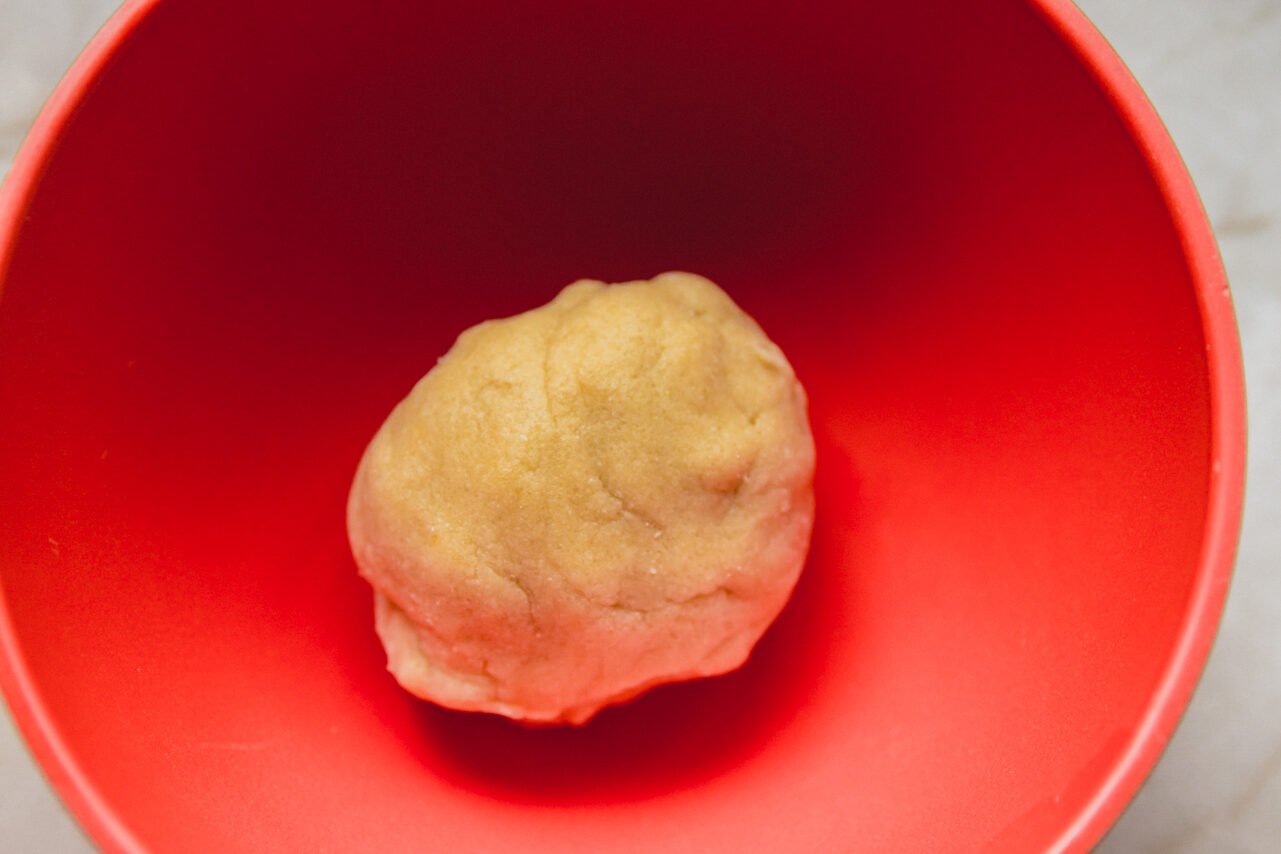
Step one. Cream the ghee, palm shortening, sugar, egg, and vanilla extract. Combine the almond flour, arrowroot starch, coconut flour and baking powder in a separate bowl, and add to the bowl with the wet ingredients. Combine to form the dough into a ball.
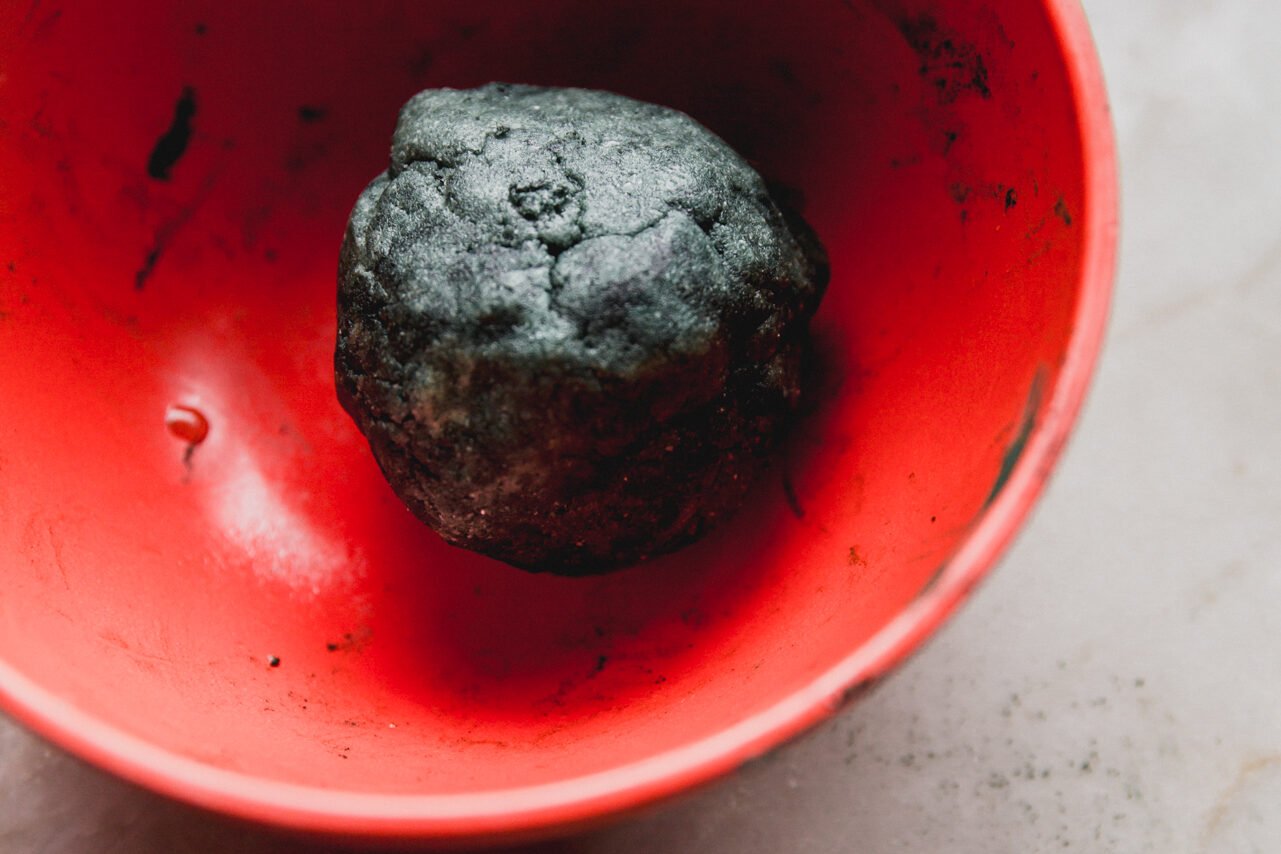
Step two. Separate out 1/4th of the dough into a separate bowl and add the green coloring.
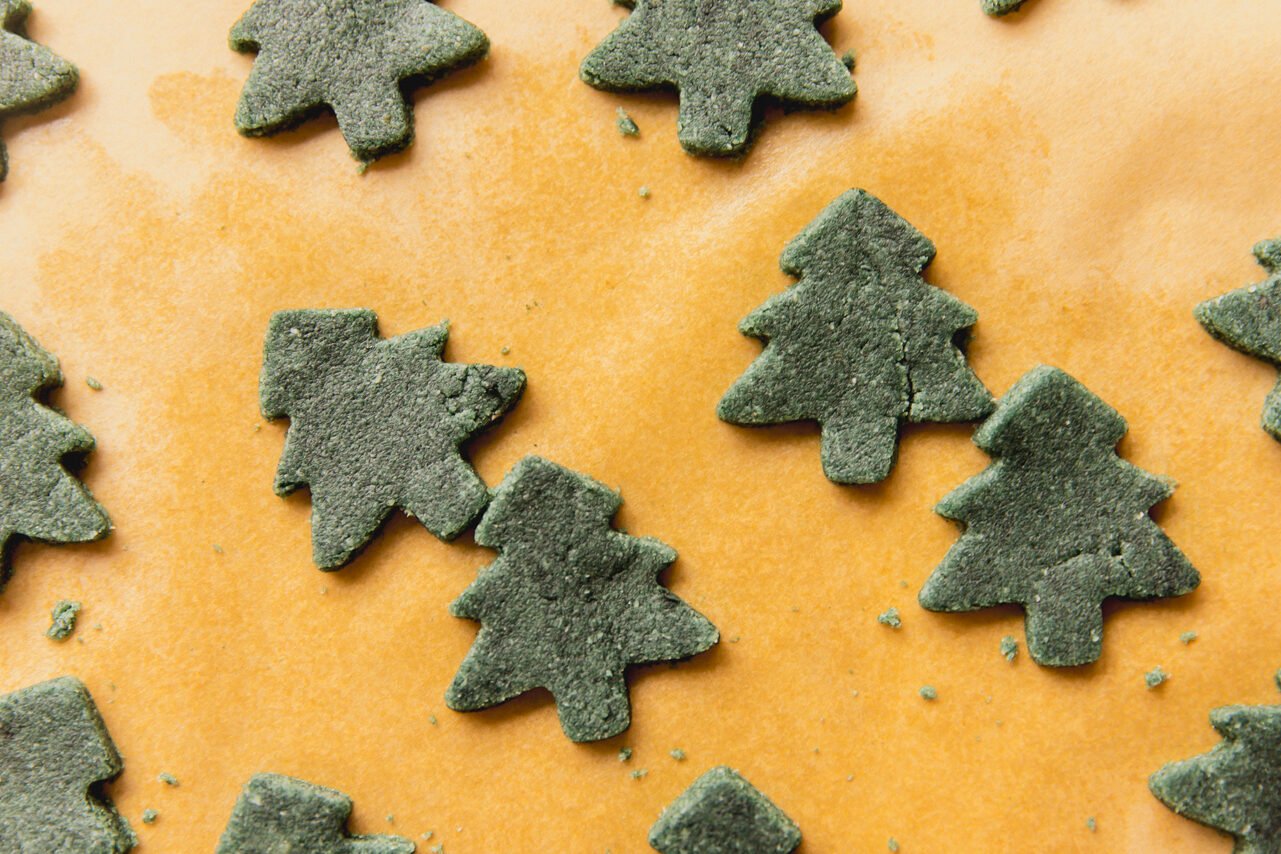
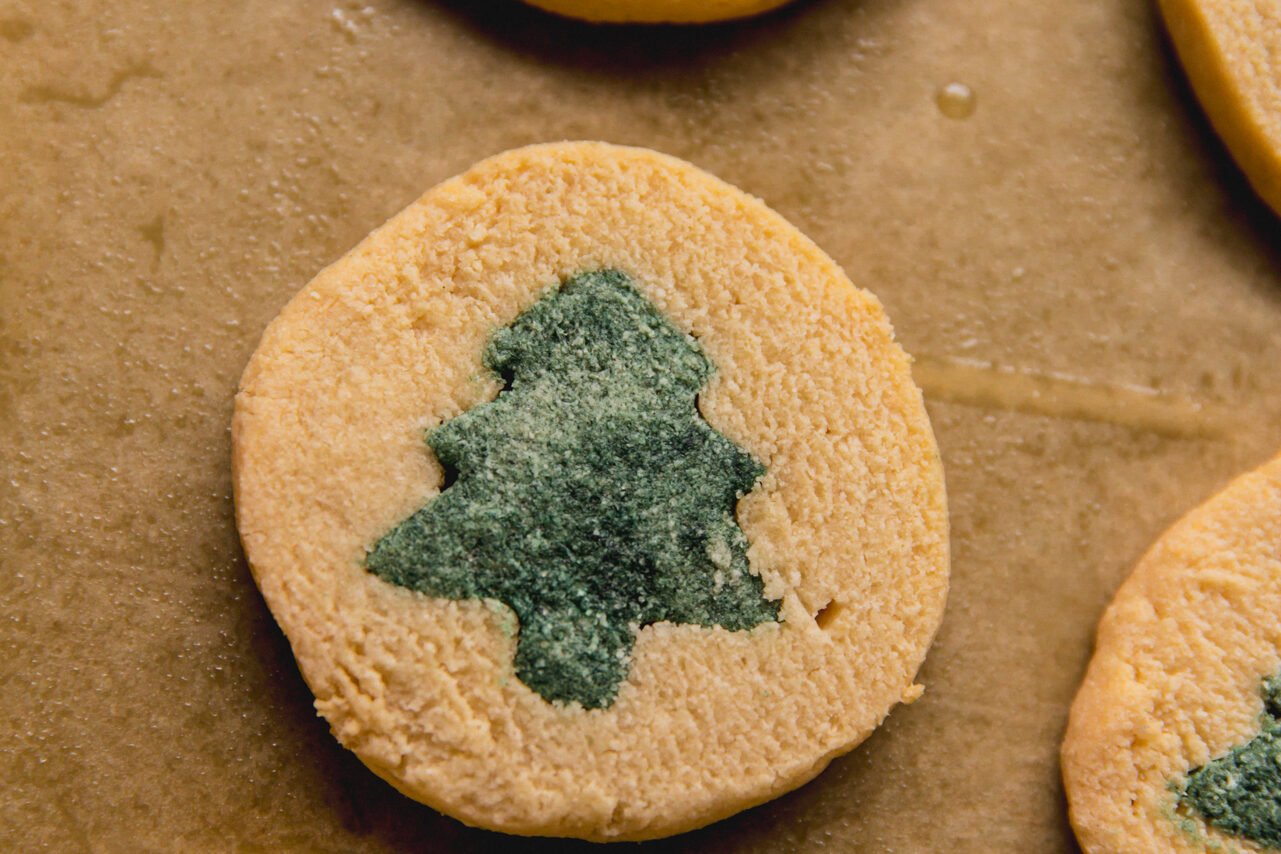
Step three. Wrap the green dough in plastic wrap and refrigerate. Roll out the dough and then cut into Christmas tree shapes.
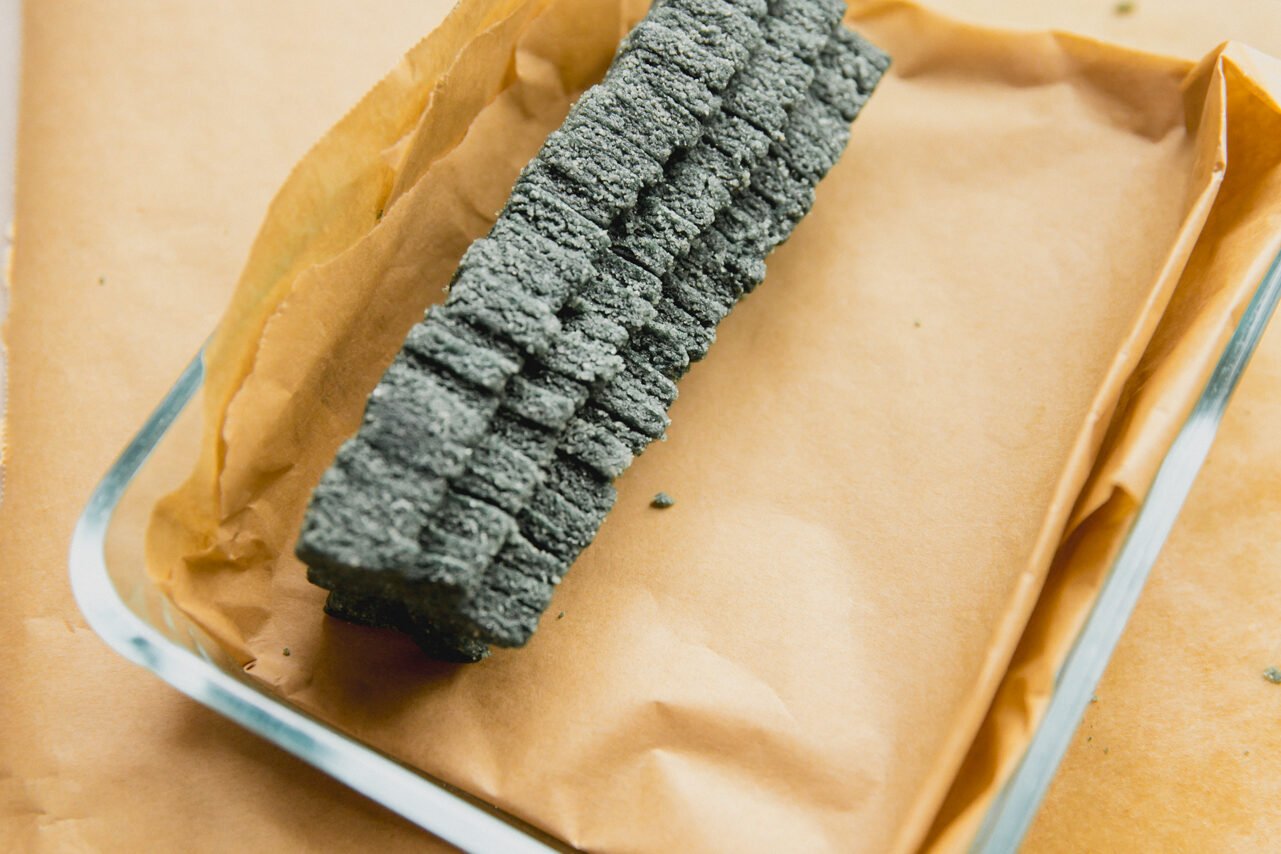
Step four. Lightly wet your finger and brush your finger over one Christmas tree to lightly wet in and layer on a Christmas tree on top of it. Repeat with all of the Christmas trees.
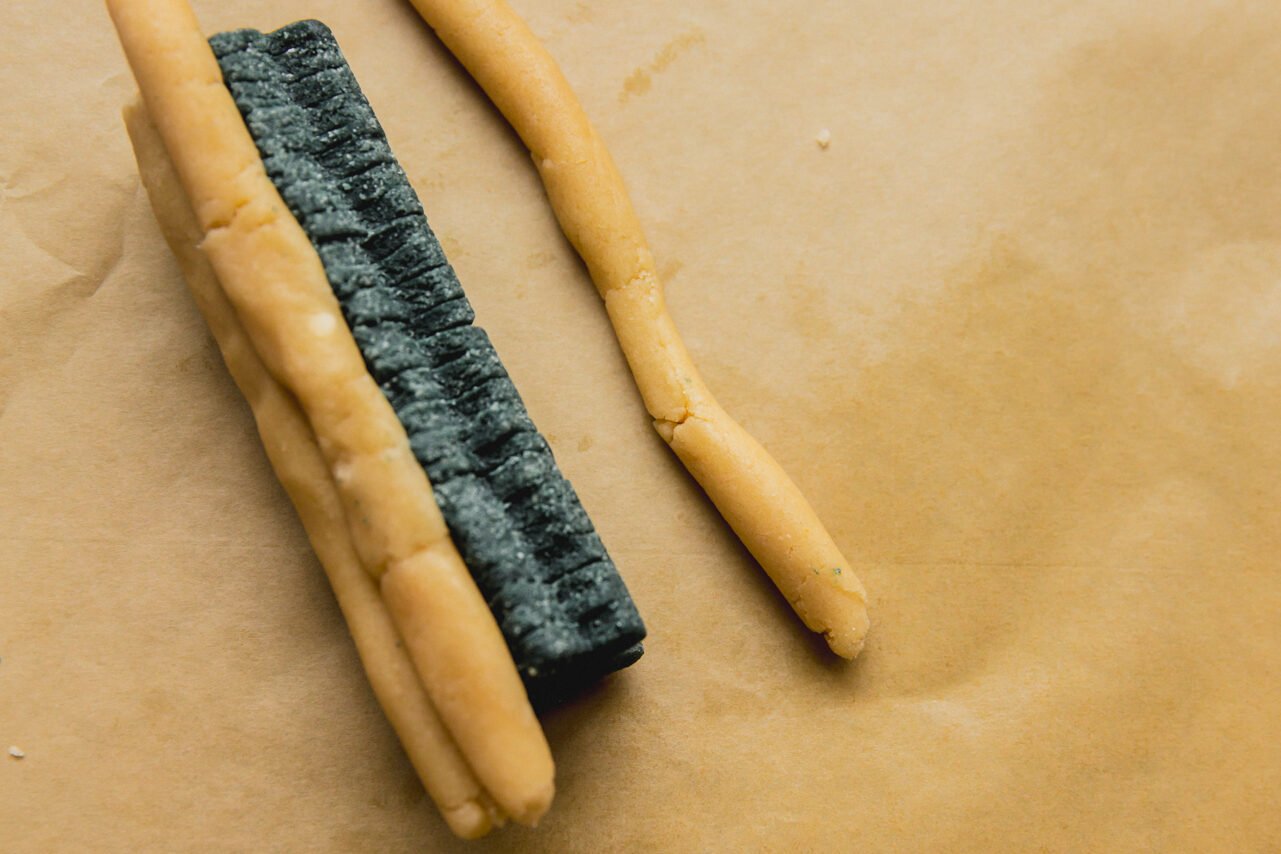
Step five. Freeze the log. Then add uncolored cookie dough and roll it with your hands into a long strip of dough. Mold it around an edge of the frozen log, filling in the gaps. Repeat until the log is fully encased in dough and there are no gaps.
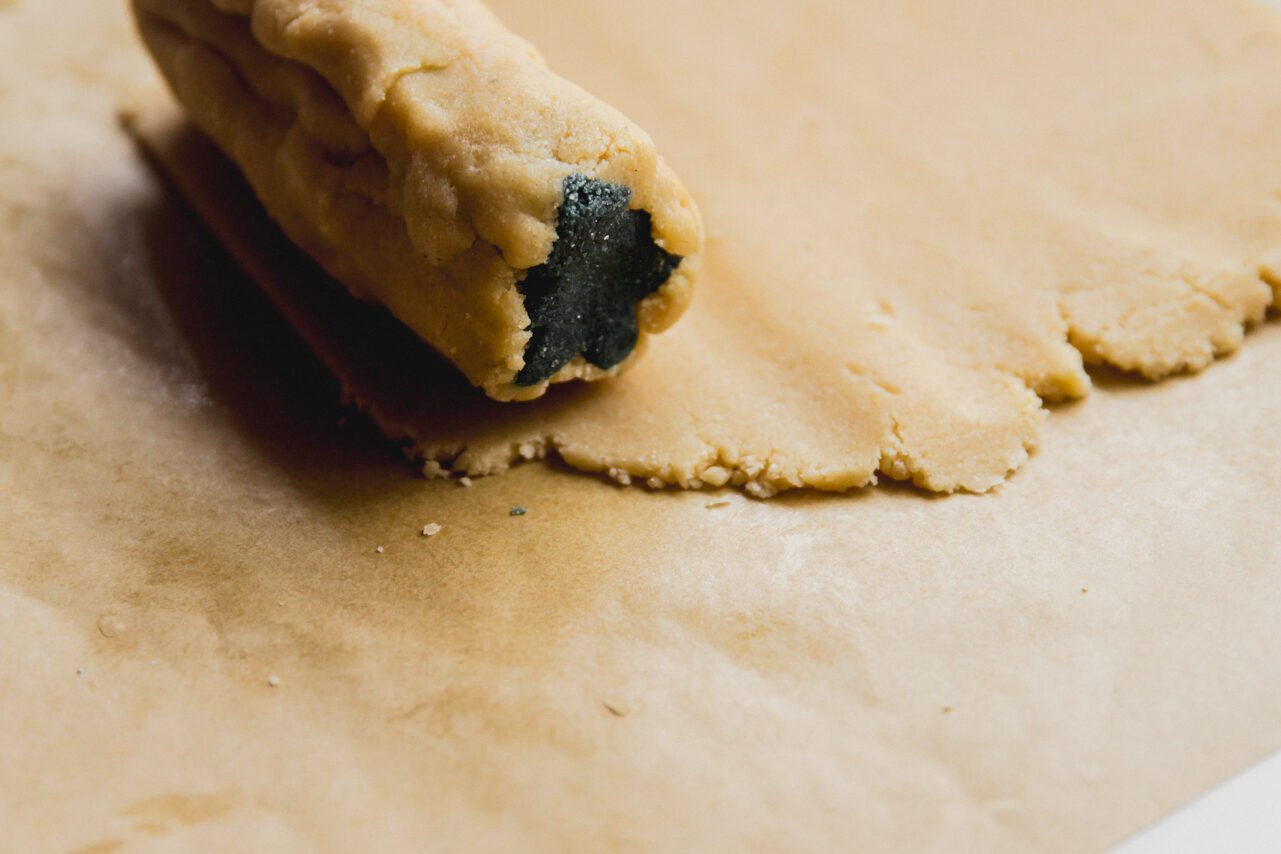
Step six Roll out the rest of the cookie dough and place your log on top. Trim any of the excess dough on the edges and chill in the fridge.
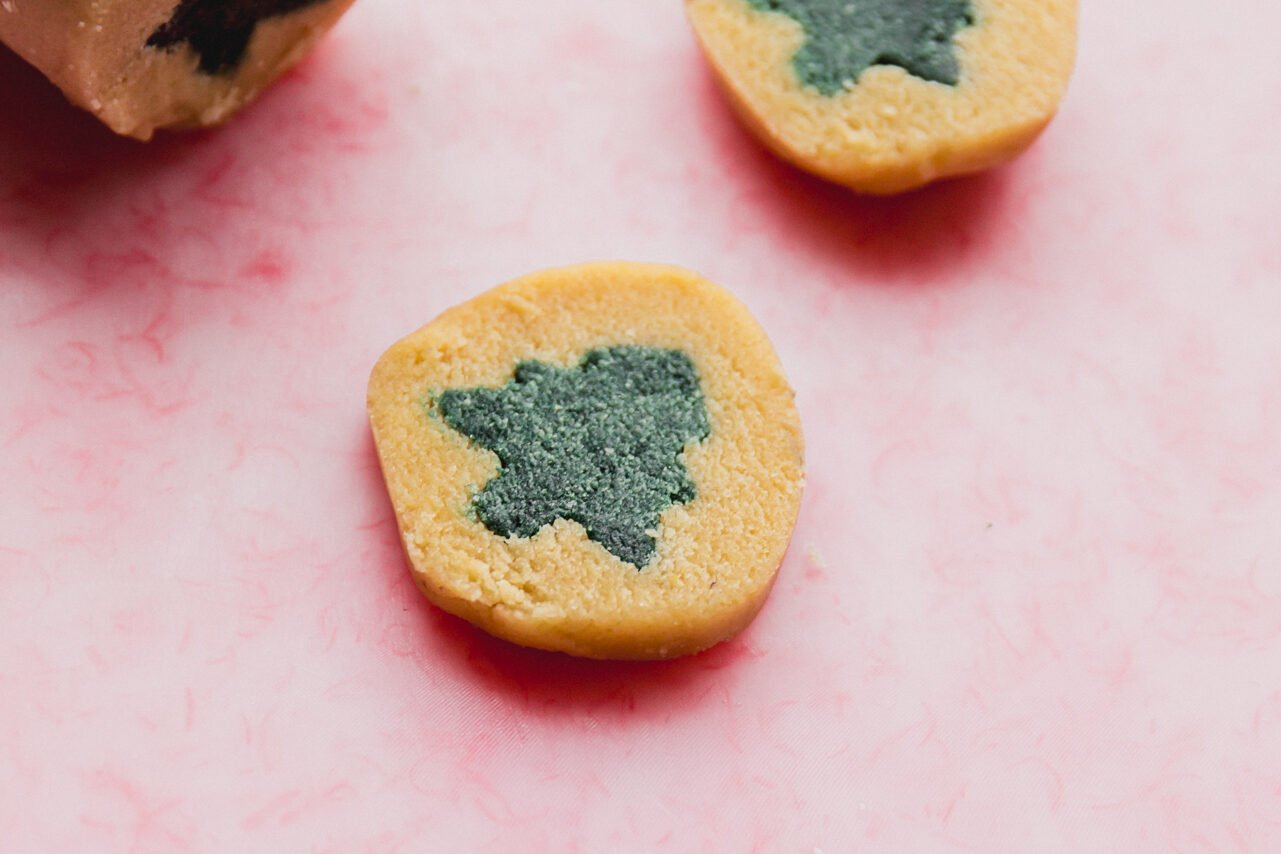
Step seven. Remove from the fridge and carefully slice into 1/4″ cookies.
Step eight. Bake!
Michelle’s Tips & Tricks
- Time is the secret ingredient! The dough has to be chilled, and the shapes have to be frozen for the times written in the recipe for it to be successful.
- Use the right-sized cookie cutter. I use the smallest cookie cutter from this set, which is 1.77″!
- Try different shapes. You can make shapes like gingerbread men using cocoa powder as a coloring, stockings with beet powder, etc!
- Add sprinkles! Roll your prepared cookie dough log in sprinkles for an extra pop of festive vibes.
Storage Instructions
- Fridge instructions:
- Unbaked: Keep the dough in the fridge for 24-48 hours.
- Baked: Store the cookies in the fridge for up to a week.
- Freezer instructions:
- Unbaked: Freeze the fully prepared dough log for 3-6 months. Transfer to the fridge to defrost a bit before slicing and baking.
- Baked: Freeze the fully baked cookies in an airtight container for 3 months.
If you tried these Gluten Free Slice and Bake Cookies or any other recipe on my blog please leave a star rating and let me know how it went in the comments below. Thanks for visiting!
Other Gluten-Free Christmas Cookies to Try…
Gluten Free Slice and Bake Cookies
Want to save this for later?
Just drop your name and email below. Then we’ll email right to your inbox. ✉️
Ingredients
- ¼ cup ghee
- ¼ cup palm shortening
- ¾ cup sugar
- 1 egg
- 2 tsp vanilla extract
- 2 cups almond flour
- ¼ cup coconut flour
- ½ cup arrowroot starch
- 1 tsp baking powder
- 1 – 1 ½ tsp spirulina, see notes
Equipment
Instructions
- Using a large bowl, combine the ghee, palm shortening, sugar, egg, and vanilla extract. Cream together with a hand mixer (you can also use a stand mixer) for 2 minutes or until fully combined and creamy.
- Combine the almond flour, arrowroot starch, coconut flour and baking powder in a separate bowl, and add to the bowl with the wet ingredients.
- Combine with the mixer for about 1 minute. Use a silicone spatula to form the dough into a ball.
- Separate out 1/4th of the dough (about 5 oz) into a separate bowl. Add the green coloring and stir to combine until you reach your desired color.
- Wrap the green dough in plastic wrap, and the remainder of the dough in plastic wrap and store separately in the fridge for 2 hours.
- Remove the green dough from the fridge and add it to a sheet of parchment paper. Place another sheet on top and roll out the dough into a thin sheet.
- Using a small cookie cutter (about 1.5-1.75″) cut the green dough into christmas tree shapes. You should have about 20.
- To form the christmas tree log, get a small bowl of water and lightly wet your finger. Brush your finger over one christmas tree to lightly wet in and layer on a christmas tree on top of it. Repeat with all of the christmas trees.
- Carefully transfer your log of dough to a parchment lined glass container. Transfer to the fridge until frozen solid. I prefer to let this freeze overnight.
- Once your log in frozen, remove the uncolored cookie dough from the fridge for 30 minutes before removing the log from the freezer.
- Place your frozen log on a large piece of parchment paper. Get a small amount of uncolored cookie dough and roll it with your hands into a long strip of dough. Mold it around an edge of the frozen log, filling in the gaps. Repeat until the log is fully encased in dough and there are no gaps. You’ll do this about 6 times with a small amount of dough each time.
- Roll out the rest of the cookie dough and place your log on top. Use the parchment paper to assist in rolling into a dough log. Trim any of the excess dough on the edges. Wrap tightly and chill in the fridge for an hour.
- Preheat the oven to 325 F and line a large baking sheet with lightly greased parchment paper.
- Remove from the fridge and carefully slice into 1/4″ cookies. If the bottom of the cookies is a little flat from slicing on a cutting board, simply mold it with your fingers!
- Evenly space on the baking sheet and bake for 10-12 minutes or until baked through.
- Allow to sit for a minutes before carefully transferring to a cooling rack and serving!