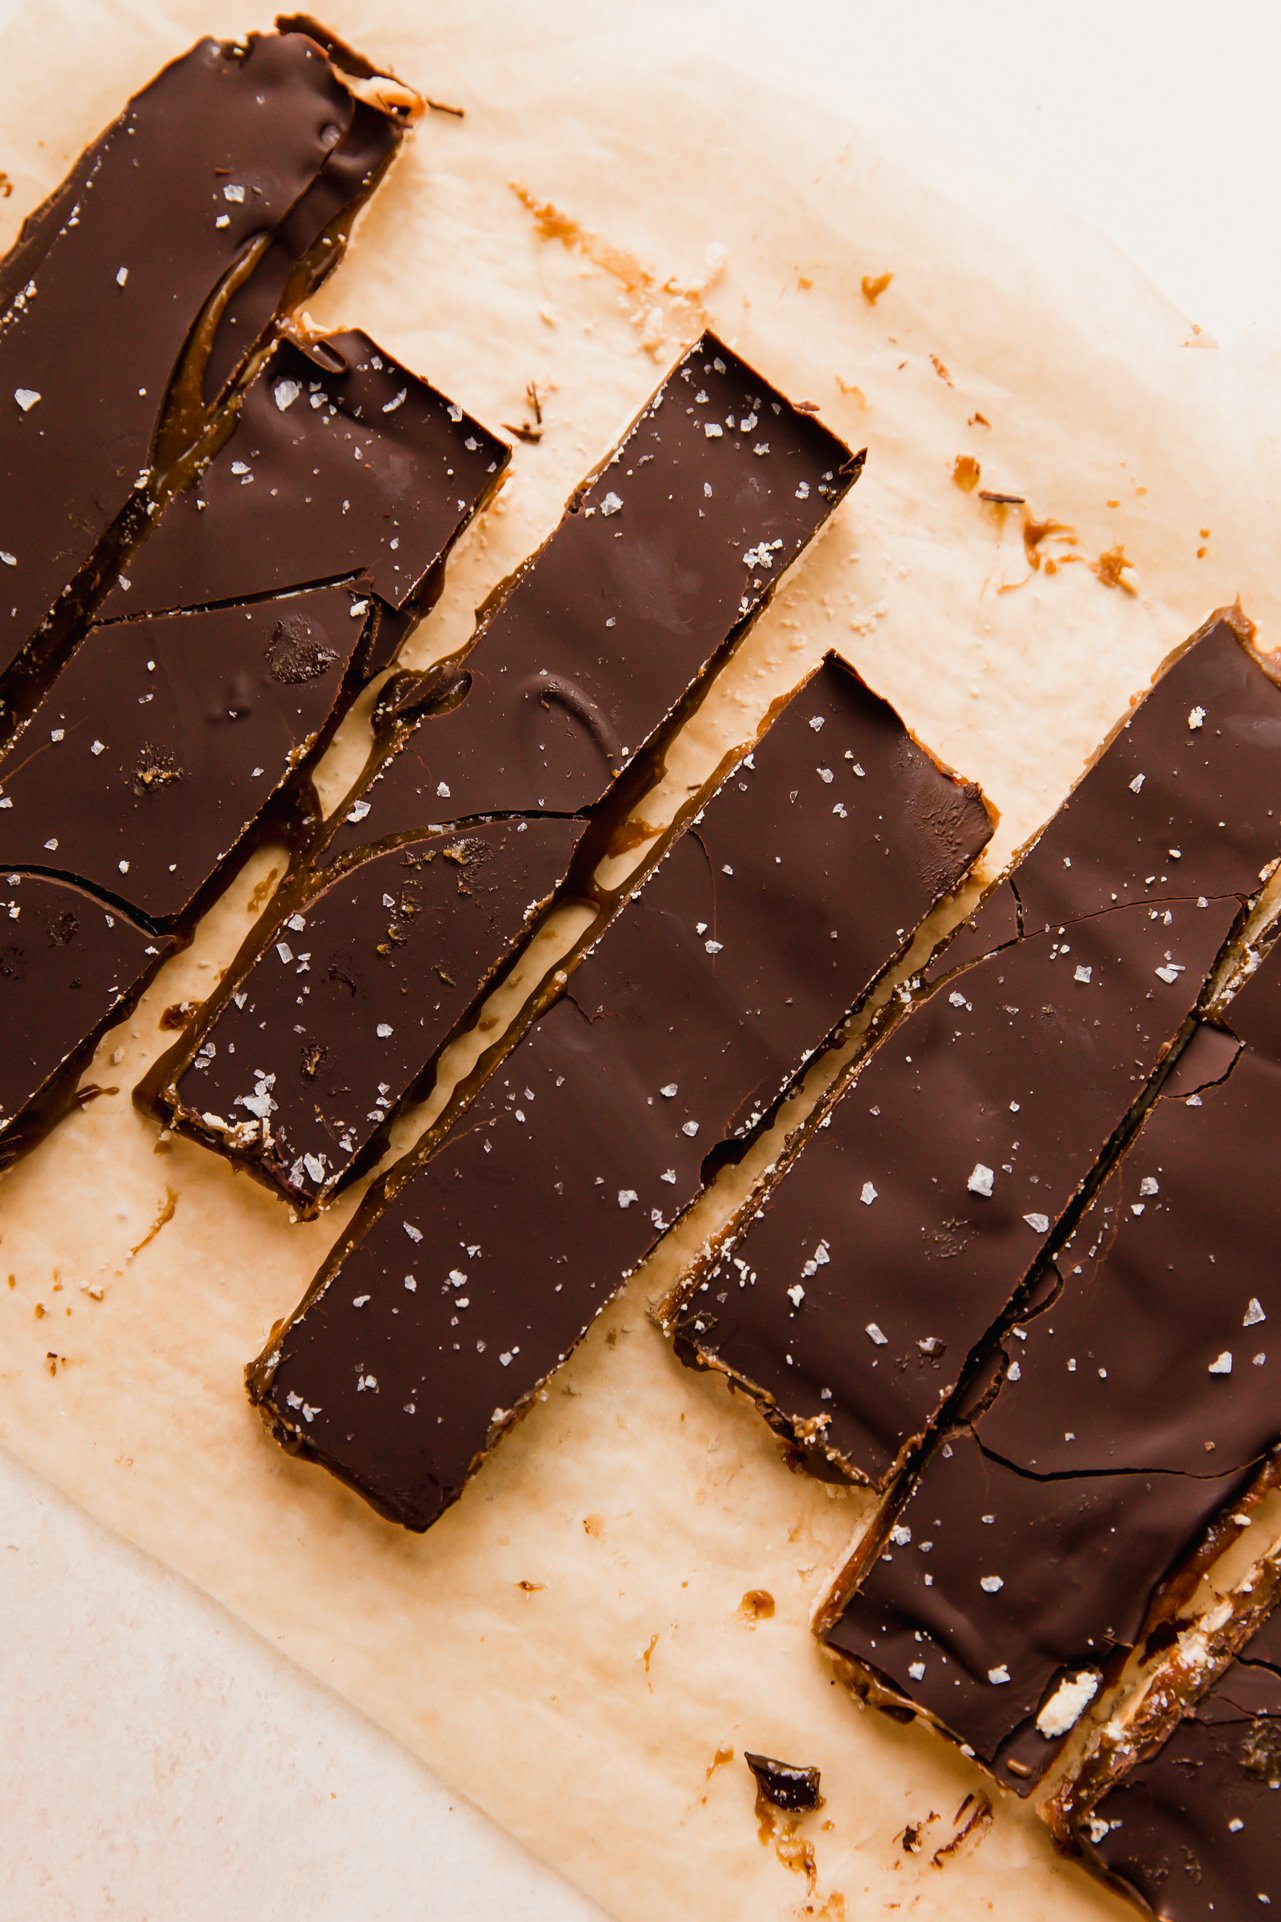
Gluten-Free Twix Bars
These gluten-free Twix bars are a healthier alternative to a classic candy! They’re nut-free, gluten-free, and the perfect copycat.

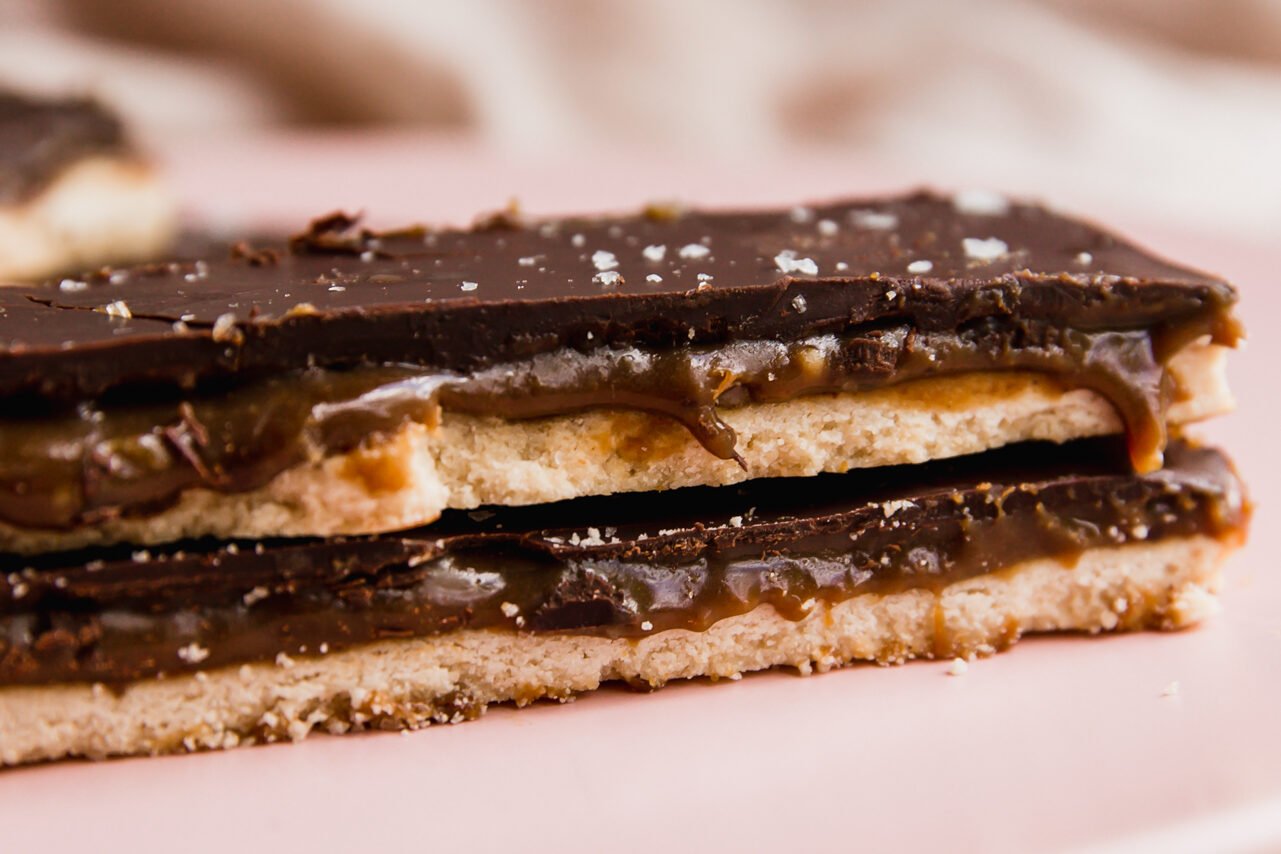
We’re going there… homemade Twix bars! Truthfully, I’m the kind of girl that is happy with all chocolate in all forms. I’m here for all of it! But I remember my brother being particularly into Twix bars as a kid, and I couldn’t disagree with him Twix bars are a candy classic. Though conventional Twix bars are full of corn syrup, soy, enriched flour, and more classic candy ingredients, what makes up a Twix bar is actually pretty straightforward. They’re made up of a shortbread crust, a caramel layer, and a candy coating.
These gluten-free Twix bars are the perfect copycat for the classic! They’re also dairy-free, and nut-free!
Table of contents
Why you’ll love these gluten-free Twix bars
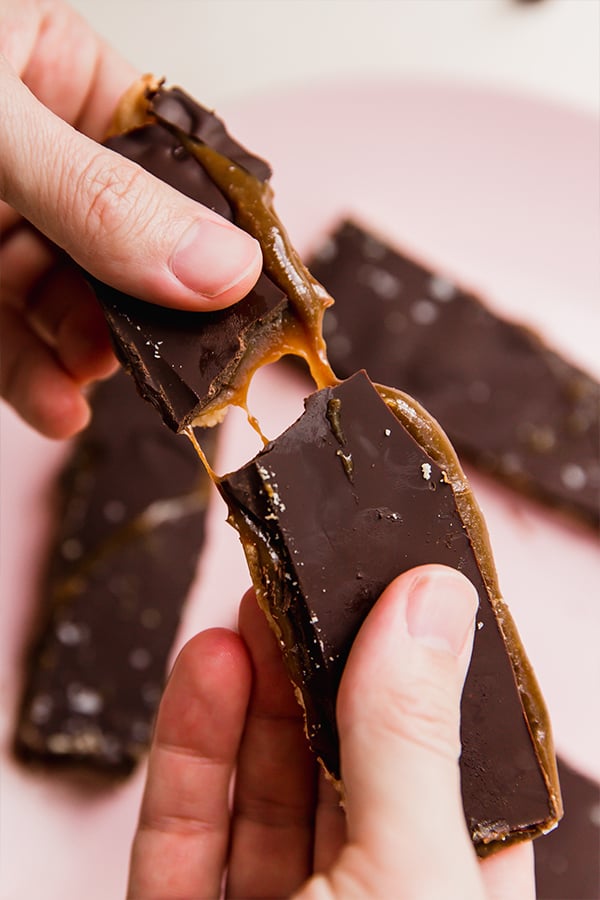
- They taste like the real deal! Shortbread, caramel, and chocolate in the perfect balance to make it taste just like the real thing.
- Nut-free! A lot of homemade gluten-free candy recipes are made with almond flour or peanut butter, but these twix bars are nut free! Keep in mind that coconut is technically a fruit. (source)
Recipe Ingredients
- Coconut Flour. Coconut flour is great for shortbread and makes these nut-free. I have not tried to make this recipe coconut-free and cannot recommend a swap.
- Arrowroot Starch. You can likely also use tapioca.
- Coconut Milk and Coconut Sugar. These are the main ingredients for the caramel. Make sure you use full fat coconut milk!
- Chocolate. I use Hu Kitchen chocolate gems, but you can also use a carob alternative (like this) for AIP.
How to make Homemade Twix Bars
Here are the simple steps, with photos, to make this recipe. Find full instructions in the recipe card.
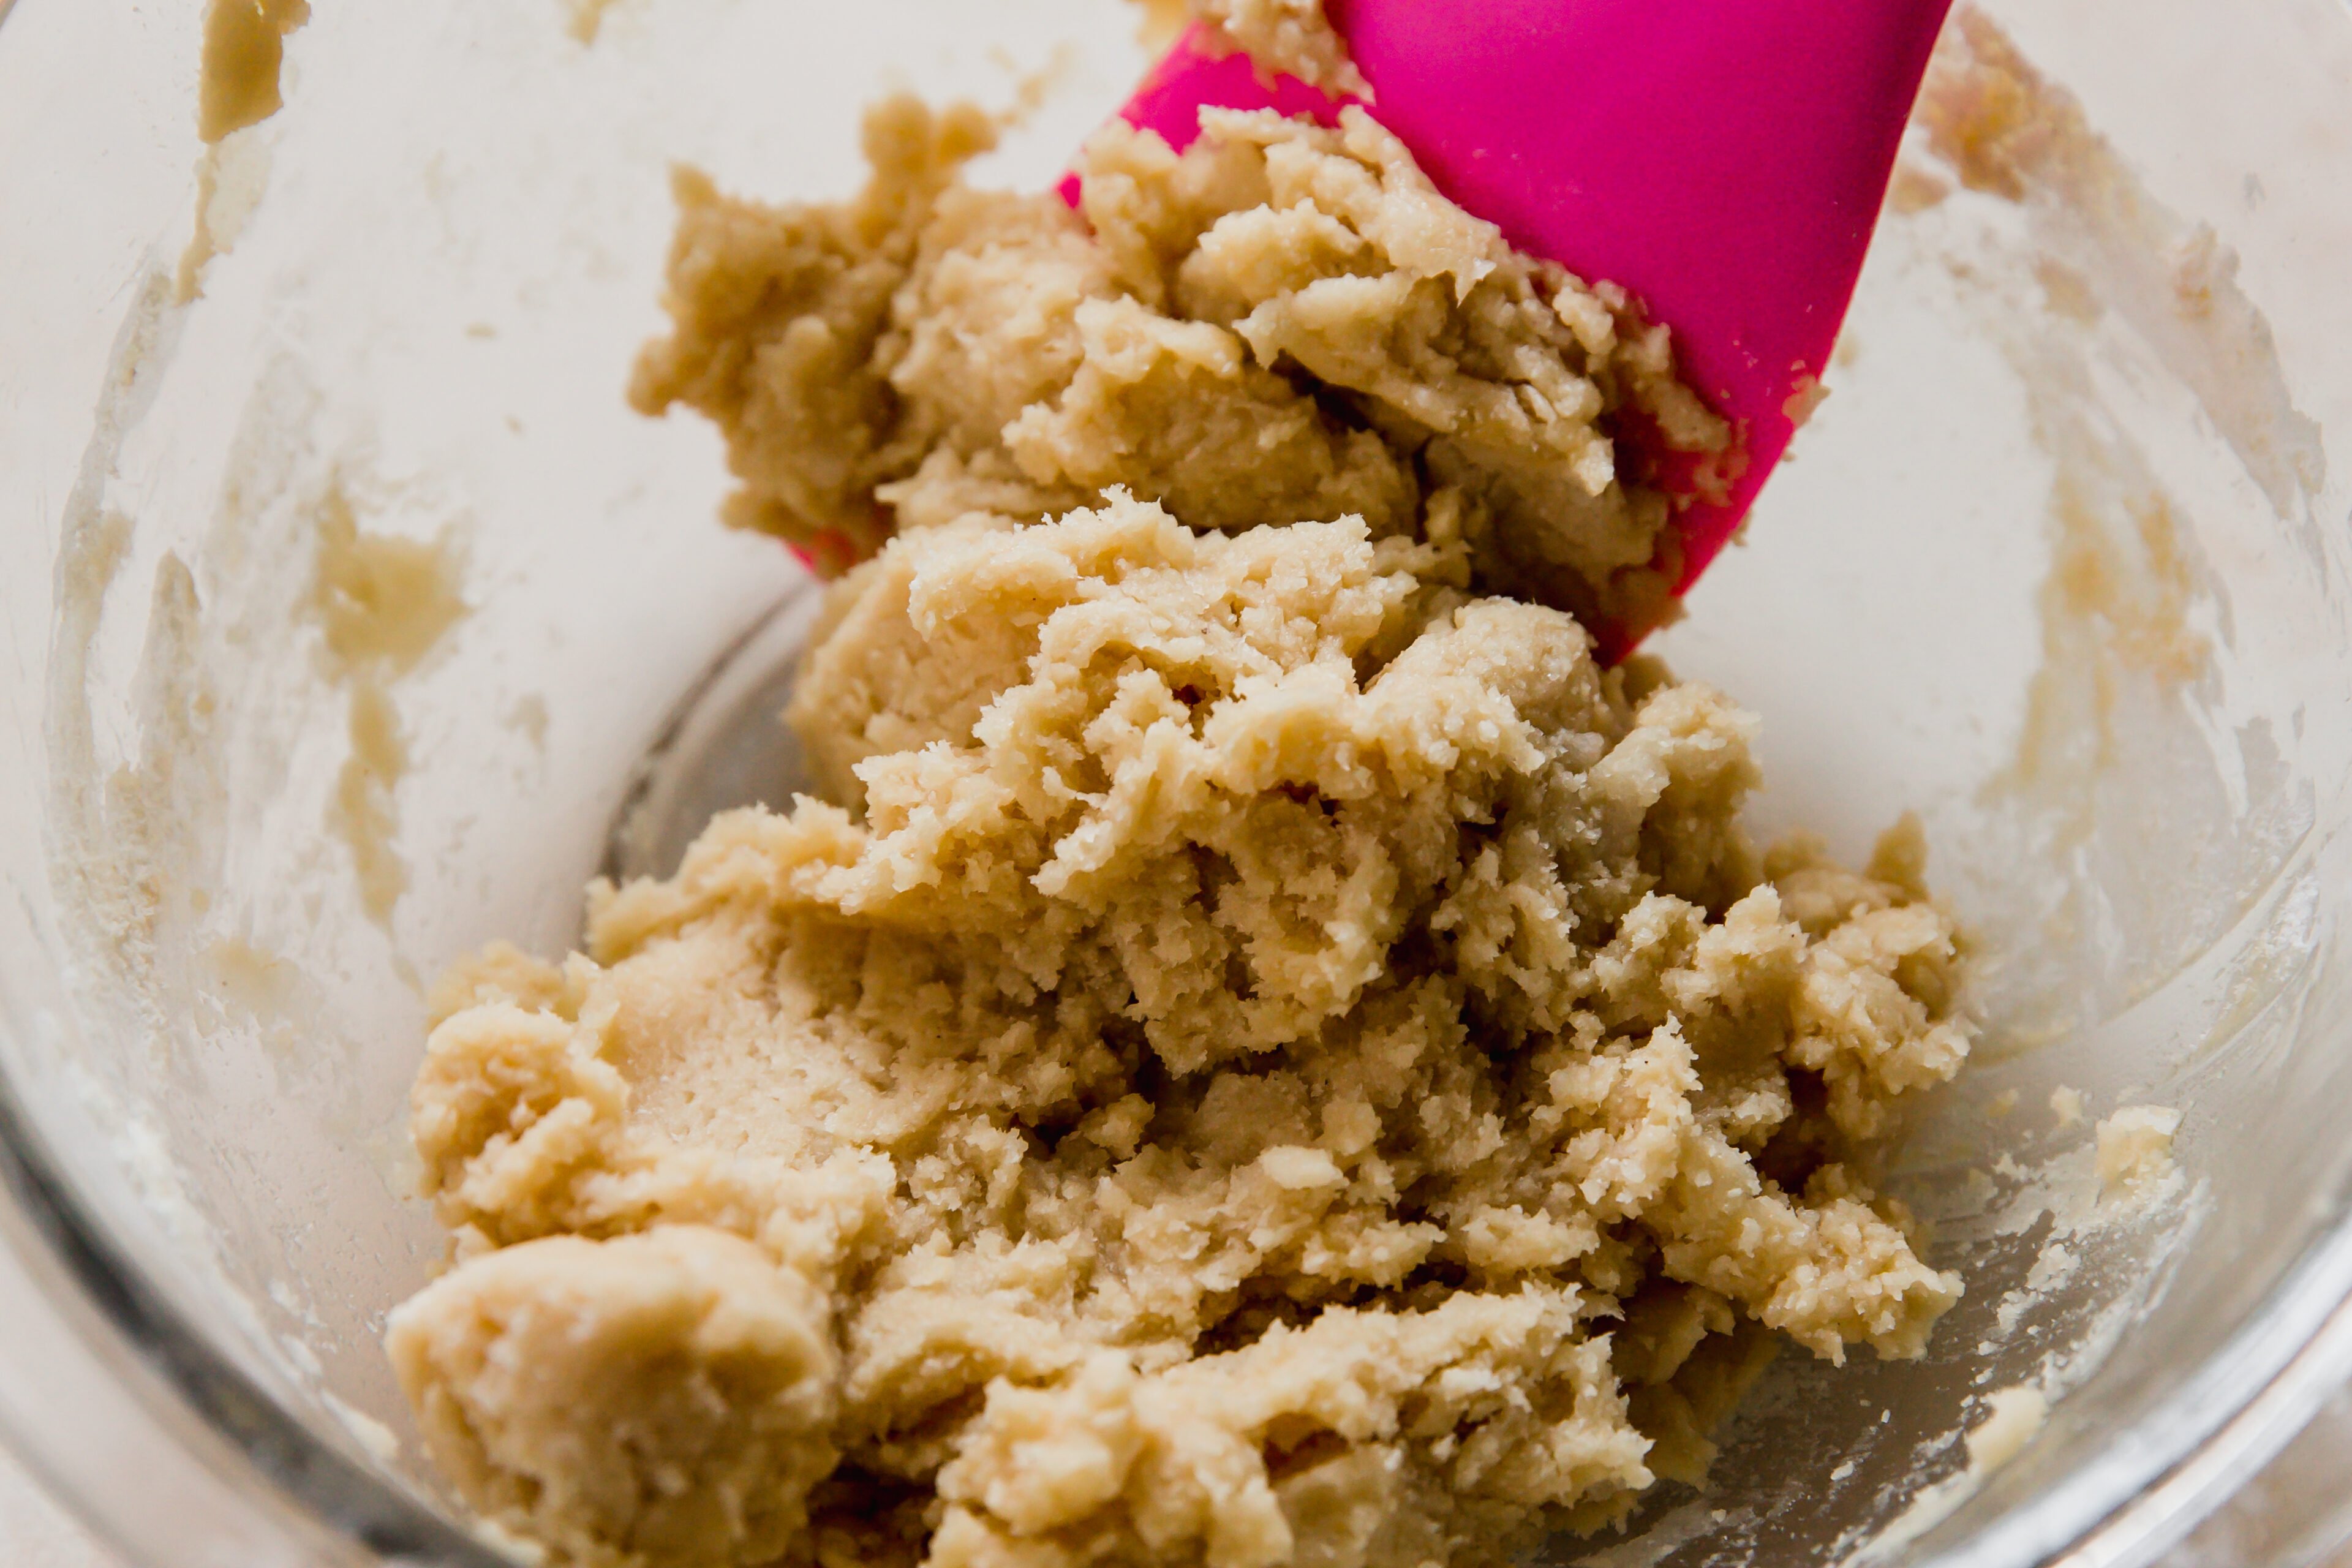
Step one. Mix together the two flours and then stir in the wet ingredients until well combined.
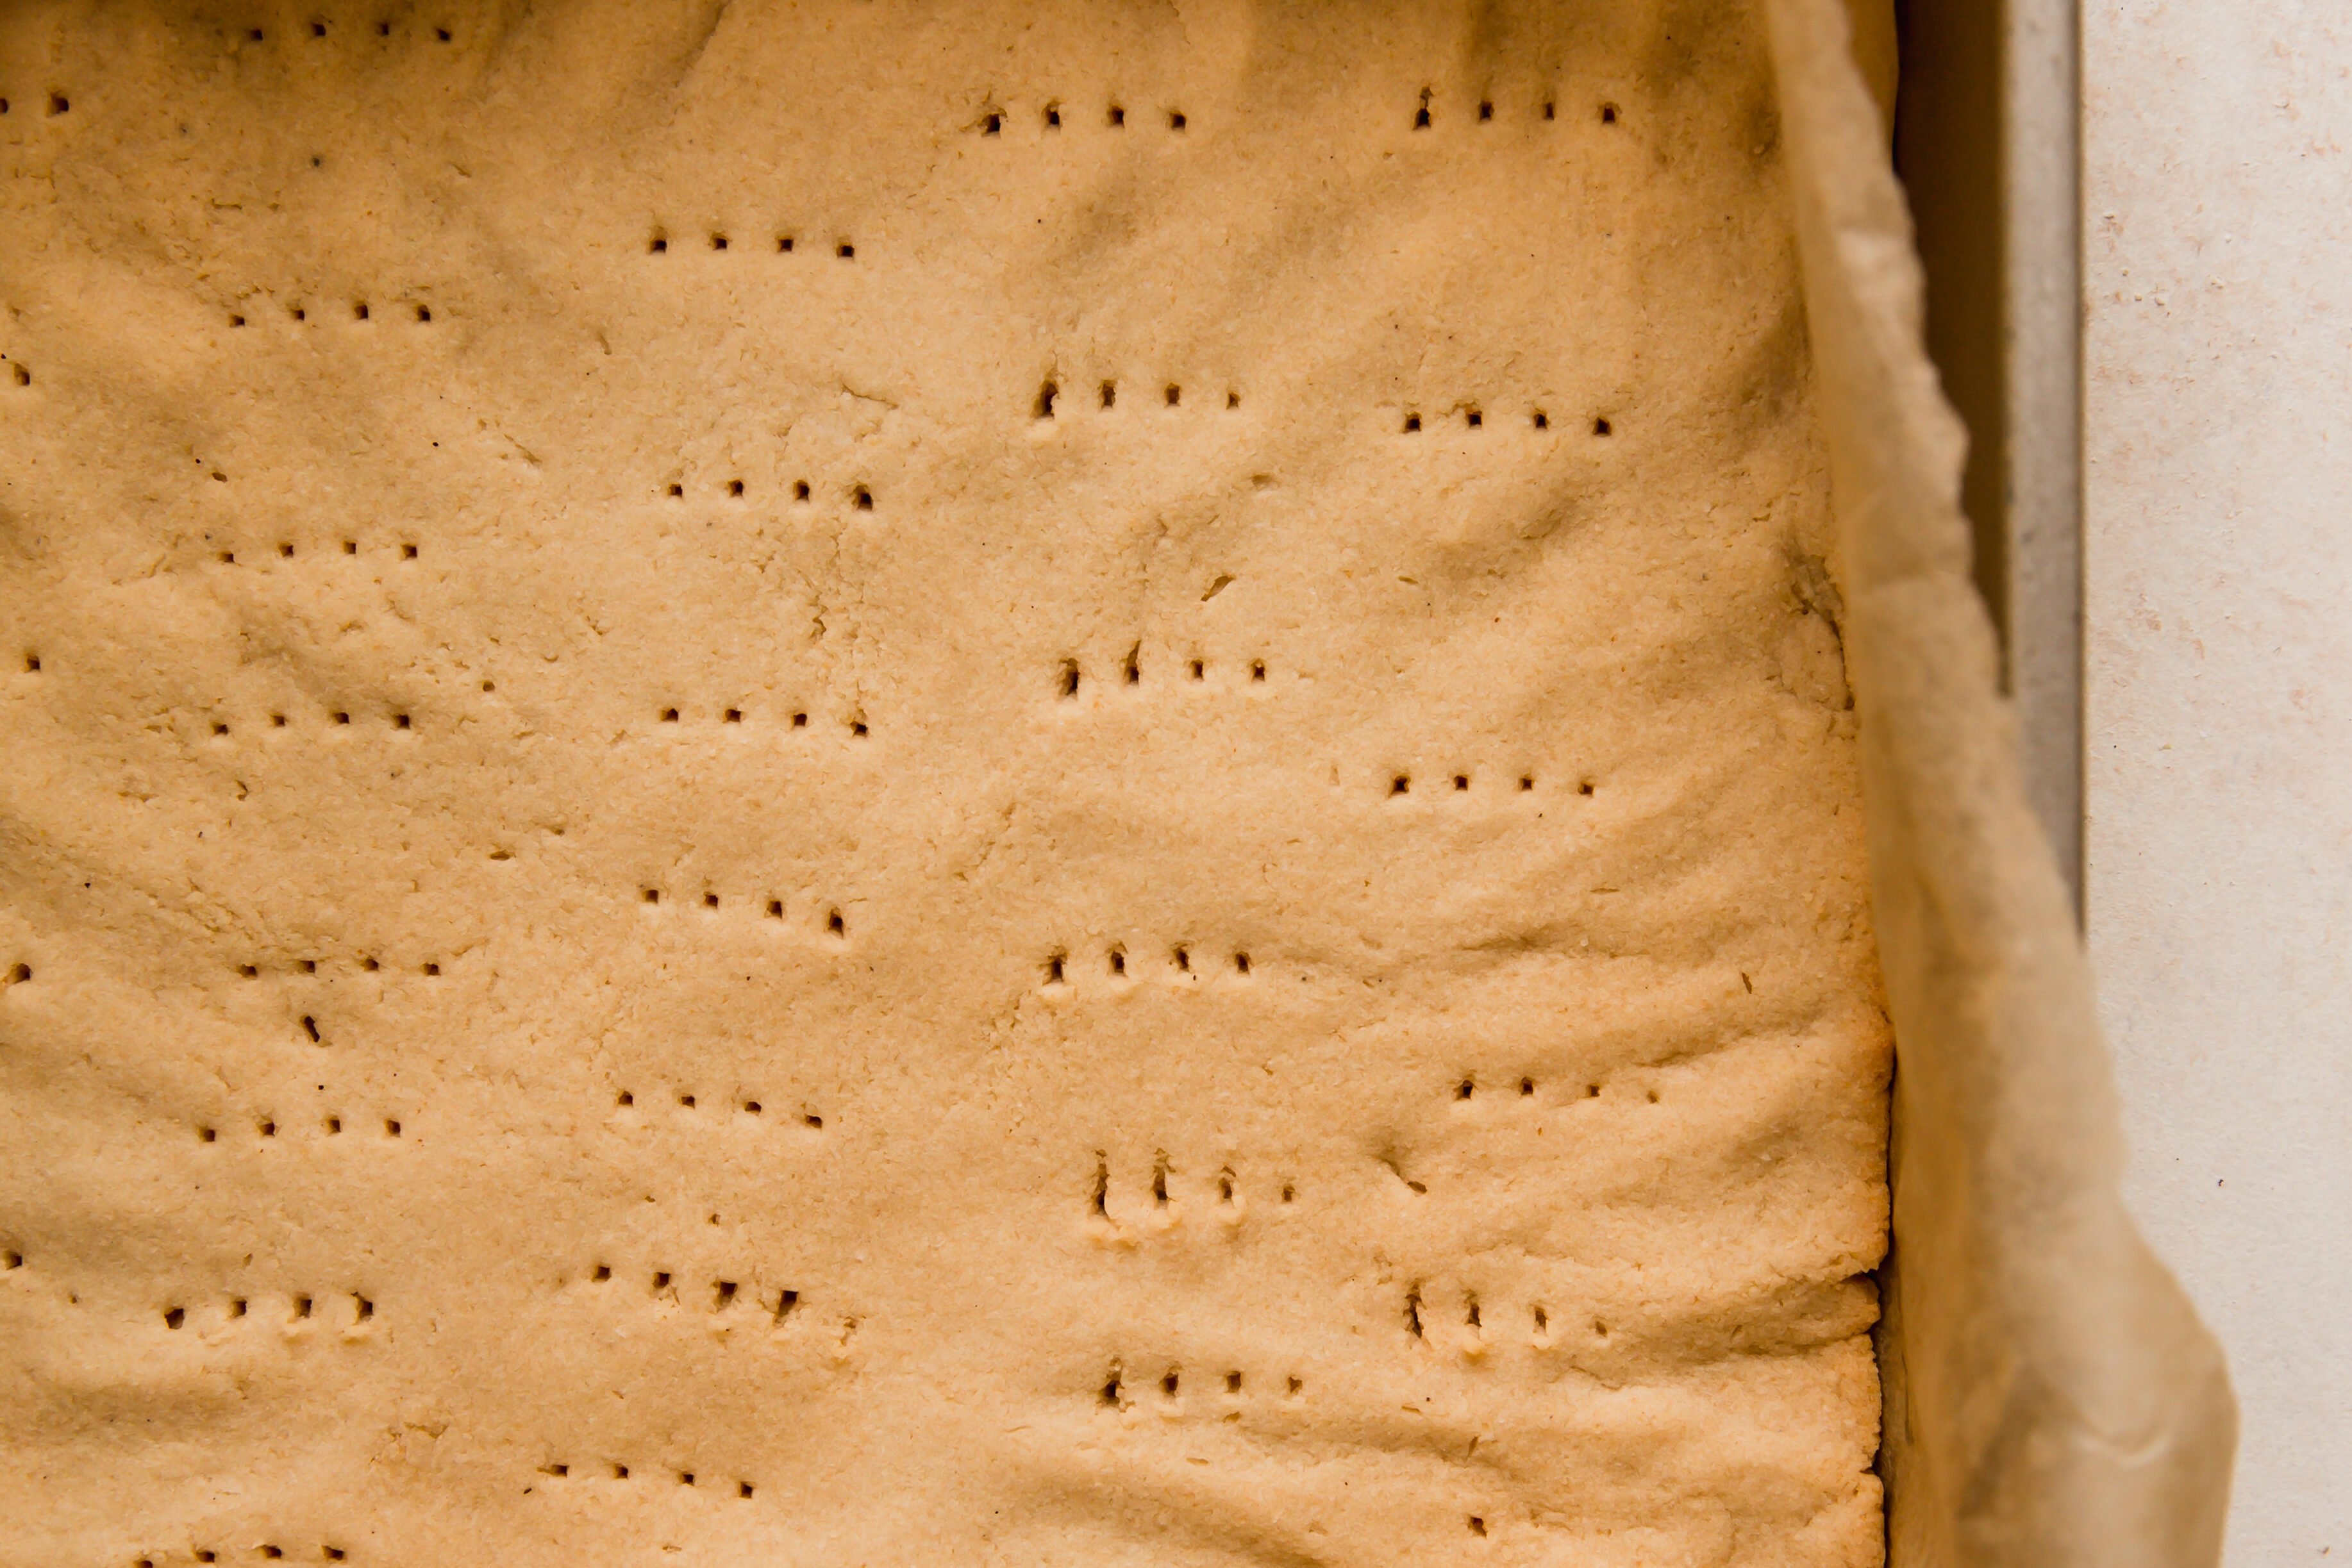
Step two. Evenly flatten the crust in the bottom of the pan, then pierce it with a fork & bake. Cool completely.
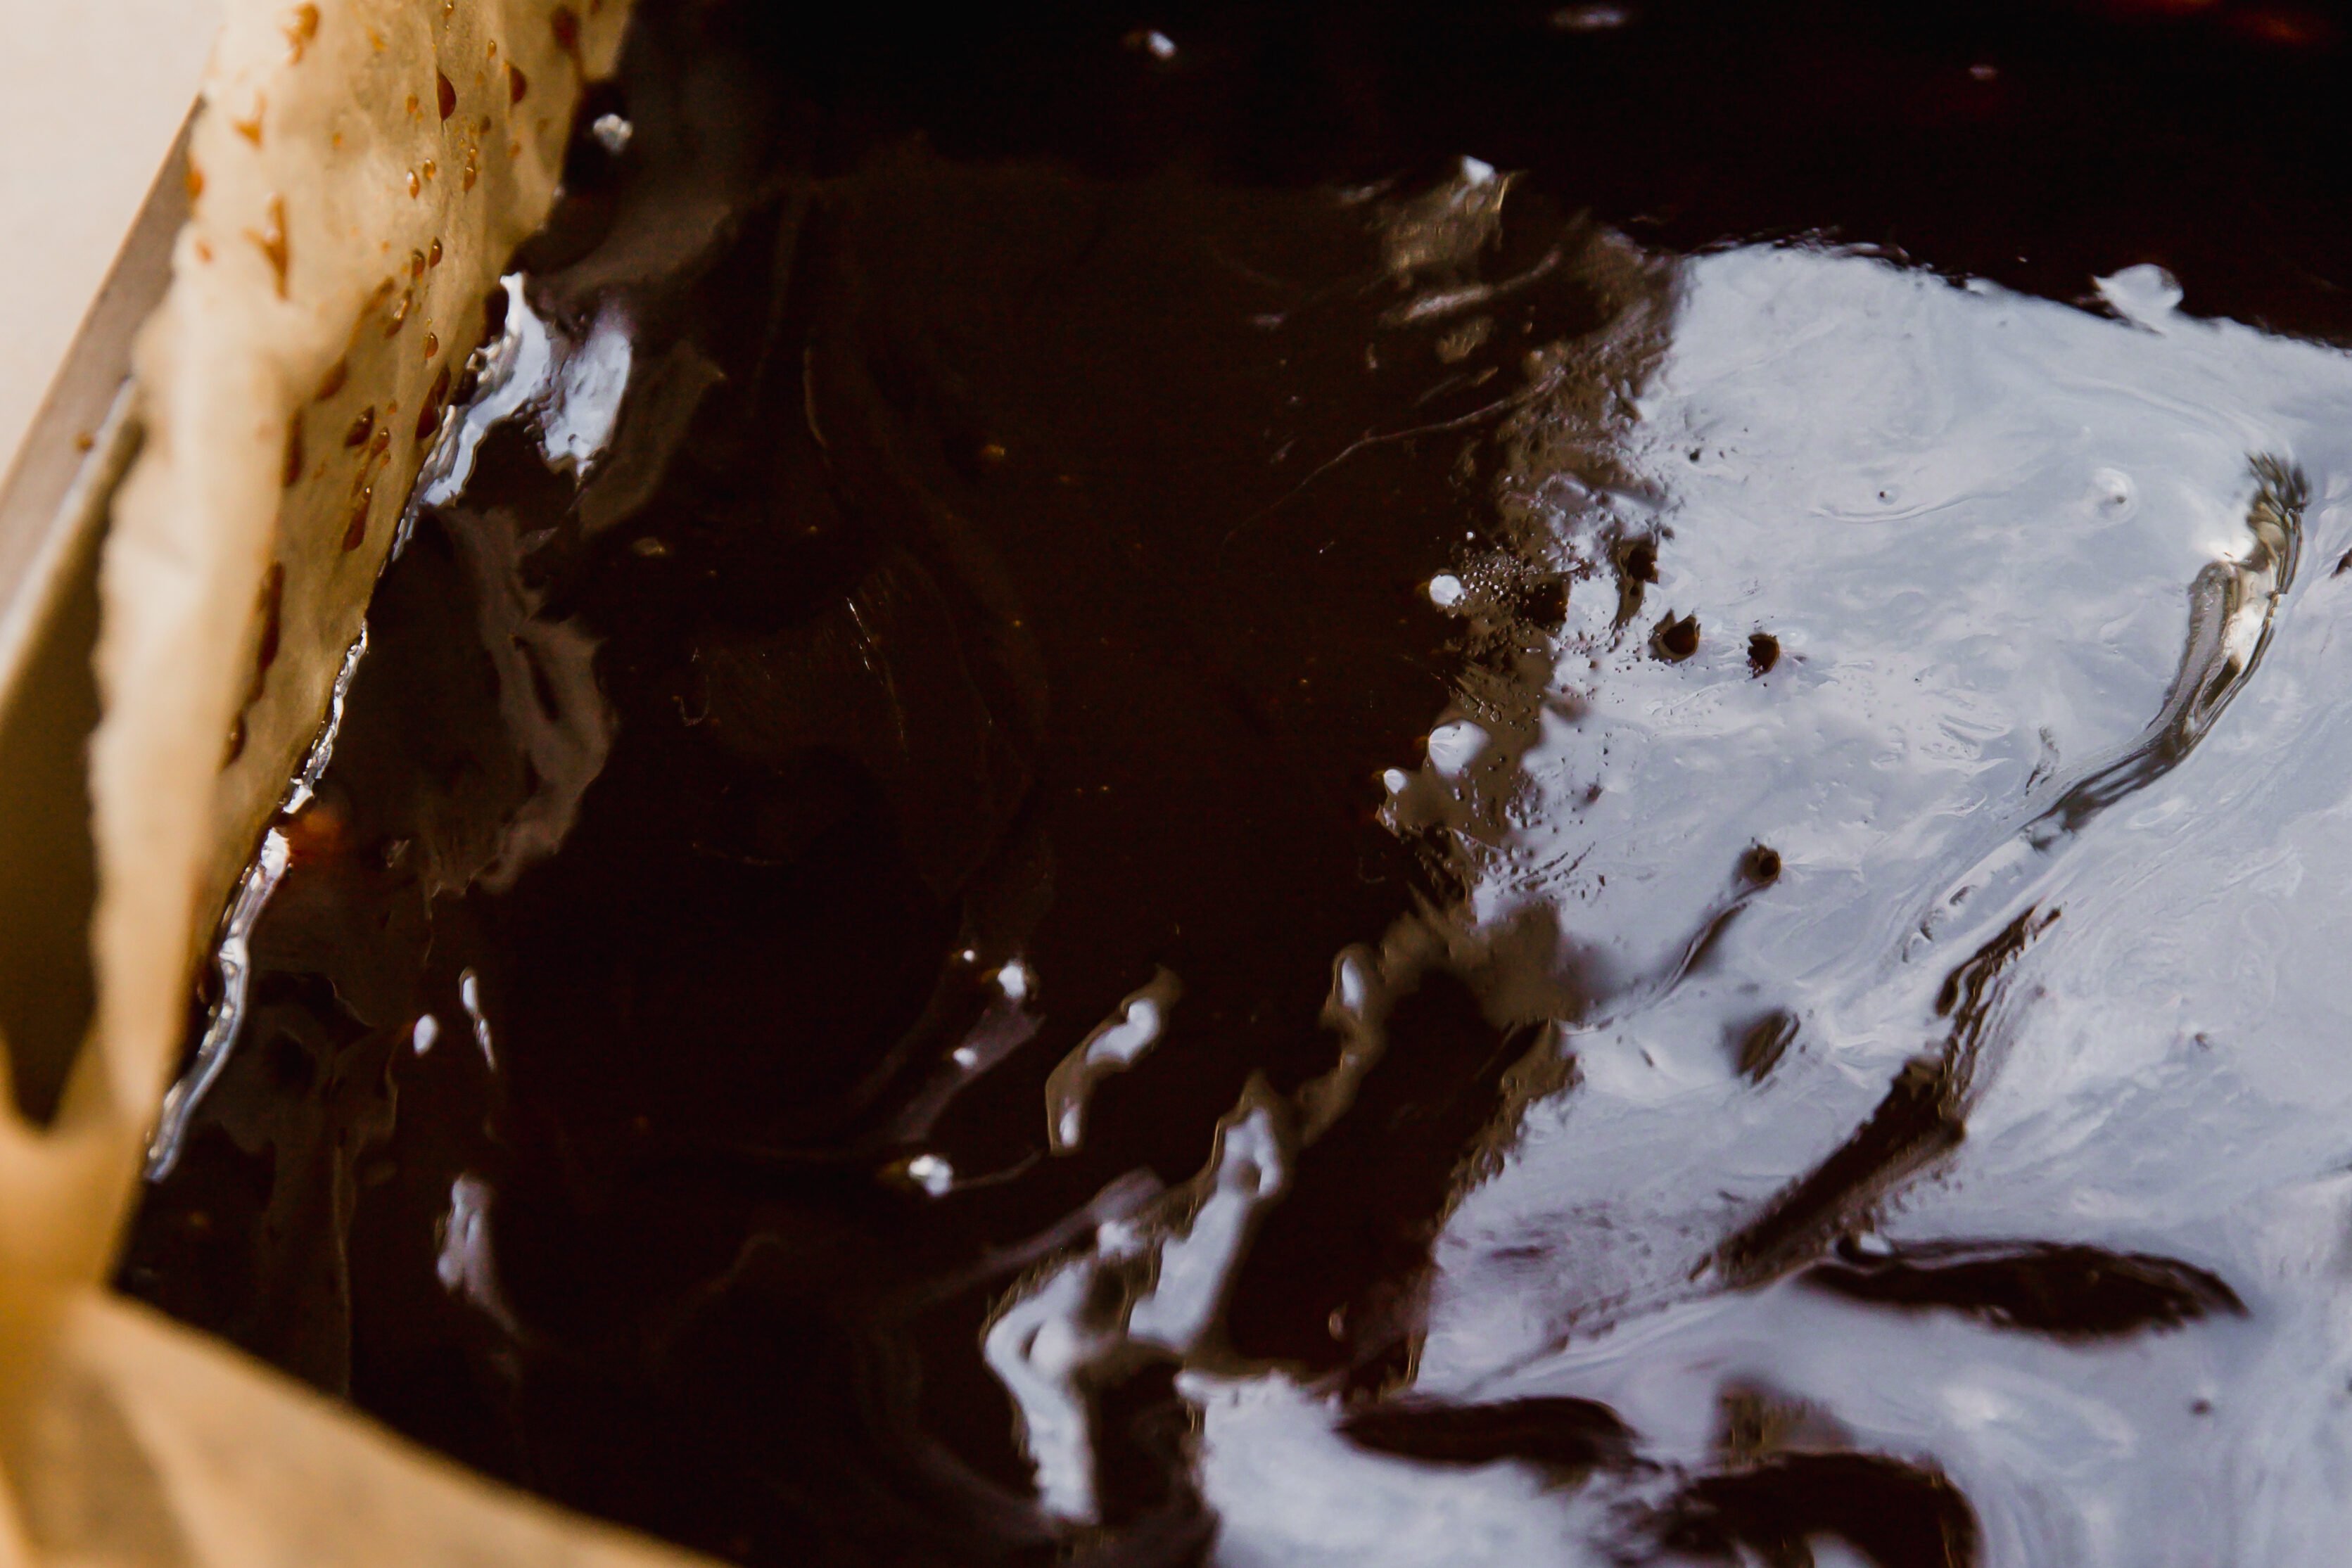
Step three. Make the caramel layer and add it to the shortbread. Repeat with the chocolate layer.
Step four. Allow to set fully in the fridge before slicing.
Tips & Tricks
- Don’t skip the chill time! This recipe needs to chill and cool to set properly. You can’t rush perfection!
- Add some flaky salt. Original twix bars may not have salt on top, but trust me, they should! Add some salt on top for an extra pop of flavor.
- Add some flair of your own! Something like shredded coconut on top would be great!
Storage Instructions
- Keep the twix chilled. The chocolate and caramel will start to soften at room temperature, so make sure they stay chilled.
- Store the twix with parchment paper. Separate them with parchment paper to keep them from sticking to each other! Chocolate will always stick when it melts, so any slight temperature change can have your bars stick together.
More Homemade Gluten-free Candy Recipes
Gluten Free Twix Bars
Want to save this for later?
Just drop your name and email below. Then we’ll email right to your inbox. ✉️
Ingredients
For the shortbread
- ¾ cup coconut flour
- ¼ cup arrowroot starch
- ½ cup coconut oil, softened
- ¼ cup maple syrup
- ½ tsp vanilla extract
For the caramel
- 1 13.5 oz can full-fat coconut milk
- ½ cup coconut sugar
- Pinch of salt
For the chocolate coating
- ¾ cup dairy-free chocolate chips, I use Hu Kitchen, sub a recipe like this for AIP
- 2 tbsp coconut oil
- Flakey salt
Instructions
For the shortbread
- Preheat the oven to 325 F and line an 8×8″ baking pan with parchment paper
- Start with the crust by mixing together the two flours, and then stirring in the wet ingredients until well combined.
- Evenly flatten the crust in the bottom of the pan and puncture the crust with a fork about 10-15 times.
- Bake the crust until lightly golden brown for about 25-30 minutes. Set aside and allow to completely cool.
For the caramel
- Combine the coconut milk and coconut sugar in a medium saucepan and whisk well. Set over medium-low heat and allow to come to a medium simmer, stirring often for about 25-30 minutes or until thick caramel forms.
- Pour the caramel over the shortbread and spread evenly. Transfer to the fridge for 2-3 hours (or overnight) to allow it to set.
For the chocolate coating
- Melt the chocolate and coconut oil together with a method of your choice (I prefer a double boiler method).
- Pour the chocolate over the hardened caramel and spread it into an even layer. Allow the pan to cool slightly before transferring to the fridge to allow the chocolate to harden completely.
- Transfer the Twix to a cutting board and top with some salt. Use a sharp knife to cut into 12 (or more or less depending on the size you’d prefer) bars. Serve immediately or store in the fridge with parchment paper separating the bars to avoiding sticking.
Notes

I followed the recipe and after 45 mins the caramel was showing no signs of thickening. Not sure what the problem was
Were you using a gas or electric stove? That could vary a lot, I would try to crank up the heat a bit!
These are incredible!!! Do you know how long they are good for in the fridge? Can they be frozen?
Thanks!
The caramel is delicious but didn’t make nearly as much as in your pictures! Just a really thin layer.
If you want a thicker caramel layer you can double that part of the recipe!
Love these! What is considered full fat vicinity milk? I’m using the native forest organic coconut milk classic. Seems to take forever to carmelize. Should I only use the thick stuff or do I include the watery portion as well?
That is full fat coconut milk, you just want to avoid the kind you find refrigerated at the grocery store. You can everything in the container. If just using the thick stuff, that would be coconut cream!
These look amazing! I am making these for the holidays.