Mini Peppermint Pie Cheesecake Cups {Gluten & Dairy Free}
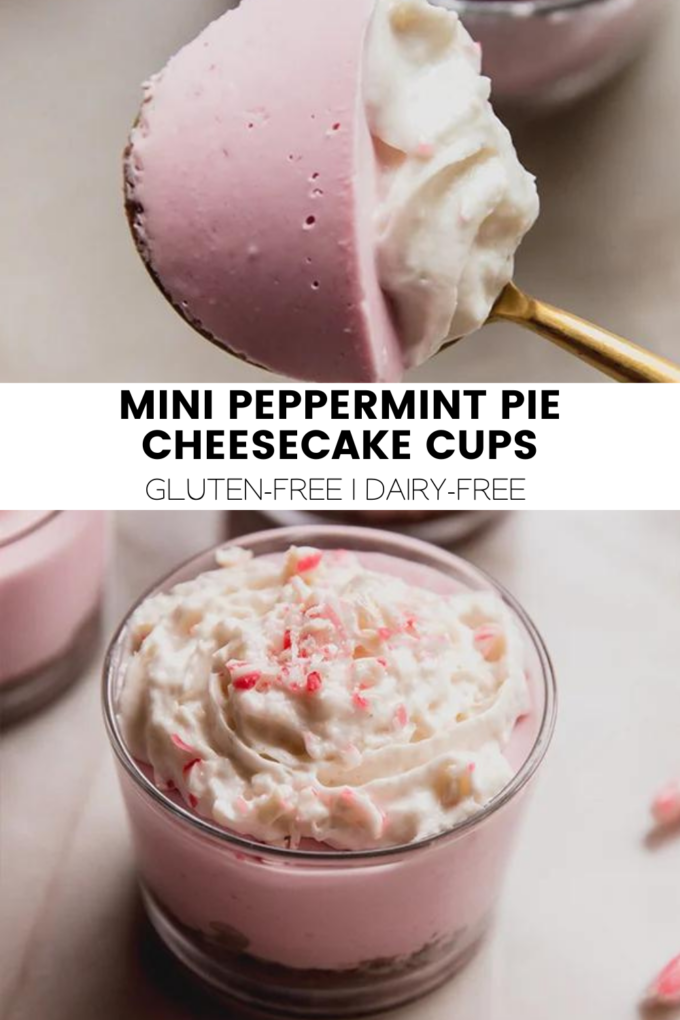
These mini peppermint pie cups are the easiest no-bake dessert for the holidays! They’re gluten-free, dairy-free and can be made AIP.
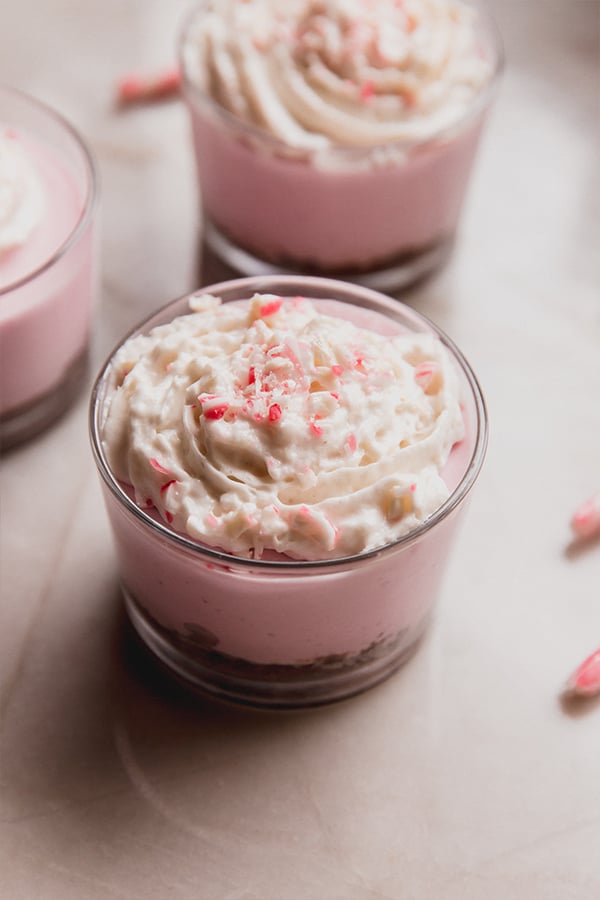
Peppermint pie has been on my list to make for the holidays for years now! It’s beautiful, yummy, but has always seemed like a lot of extra work on top of everything else that goes on during the holidays. This year, I decided to finally tackle it by making it as easy and approachable as possible… no baking, no pie crust, just a simple little dessert in a cup that’s just as tasty as the full pie.
These mini peppermint pie cups are gluten-free, egg-free, dairy-free, artificial food dye-free, and can be modified to be AIP!
Why you’ll love these Mini Peppermint Pie Cheesecake Cups
- A non-bake recipe! I love holiday baking, but sometimes an easy no-bake recipe with holiday flavors hits the spot!
- It’s the perfect allergen friendly holiday treat. These mini peppermint pie cups are gluten-free, egg-free, dairy-free, artificial food dye-free, and can be modified to be AIP!
The Ingredients for Mini Peppermint Pie Cheesecake Cups
- Chocolate Cookies and Coconut Oil. This makes the crust. For the cookies I would use this for gluten-free and this for AIP.
- Coconut Yogurt. I use the brand Culina.
- Coconut Cream. You can use canned coconut cream or the cream that hardens on the top of a can of coconut milk.
- Maple Syrup. To sweeten this without refined sugar.
- Natural Red Food Color. I use Beet Powder for this.
- Peppermint Extract. To give that great peppermint flavor.
- Water and Gelatin. Because this is a no bake recipe, you can’t use an egg in place of the gelatin egg. You can however try 1 tsp of agar to make it vegan.
- Whipped Coconut Cream and Crushed Candy Cane. These are optional but delicious for topping!
How to make Peppermint Pie Cups
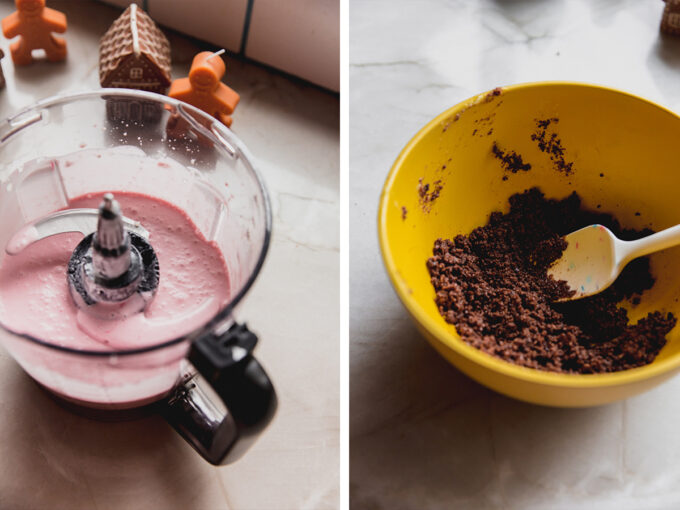
- Step One. Make the crust with cookies and coconut oil and then press down into 4 small dessert cups. Chill in the fridge.
- Step Two. Blend the coconut cream, coconut yogurt, maple syrup, food coloring, and peppermint extract.
- Step Three. Make the gelatin egg and combine with the blended mixture.
- Step Four. Add the cheesecake filling to the crusts.
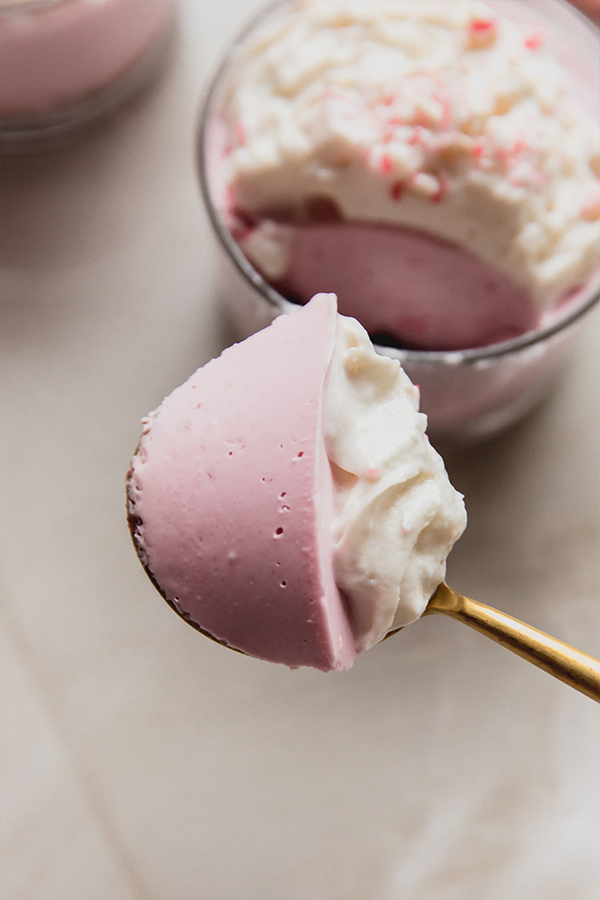
- Step Five. Allow to set in the fridge.
- Step Six. Top with whipped coconut cream and crushed candy canes if desired and enjoy!
Tips & Tricks
- Adjust the peppermint to taste. For me, I find peppermint flavors to be very strong, especially for no-cook recipes like this. However, my husband likes this recipe with twice the peppermint than I prefer, so I recommend tasting the filling and adjusting to your liking.
- Adjust the color to your liking. Beet powder has a strong color, so start light, and add more to your liking.
Can you make this recipe with eggs instead of gelatin?
This recipe will not work with eggs since it’s a no-cook recipe. You can however try 1 tsp of agar to make it vegan.
You’ll also like…
Mini Peppermint Pie Cheesecake Cups {Gluten & Dairy Free}
- Total Time: 20 mins
- Yield: 4 servings 1x
Ingredients
For the crust
- 1 cup chocolate cookies (use this for gluten-free, this for AIP)
- 3 tbsp coconut oil, melted
For the filling
- 5 oz coconut yogurt (I use the brand Culina)
- 1 3/4 cup coconut cream
- 3 tbsp maple syrup
- Pinch of natural red food color (I use Beet Powder)
- 1 tsp peppermint extract
- 3 tbsp water
- 1 tbsp gelatin
For topping
- Whipped coconut cream
- Crushed candy cane (omit for AIP)
Instructions
For the crust
- Add the cookies to a food processor and process until they’re finely crumbled. Add the coconut oil and process for 5-10 seconds to combine.
- Evenly divide the crust among 4 small dessert cups and press down. Transfer to the fridge while you make the filling.
For the filling
- Clean out the food processor and add the coconut cream, coconut yogurt, maple syrup, food coloring, and peppermint extract. Blend until combined, adding more food coloring if you want a deeper color, or more peppermint if you want a stronger peppermint flavor.
- Pour the water into a small saucepan and evenly sprinkle the gelatin over the water. Allow to sit for 2-3 minutes to allow to harden. Place on the stovetop set to low heat for 1-2 minutes until the mixture is fully liquid. Remove from heat. Use a whisk or milk frother to blend the gelatin mixture until frothy. Add the gelatin mixture to the food processor and pulse for 3-5 seconds to combine.
- Pour the cheesecake filling over the crust, evenly filling the dessert cups.
- Transfer to the fridge for 3-4 hours or until the filling is totally set.
- Serve the cups topped with whipped coconut cream and crushed candy canes if desired.
Notes
All nutritional information are estimations and will vary. Estimations do not include optional ingredients.
- Prep Time: 20 mins
- Method: no-cook
- Cuisine: Global
Nutrition
- Serving Size: 1 serving
- Calories: 472
- Fat: 17.1g
- Carbohydrates: 23.3g
- Fiber: .4g
- Protein: 3.4g

Doubled the recipe, making it AIP compliant, and made it as a trifle to serve at a large family dinner . Everyone loved it. Not just those of us who are AIP compliant. Yum!
The gelatin was tricky. Gotta read the instructions. Skipped that the first time I attempted to make it. After reading, it turned out perfect.
★★★★★
Yay, so glad it was a hit!