Pumpkin Spice S’mores Bars {Gluten Free & Dairy Free}
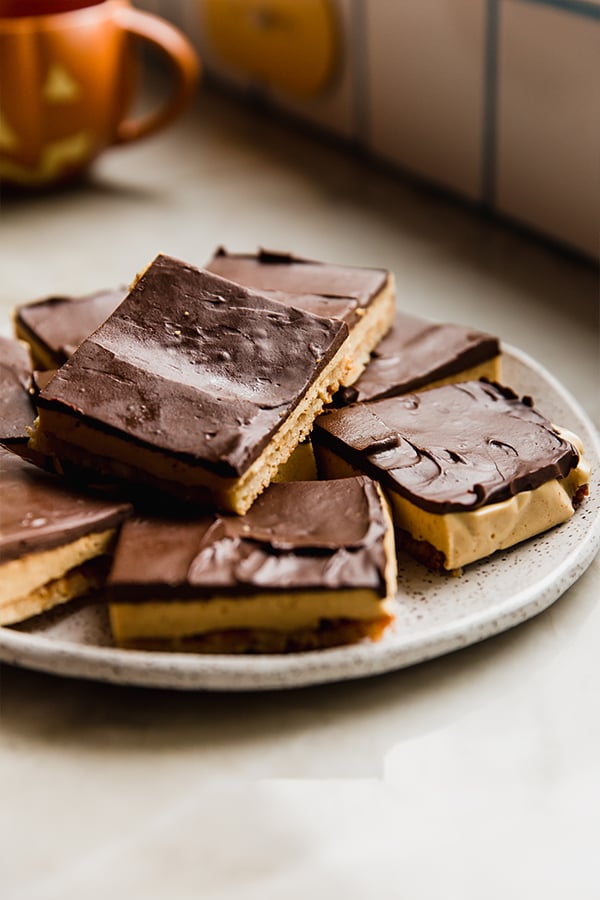
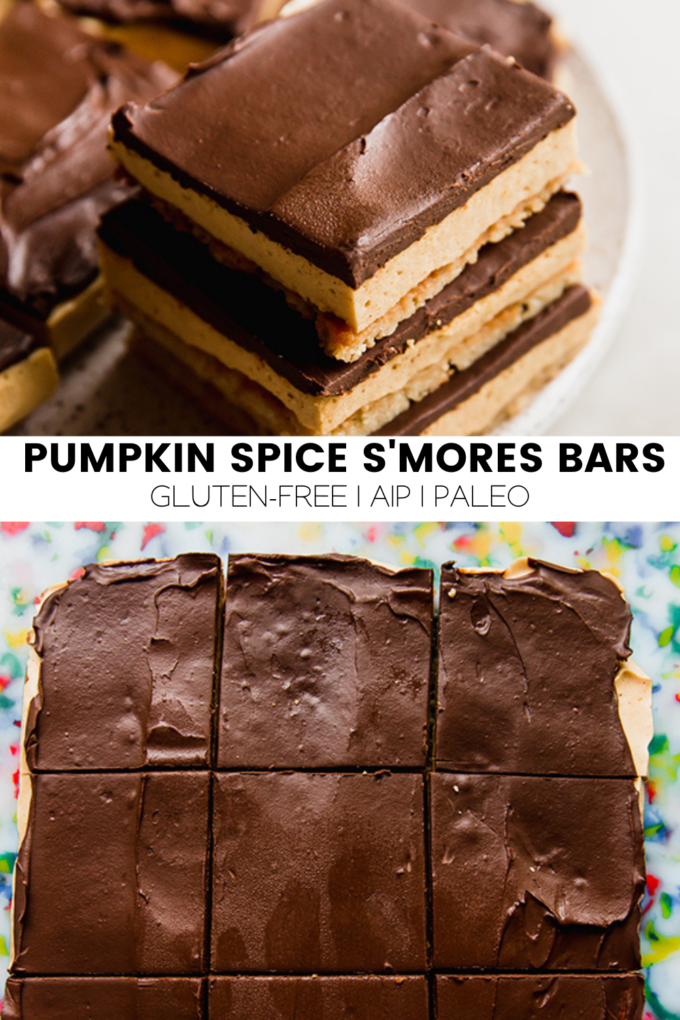
These pumpkin spice s’mores bars are the ultimate fall dessert! They’re made with a graham cracker crust, homemade pumpkin spice marshmallows, and a creamy dairy-free ganache.
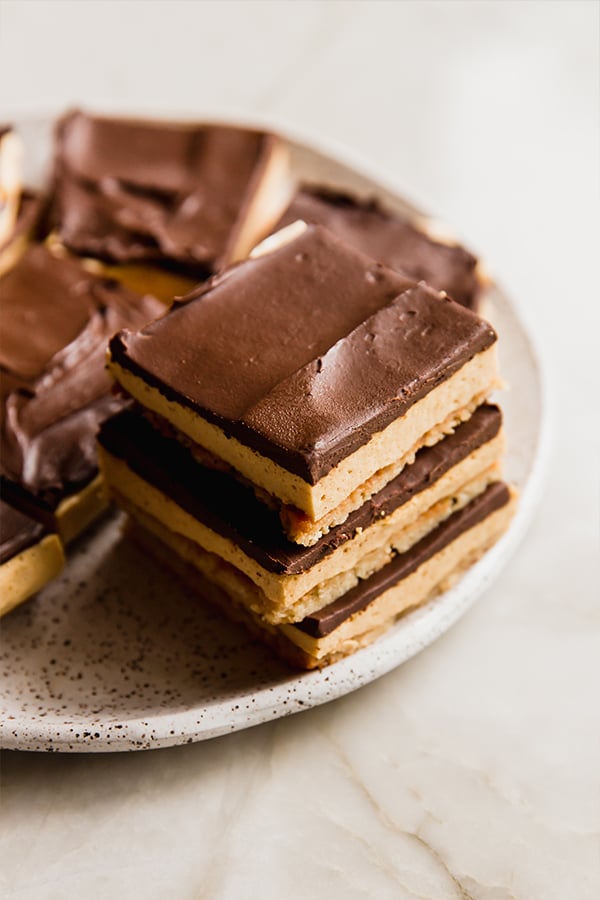
Graham cracker, marshmallow, chocolate, and pumpkin spice… how can you go wrong? This may not be a traditional combination, but it is absolutely delicious! Pumpkin spice s’mores bars are going to be your new favorite fall treat. Make them for fall gatherings, or even save this recipe for Thanksgiving!
Why You’ll Love Pumpkin Spice S’mores Bars
- A twist on a fall treat! This isn’t a traditional combination, but is such a delicious fall treat.
- You can make them ahead! These bars are perfect if you need to make ahead and even can be frozen to keep longer.
The Ingredients for Pumpkin Spice S’mores Bars
- Almond Flour.
- Arrowroot Starch. You should be able to sub tapioca starch.
- Maple Syrup.
- Ghee. Sub coconut oil for a dairy-free option.
- Gelatin, Honey, Pumpkin Puree and Pumpkin Pie Spice. These are the key ingredients to make the pumpkin spice marshmallows.
- Chocolate Chips and Coconut Cream. To make the chocolate ganache.
How to make Pumpkin Spice S’mores Bars
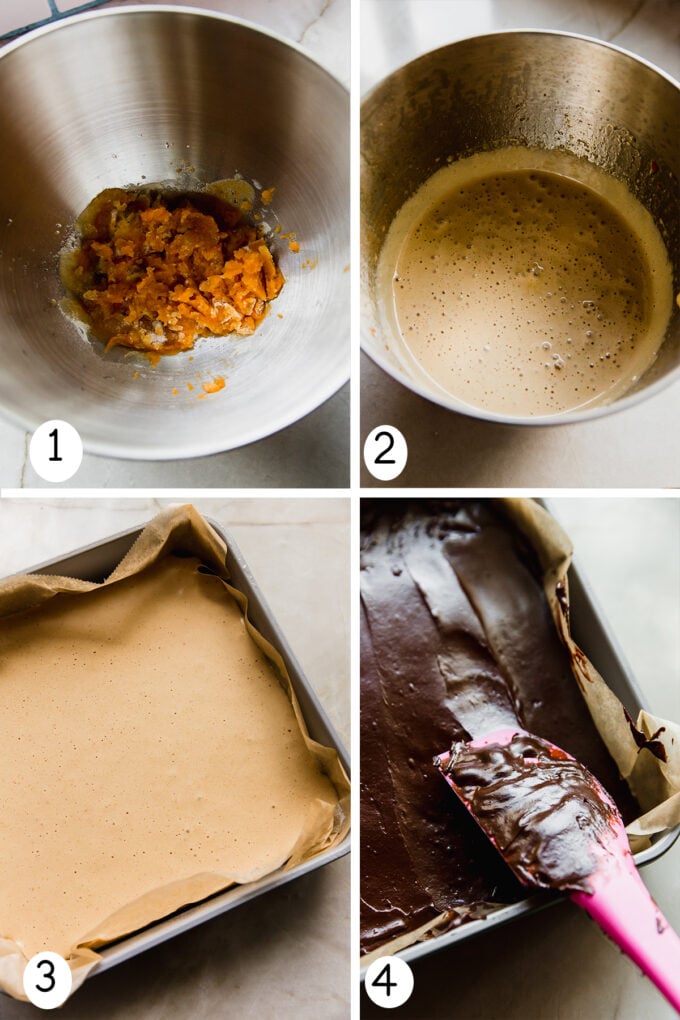
- Step One. Make the graham cracker crust.
- Step Two. Make the marshmallow layer and add to graham cracker crust. Allow to harden in the fridge.
- Step Three. Make the ganache and cover the marshmallow with it.
- Step Four. Allow to harden and enjoy!
TIPS & TRICKS
- Use a hand mixer if you don’t have a stand mixer. I’ve used an electric hand mixer many times to make marshmallows, and it still works just as well. It just takes a little longer and is more hands-on.
- Trust me… get the candy thermometer. I went without a candy thermometer for a while and just used a meat thermometer to make marshmallows, and finally caved. It’s very much worth it to work with the right tools!
CAN YOU MAKE THIS RECIPE AIP?
It takes some tweaking, but here are my recommendations…
- Make this crust instead.
- Use a carob-based “chocolate” for the ganache instead.
How to store the s’mores bars
You can keep this recipe in the fridge for 3-4 days. You should also be able to freeze this!
You’ll also like…

Pumpkin Spice S'mores Bars {Gluten Free & Dairy Free}
Want to save this for later?
Just drop your name and email below. Then we’ll email right to your inbox. ✉️
Ingredients
For the graham cracker crust
- 1 cup almond flour
- 2 tbsp arrowroot starch
- ¼ cup each maple syrup
- ¼ cup ghee, melted (sub coconut oil)
- ½ tsp vanilla extract
- 1 tsp cinnamon
For the marshmallow
- ⅔ cup water, divided
- ⅓ cup pumpkin puree
- 3 ½ tbsp gelatin
- 1 cup honey
- 1 tsp blackstrap molasses
- 2 tsp pumpkin pie spice
- 1 tsp vanilla extract
For the chocolate ganache
- 1 cup dairy-free chocolate chips
- ¼ cup coconut cream
Instructions
To make the graham cracker crust
- Preheat the oven to 350 F and line an 8x8" baking dish with lightly greased parchment paper.
- Combine the ingredients for the crust in a large bowl and stir until fully incorporated. The batter should be fairly wet and sticky.
- Press the batter into the baking dish until it evenly covers the bottom. Transfer to the oven and bake for 18-20 minutes, or until lightly golden brown.
- Remove the pan from the oven and set aside, allow the crust and the pan to cool to the touch.
For the marshmallow
- Pour 1/3 cup of water into a small bowl and combine with the pumpkin puree. Sprinkle the gelatin over top. Stir gently to ensure the gelatin is combined. Set aside.
- Using a medium-sized pot slowly heat the honey and blackstrap molasses combined with the other 1/3 cup of water. Slowly bring the temperature to 235-240 F degrees on low heat. Remove from heat immediately once the mixture comes to temperature.
- Slowly add in the honey mixture to the gelatin mixture as you whisk on high with either an electric hand mixer or a stand mixer. Continue whisking on high, until stiff peaks start to form in the marshmallow mixture. Add the vanilla and pumpkin pie spice at the very end, and lightly whisk to combine.
- Pour the mixture over the prepared crust and place in the fridge to harden for 3-4 hours or until soft and springy to the touch.
For the ganache
- Combine the chocolate and coconut cream in a bowl and melt in the microwave in 20-second intervals, stirring each round, or over a double boiler.
- Allow the ganache to cool slightly (you don't want it to be steaming or the marshmallow can melt) before pouring over the marshmallow. Use a rubber spatula to evenly spread the chocolate over the marshmallow.
- Transfer to the fridge to allow to harden for 1-2 hours.
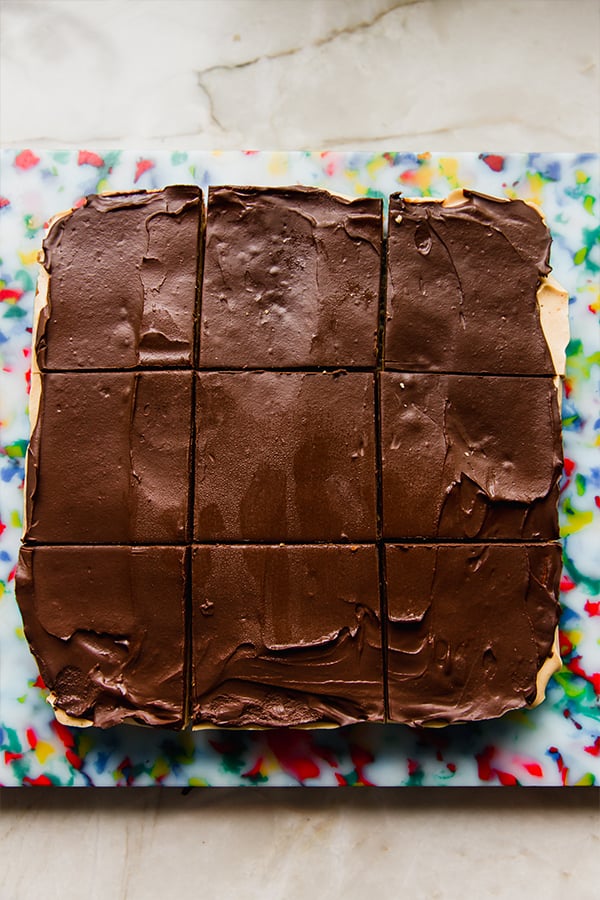
- Once the ganache is set, remove from the fridge and carefully transfer to a cutting board. Cut into 9 large slices, and 18 small slices and serve chilled!
Notes
- Make this crust instead.
- Use a carob-based "chocolate" for the ganache instead


I thought the ganache was delicious, and I thought the flavor of everything was great. It was a very easy recipe to put together and follow and I really love that.
I wish the almond flour crust was crunchier, just as a personal preference, but it was solid and tasty. I imagine parbaking longer could have solved that but almond flour can be hard for me to gauge before it turns into a rock.
My biggest disappointment was the marshmallow as it was much more rubbery than I imagined it to be. I had hoped it would be more like a fluff, or at least softer. I’m not very familiar with candy-making though, and this was the first marshmallow I’ve made, but if I were to make these again I would like to try cutting the gelatin in half and see what happens.
I’m so grateful for your website! It’s the only AIP recipe resource of its kind as far as I can tell. Thank you!
My biggest complaint is that the marshmallow was rather rubbery. I would probably try this recipe with half the gelatin if I were to make it again, in hopes that it would leave the marshmallow a bit softer and more like a marshmallow fluff. Conversely, I was very happy with how stable the final product was. I had no issues moving the dessert out of the pan, cutting, and stacking with parchment in between. It still looks great! I love how easy the recipe is for each element of the dessert.
The flavor combination is a bit out of the ordinary but it’s still good and still works.
Homemade marshmallow is a lot more dense that store-bought, but if it’s too rubbery, it may be that they’re over whipped. You want to make sure that you whip it to the point where it still easily moves like liquid.