Marshmallow Protein Bars {dairy free}
These marshmallow protein bars are the perfect homemade protein boost! They’re dairy-free and are made with simple ingredients!
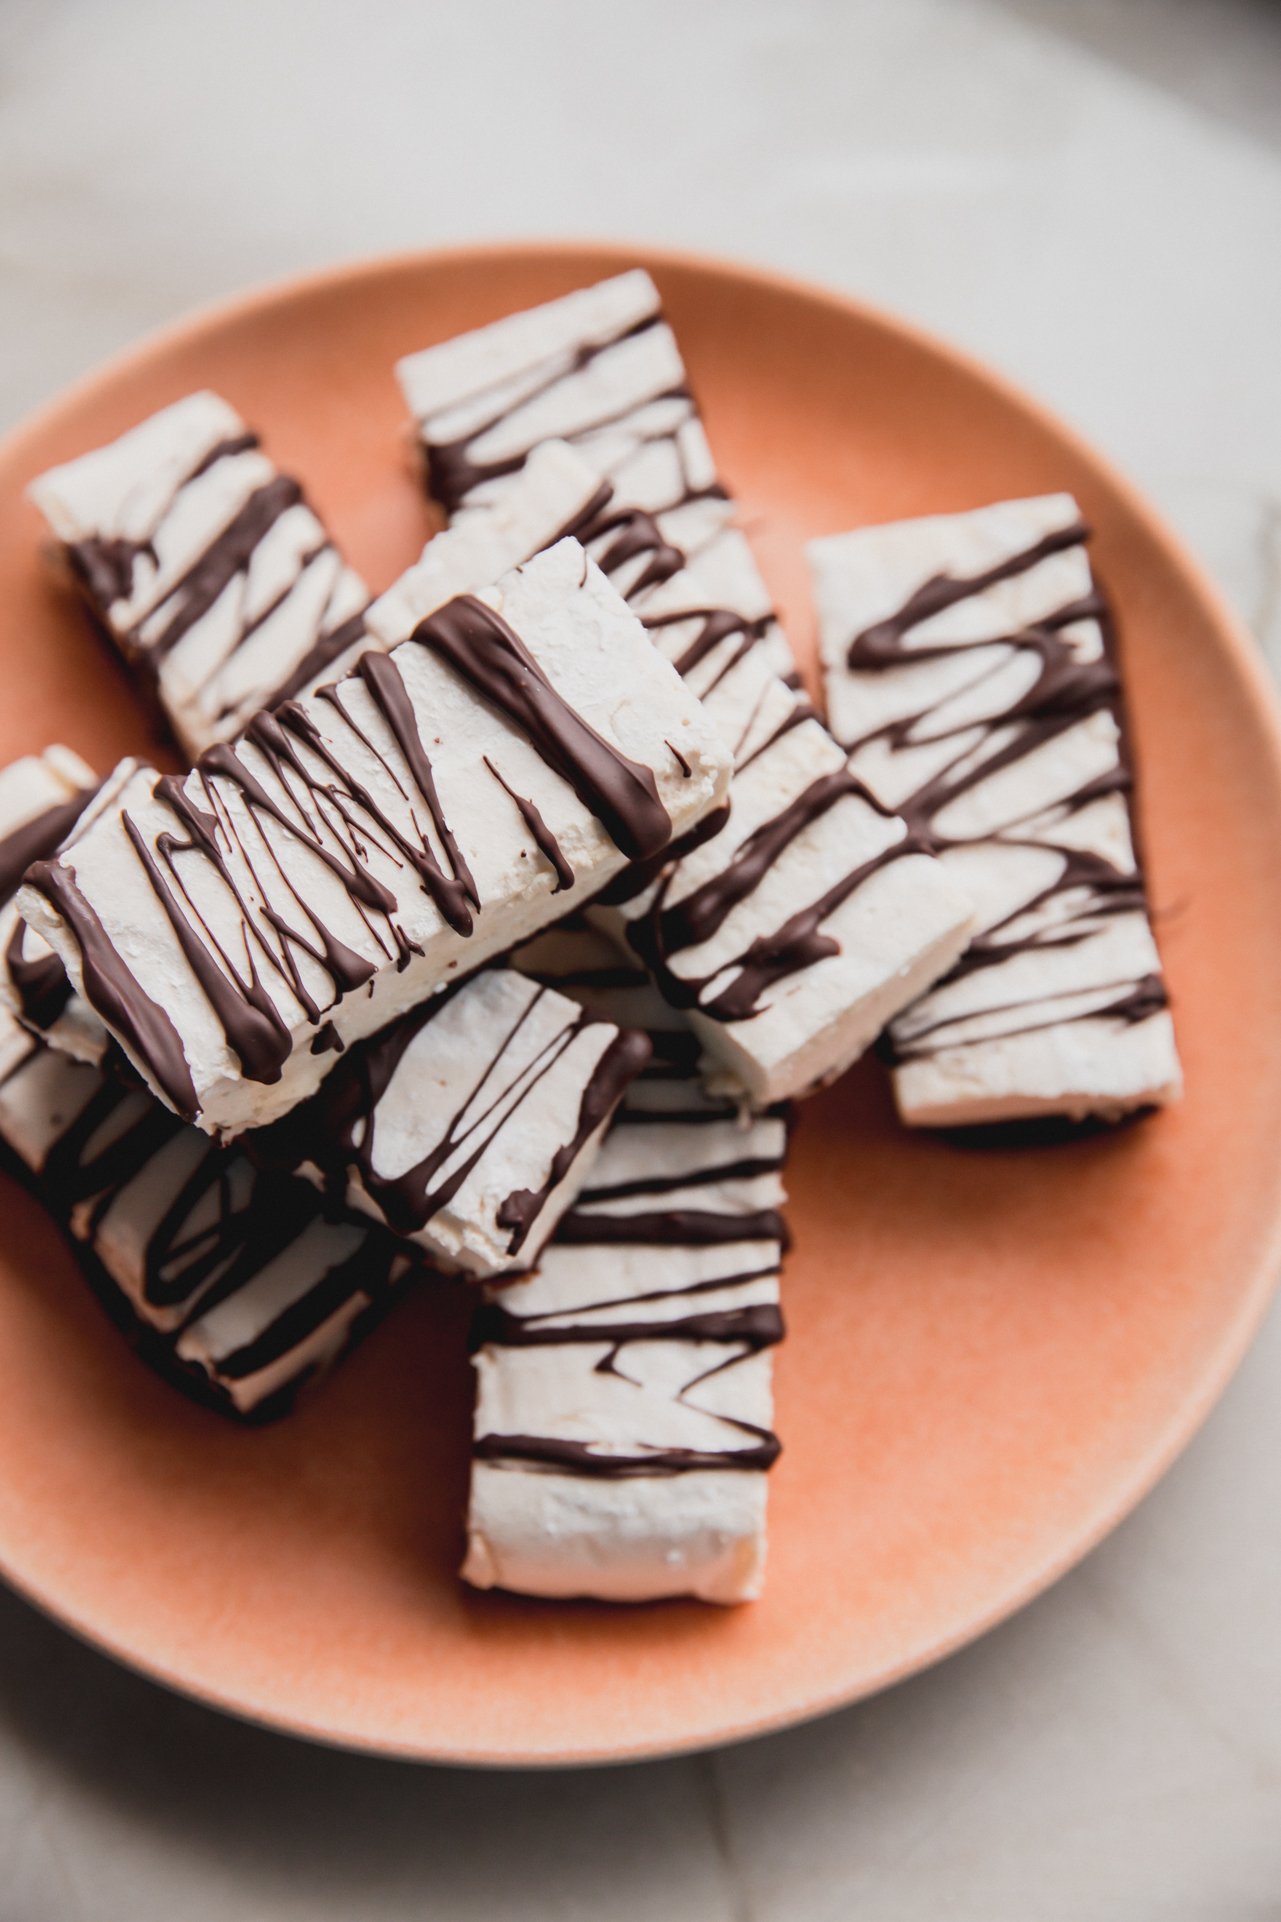
Over the past couple of years, I’ve locked in with my personal protein goals and have seen and felt amazing results. Though I try to get most of my protein through my meals, like sweet potato chicken poppers or gluten-free orange beef…. a little protein snack is always helpful. I’ve been seeing the Built Puff Protein Bars all over the internet, and they’re basically marshmallow and chocolate protein bars… YUM. The problem is that they’re whey protein based, so it’s off the table if you’re dairy free. I couldn’t get them off my mind, so I decided it was time to try my own version, and I am so glad I did!
These marshmallow protein bars are basically a treat with a protein boost. They’re dairy-free and soy-free!
Table of contents
Why you’ll love this recipe
- Simple to make! I love making marshmallow-based recipes like my gluten-free s’mores bars, and this recipe has that same marshmallow vibe, but it’s even easier.
- Sneaky protein. Similar to my iced protein coffee, this doesn’t really even feel like a protein snack, it just feels like a treat!
Recipe ingredients
See the recipe card below for full information on ingredients and quantities.
- Gelatin. Gelatin is that main ingredient for making marshmallows! Collagen will not swap in this recipe.
- Almond milk. Almond milk makes a great base for the recipe as opposed to a regular milk powder. I haven’t tried other milk alternatives like coconut milk or oat milk, but I would just stick with something that isn’t as high fat, as the higher fat may interact differently with the gelatin.
- Marshmallow root. Honestly, this is optional but it makes the whole recipe much more legit.
- Dairy-free protein powder. Personally, I like to use an unflavored protein powder like this one. You can also use a vanilla protein powder like this, and my discount code UNBOUND will save you 15%!
- Vanilla extract.
- Dairy-free chocolate. I like using enjoy life chocolate chips.
Substitutions and modifications
- Flavored powders. You can most definitely make this with a chocolate protein powder, or any flavor you’d like!
- Agar. Though I haven’t tried agar myself in this recipe, that would be the vegan substitute for gelatin. The recipe conversion that you would use is 1/3rd the amount of agar that you would gelatin.
How to make dairy-free marshmallow Protein Bars
Here are the simple steps, with photos, to make this recipe. Find full instructions in the recipe card.
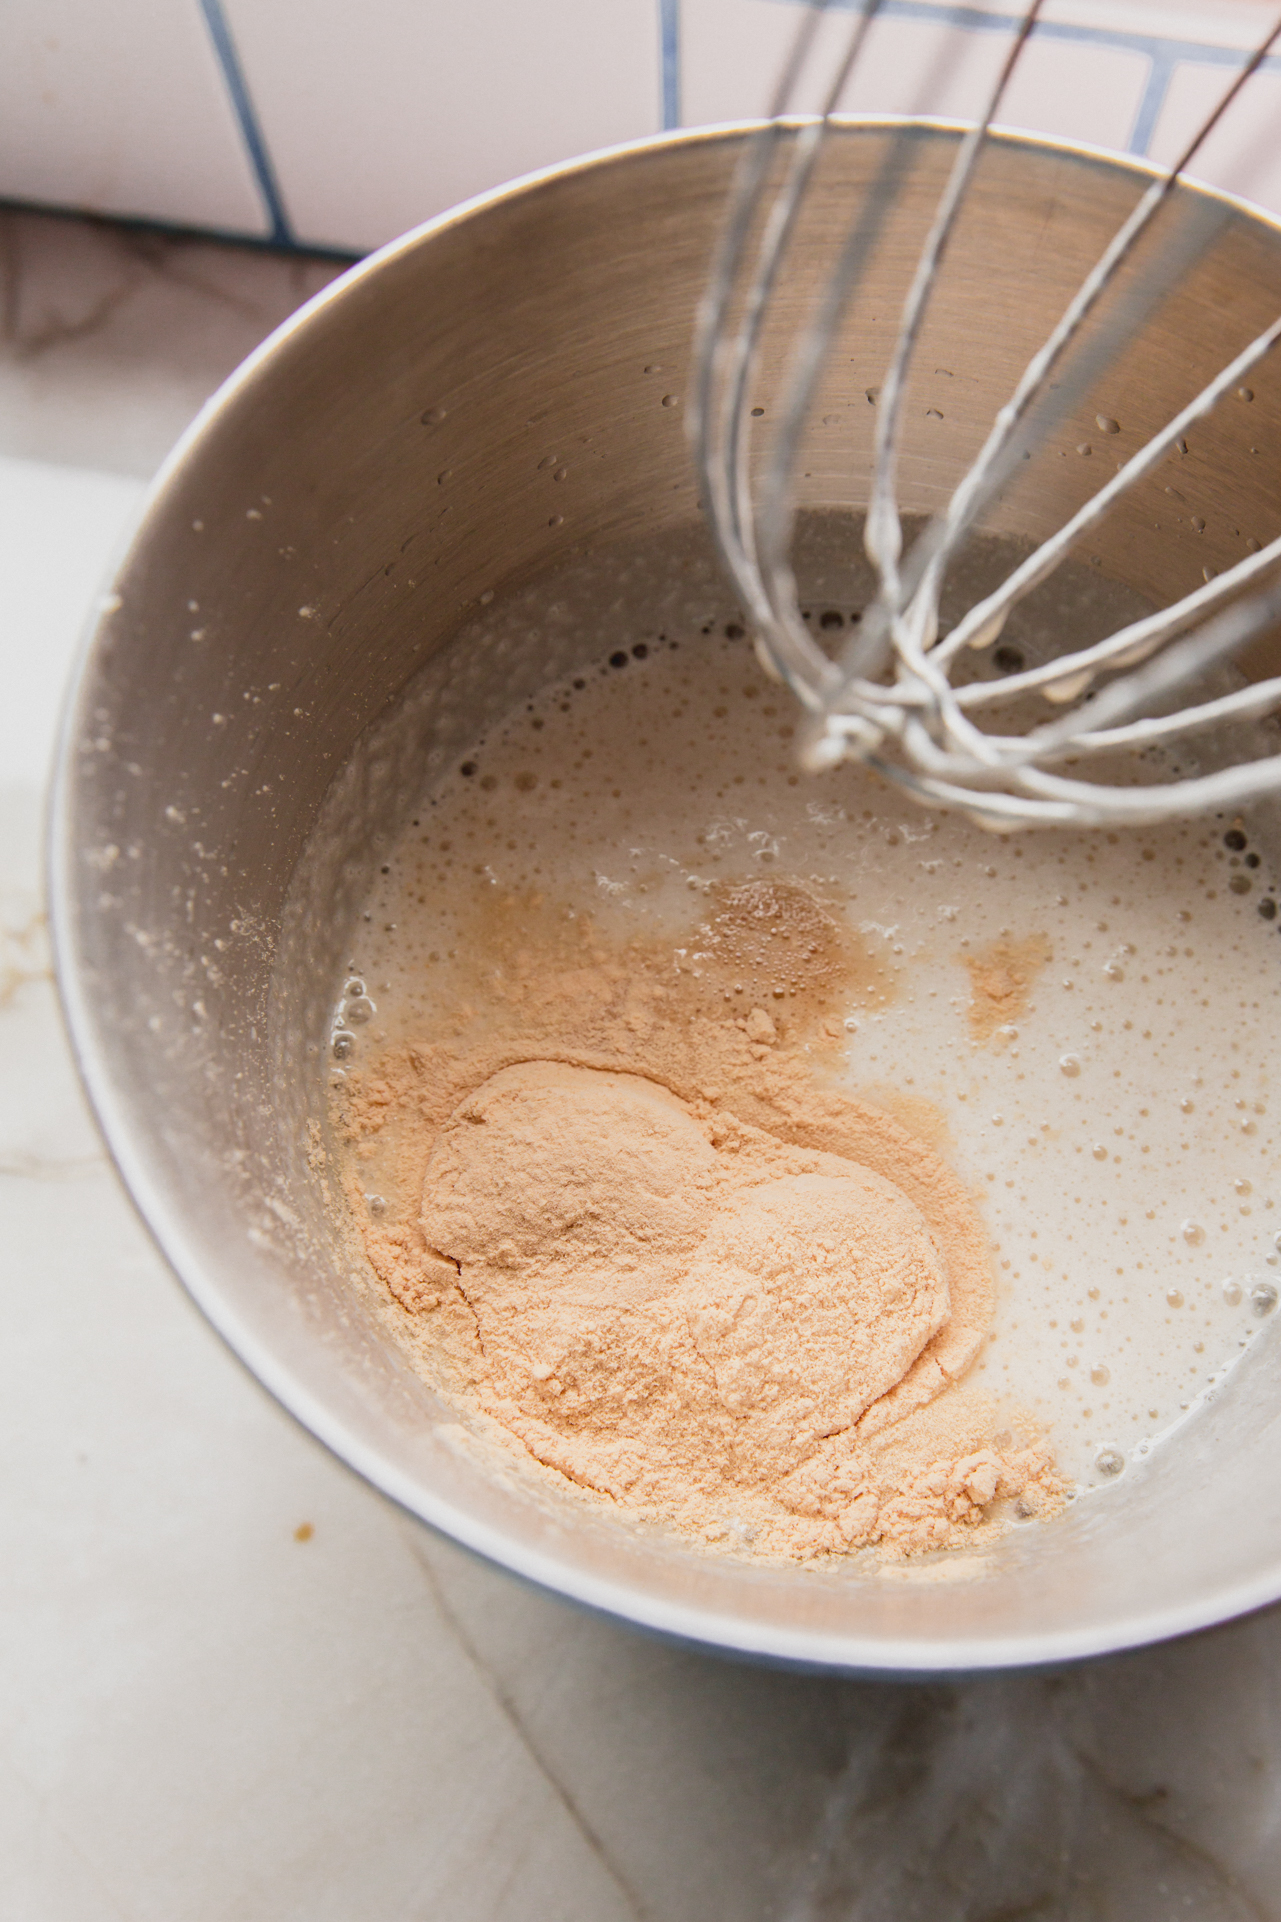
Step one. Using a medium pot, combine the almond milk, gelatin and cane sugar. Allow to set before heating on the stove. Whisk on high for 30 seconds in a stand mixer. Add the vanilla extract, marshmallow root, and protein powder.
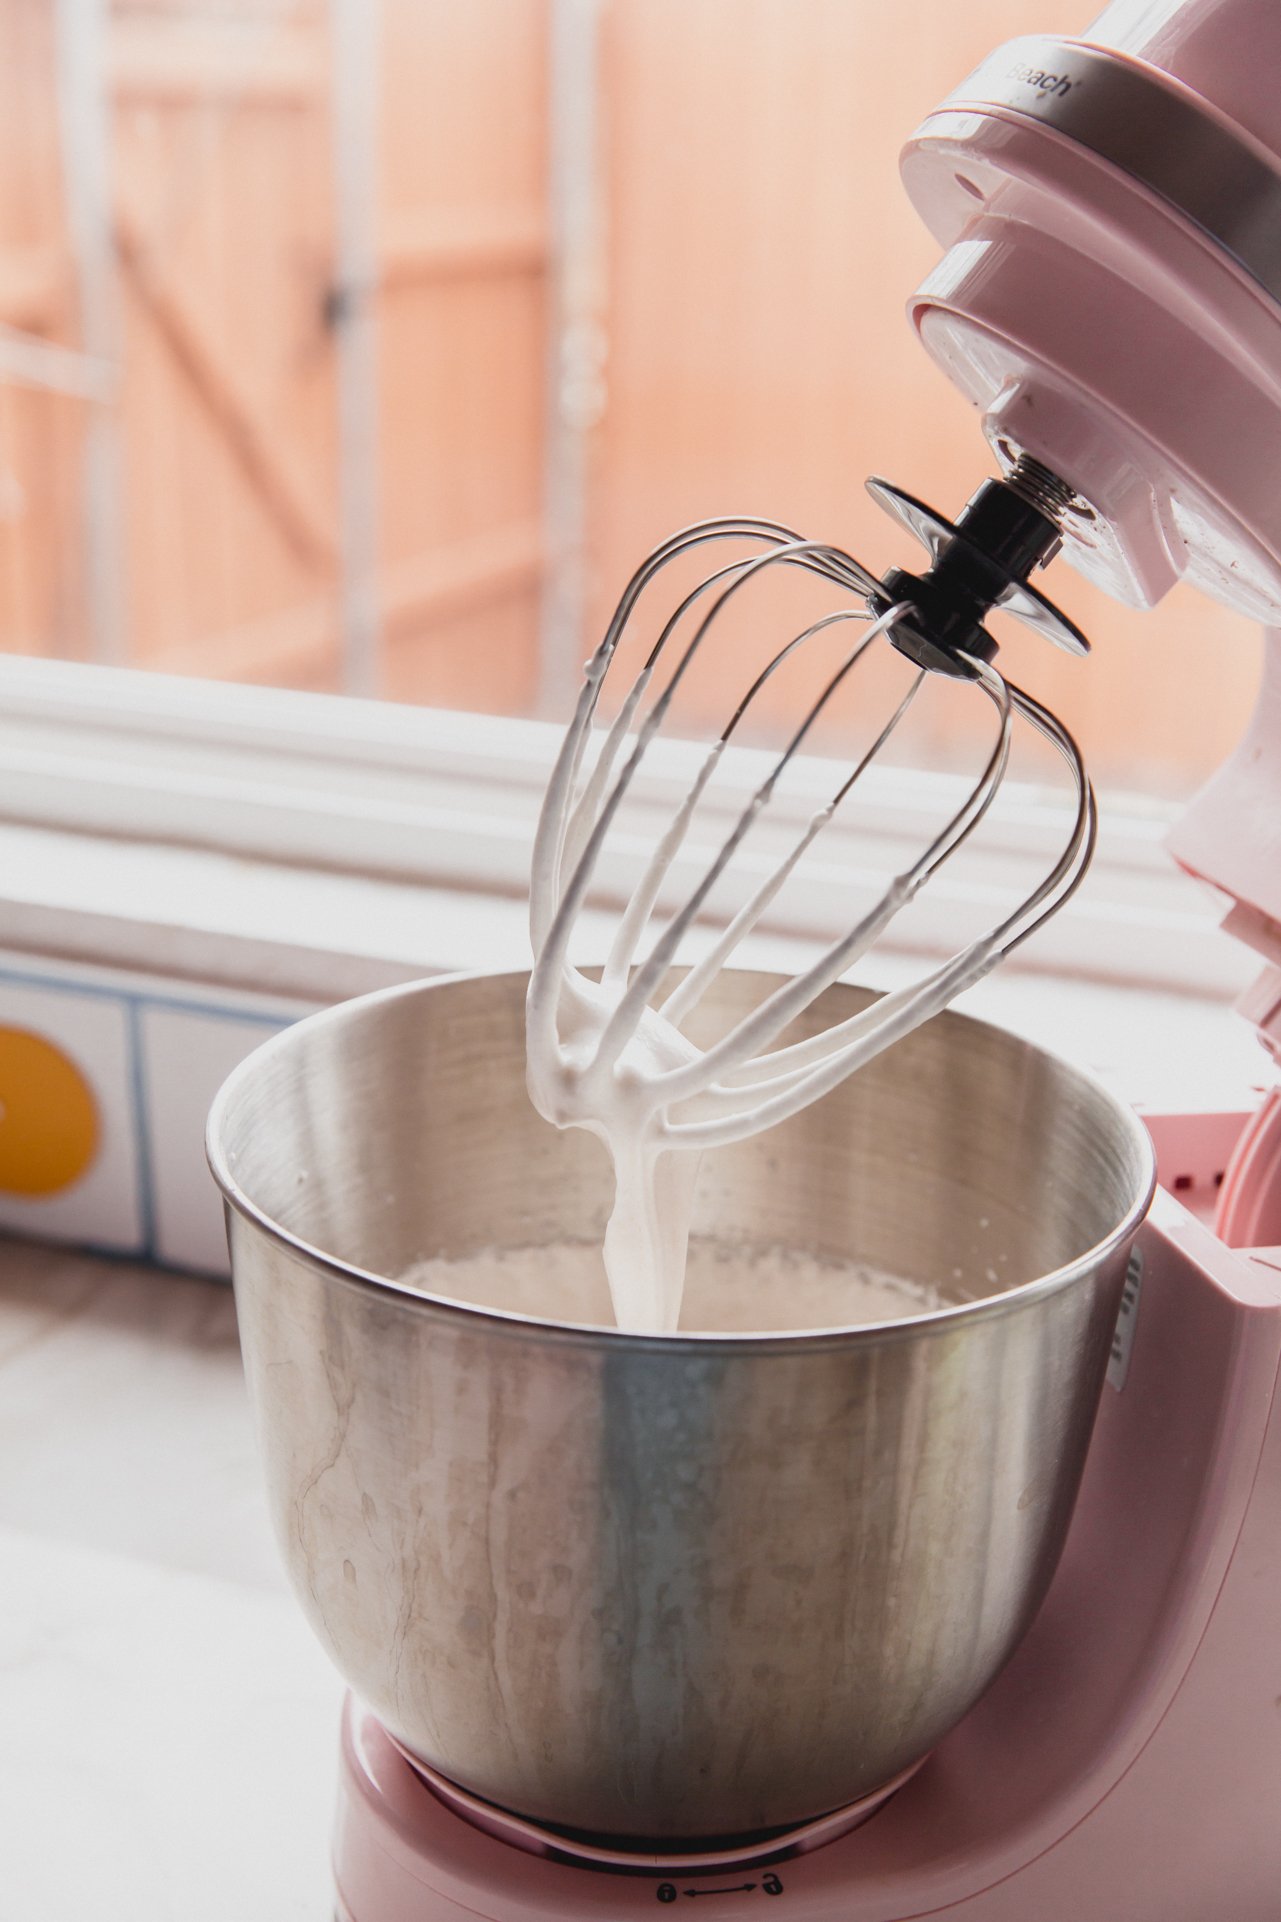
Step two. Whisk on high for 2-3 minutes or until thick.
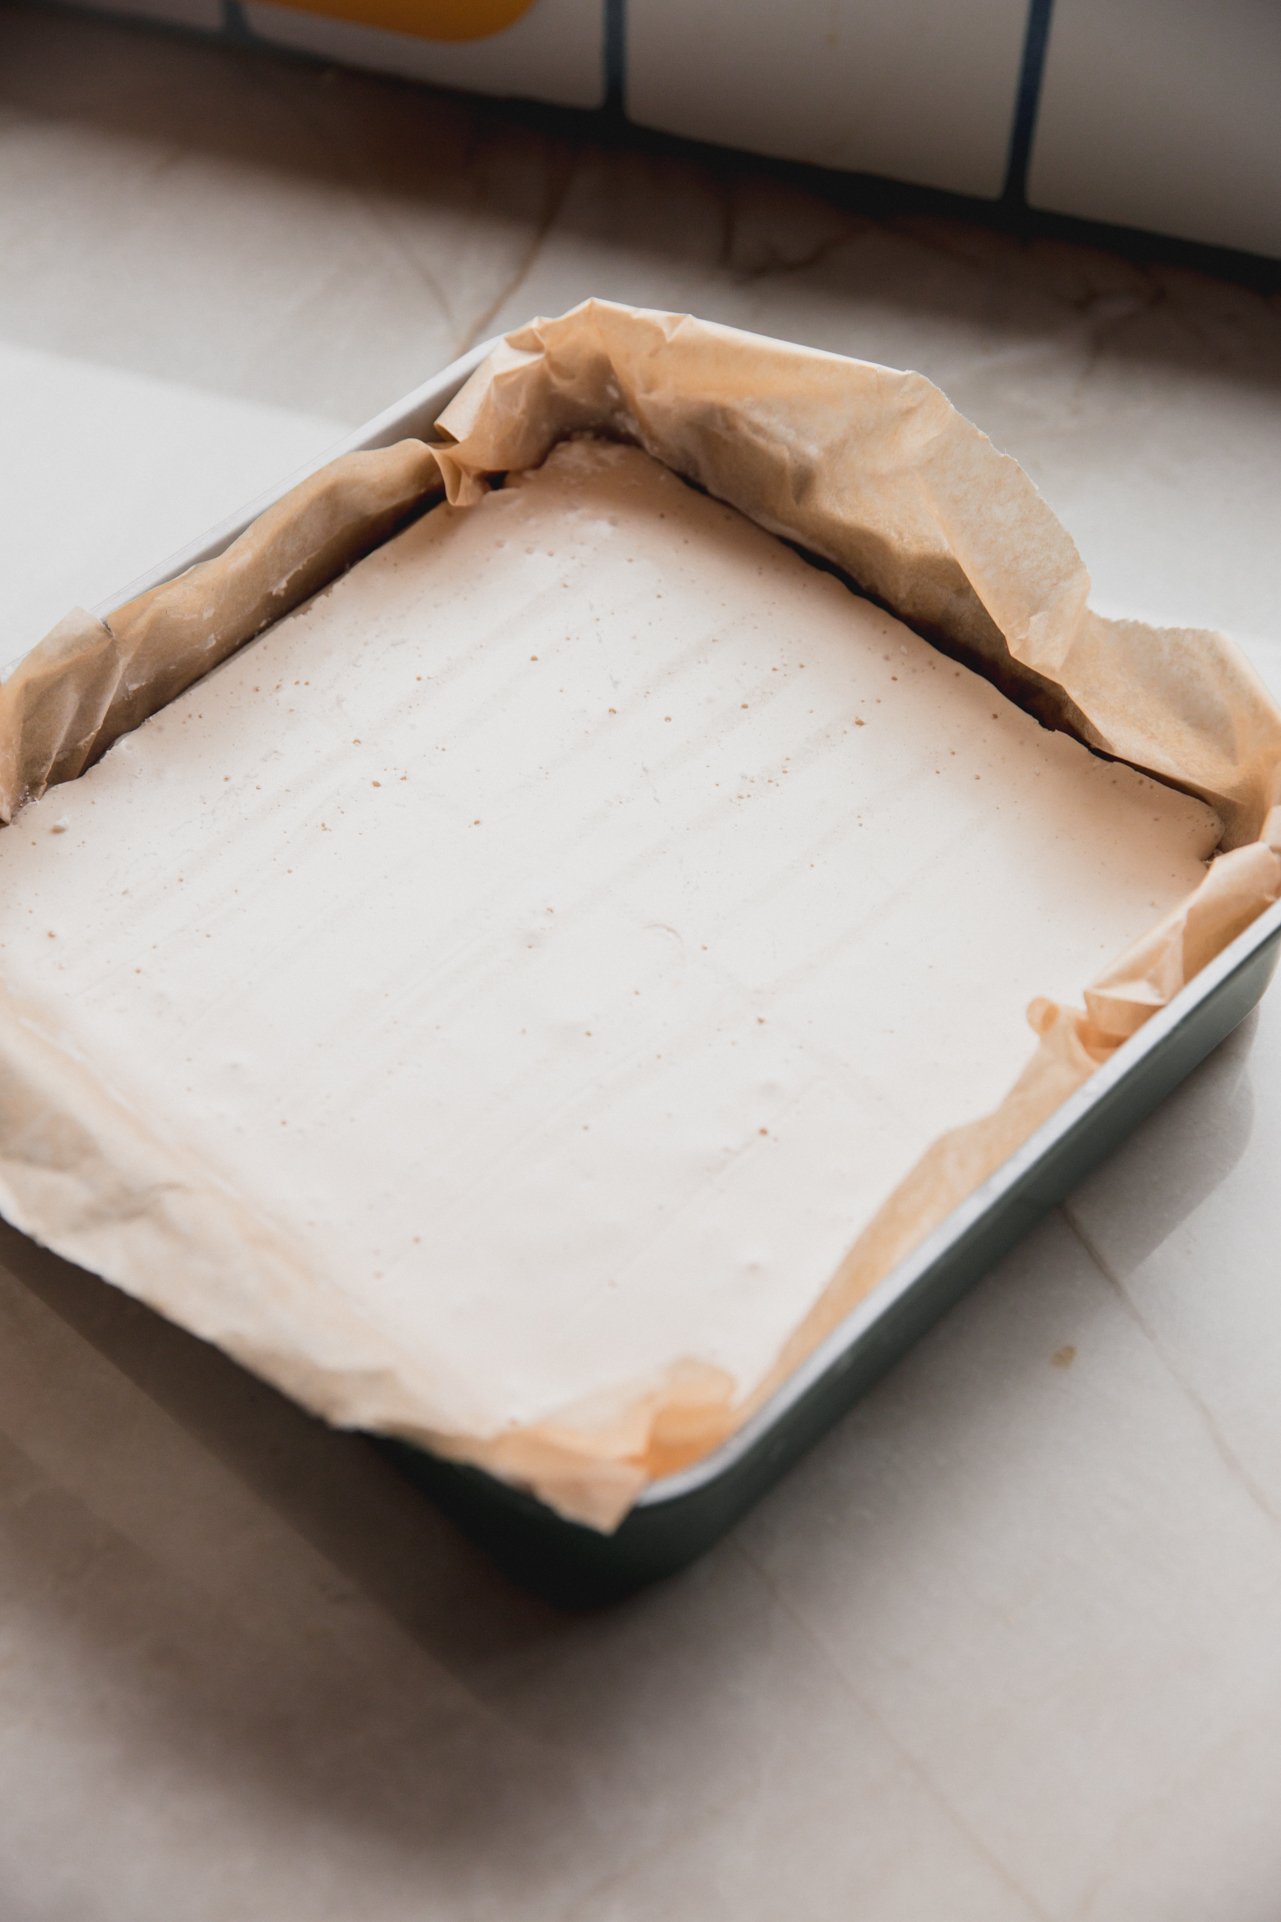
Step three. Pour the prepared marshmallow mixture into the prepared baking dish. Allow to set in the fridge for at least an hour or until or set. It should be soft and springy to the touch.
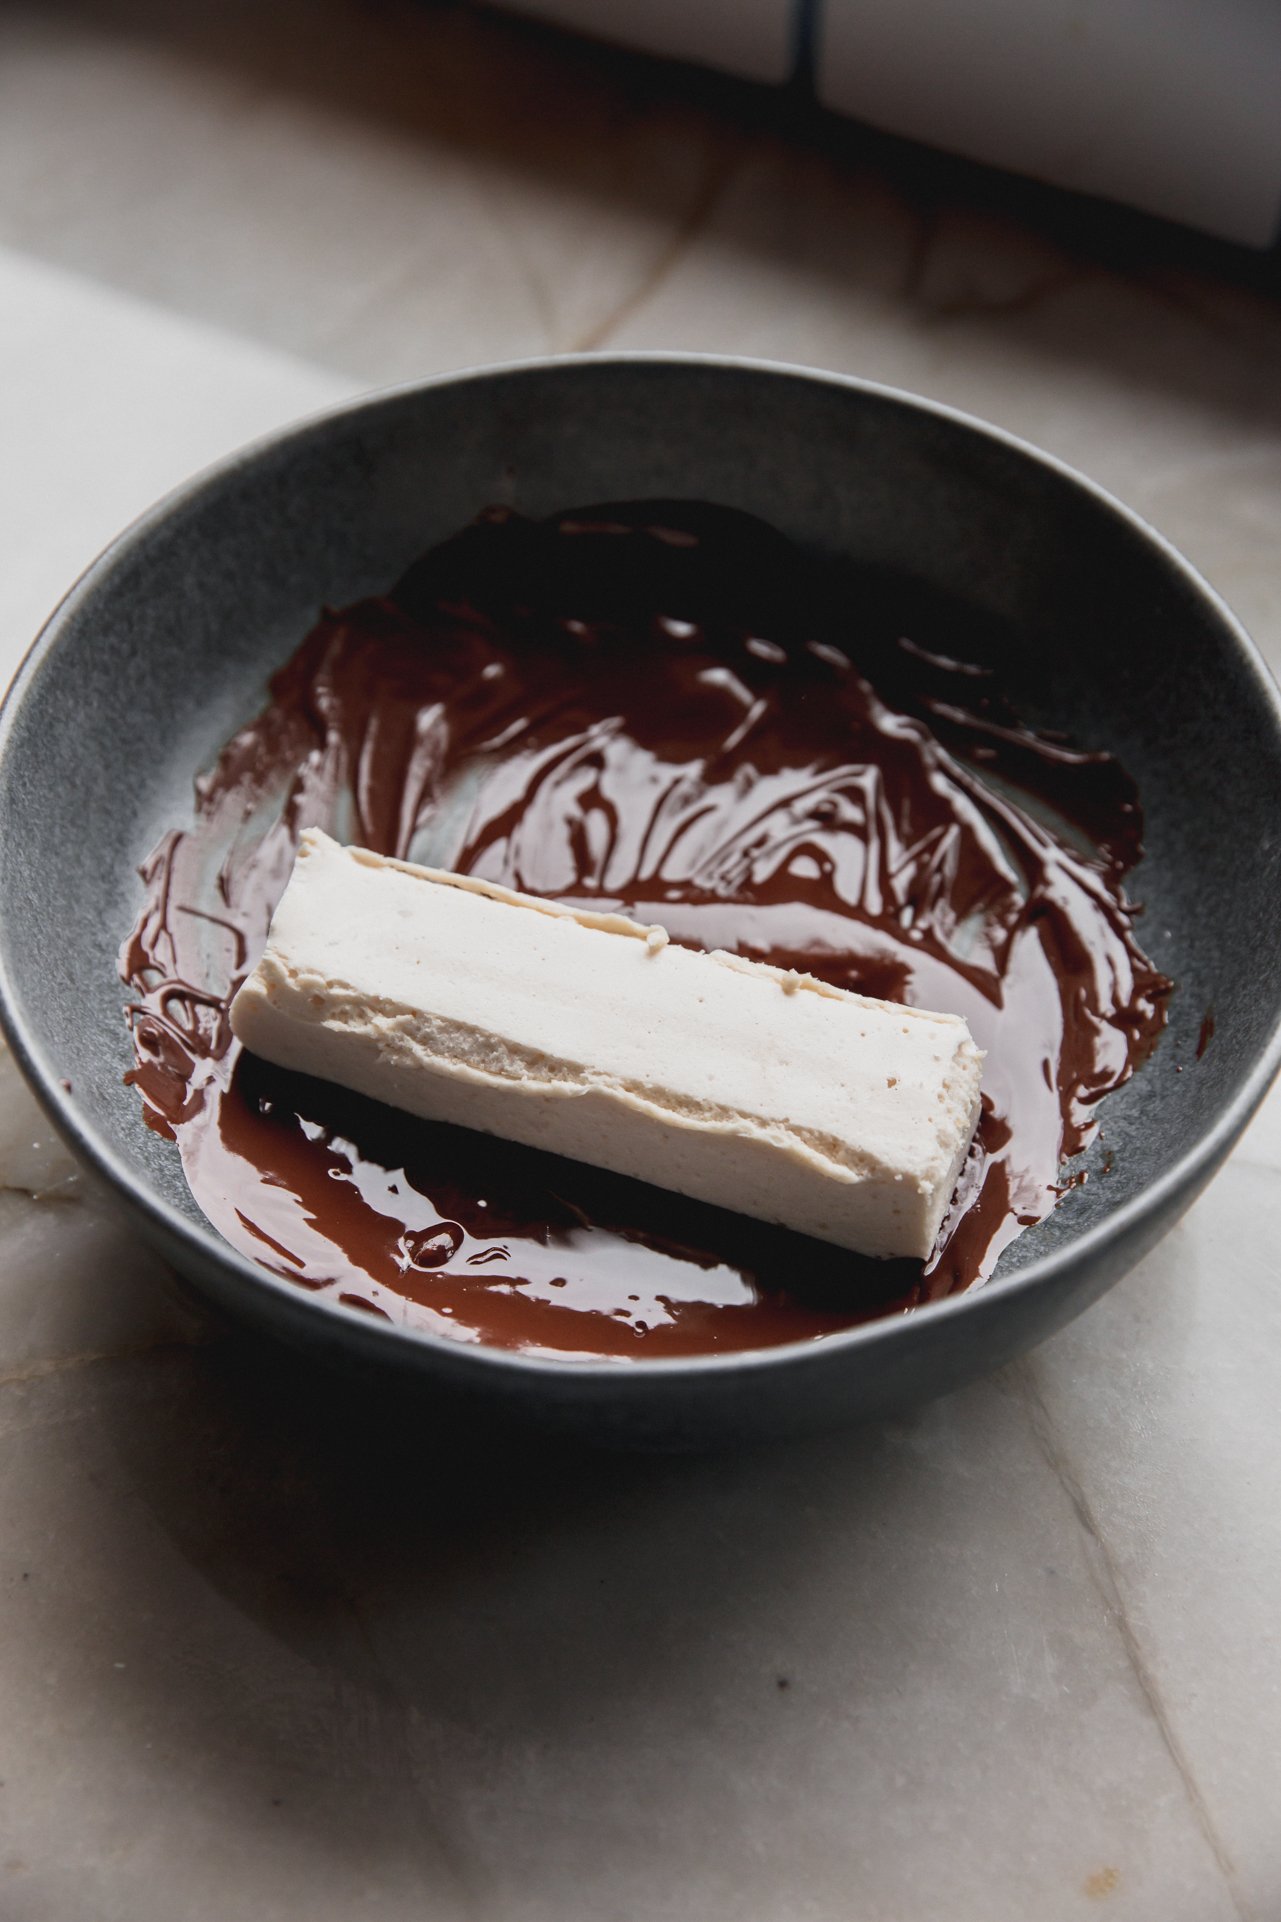
Step four. Dipping the bottom of each bar in melted chocolate and finishing with a chocolate drizzle.
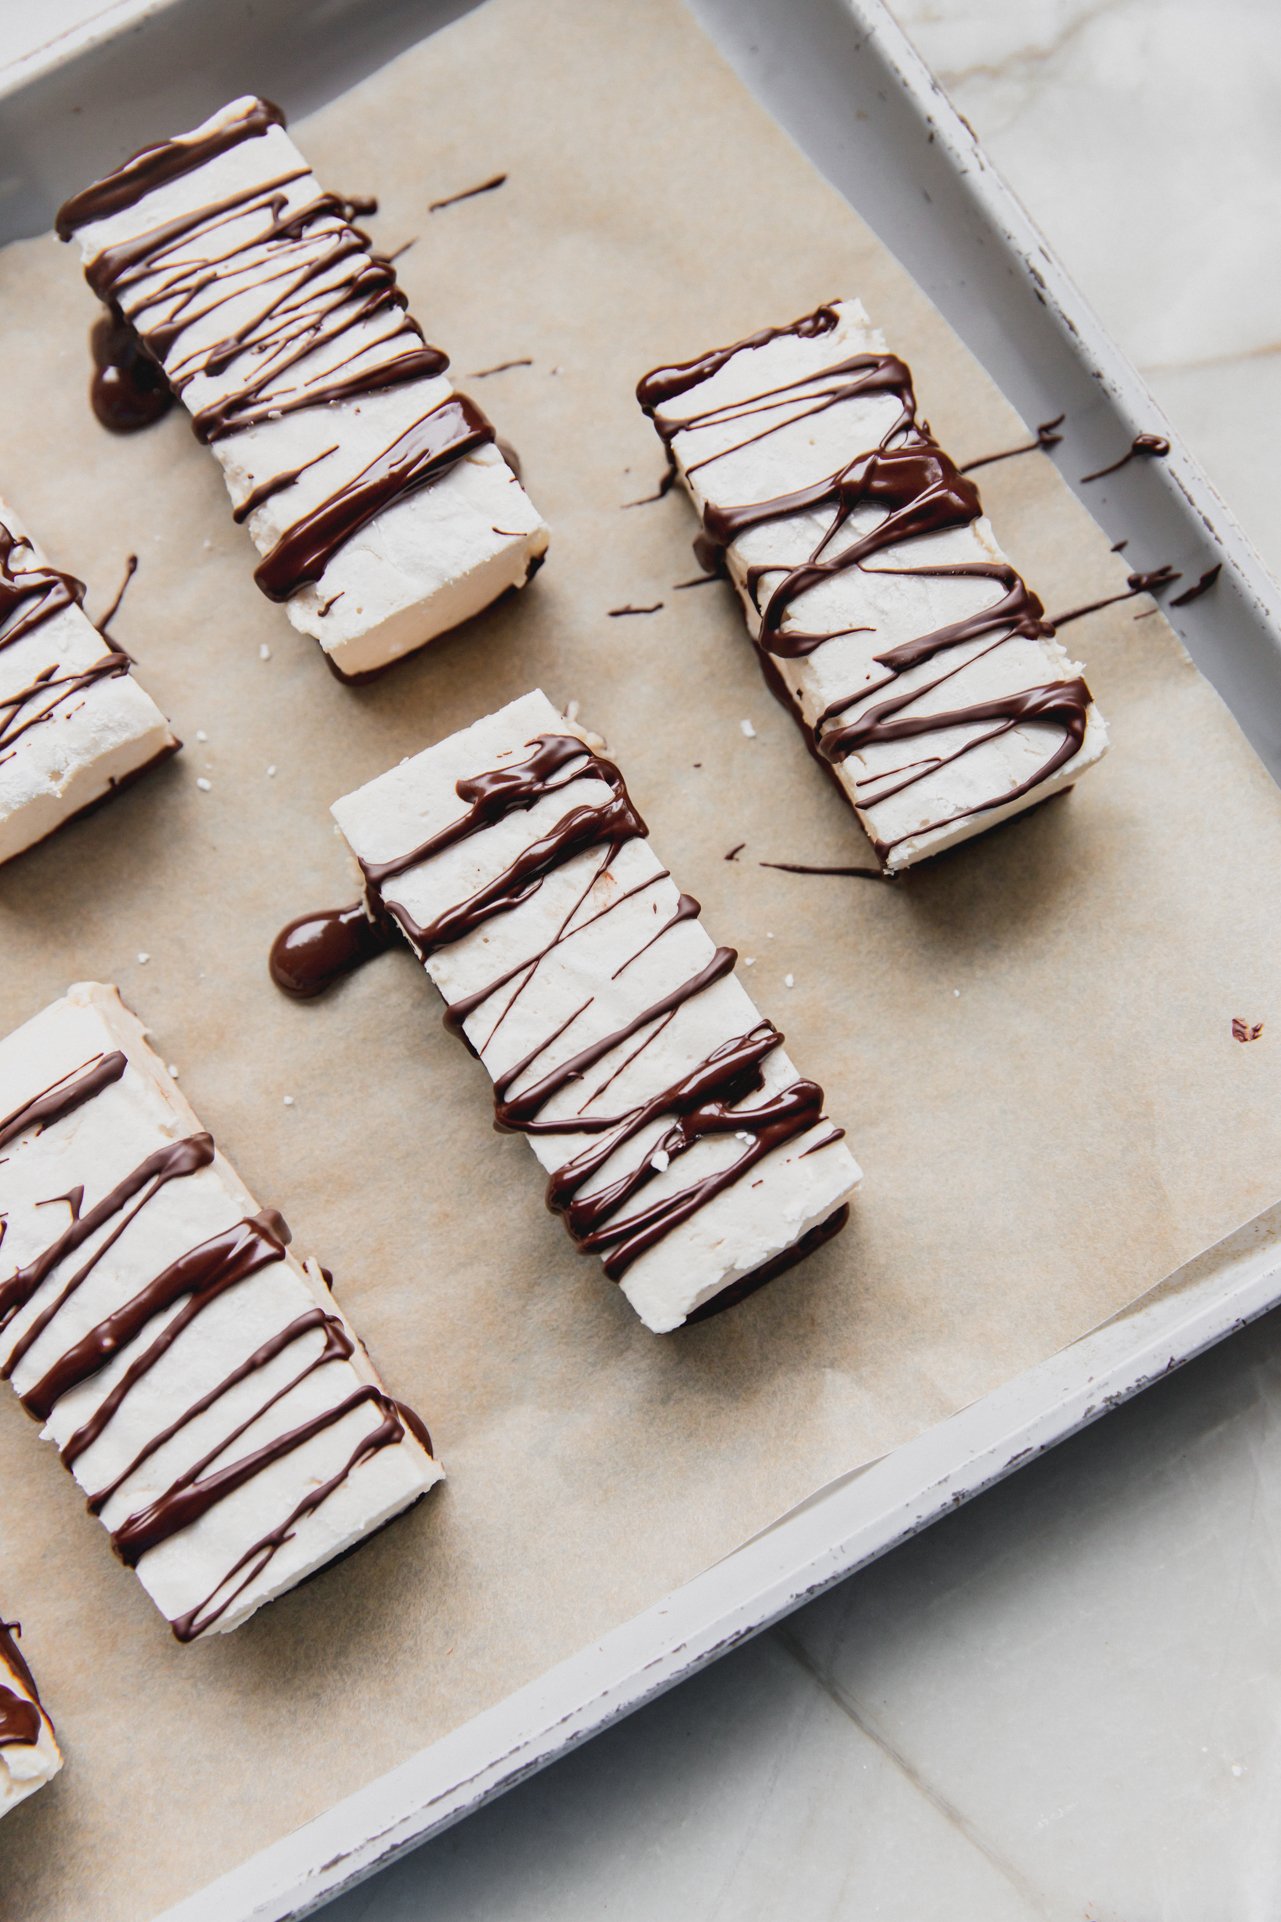
Step five. Transfer to the fridge for another half an hour or until the chocolate is set. Serve chilled!
Tips & Tricks
- Try to make them vegan with agar and a vegan protein powder. I haven’t tested this theory myself, but the recipe conversion that you would use is 1/3rd the amount of agar that you would gelatin.
- Totally coat them in chocolate. I wound up just adding a chocolate drizzle instead of a full chocolate coating, but you can double the amount of chocolate and add a full coating in you’d prefer!
- Work quickly with the marshmallows. The biggest mistake I see with marshmallows is that most people overwhip them or let them sit too long before transferring to the prepared baking dish. Marshmallows sets fast, and it’s easy to over whip them. Once you see stiff peaks form, stop whipping! Immediately pour them into your pan and transfer them into the fridge. Your marshmallow should pour evenly, and you shouldn’t have to level it with a silicone spatula.
Recipe FAQS
Protein bars are not cheap, and I always find it way more cost-effective to make your own at home!
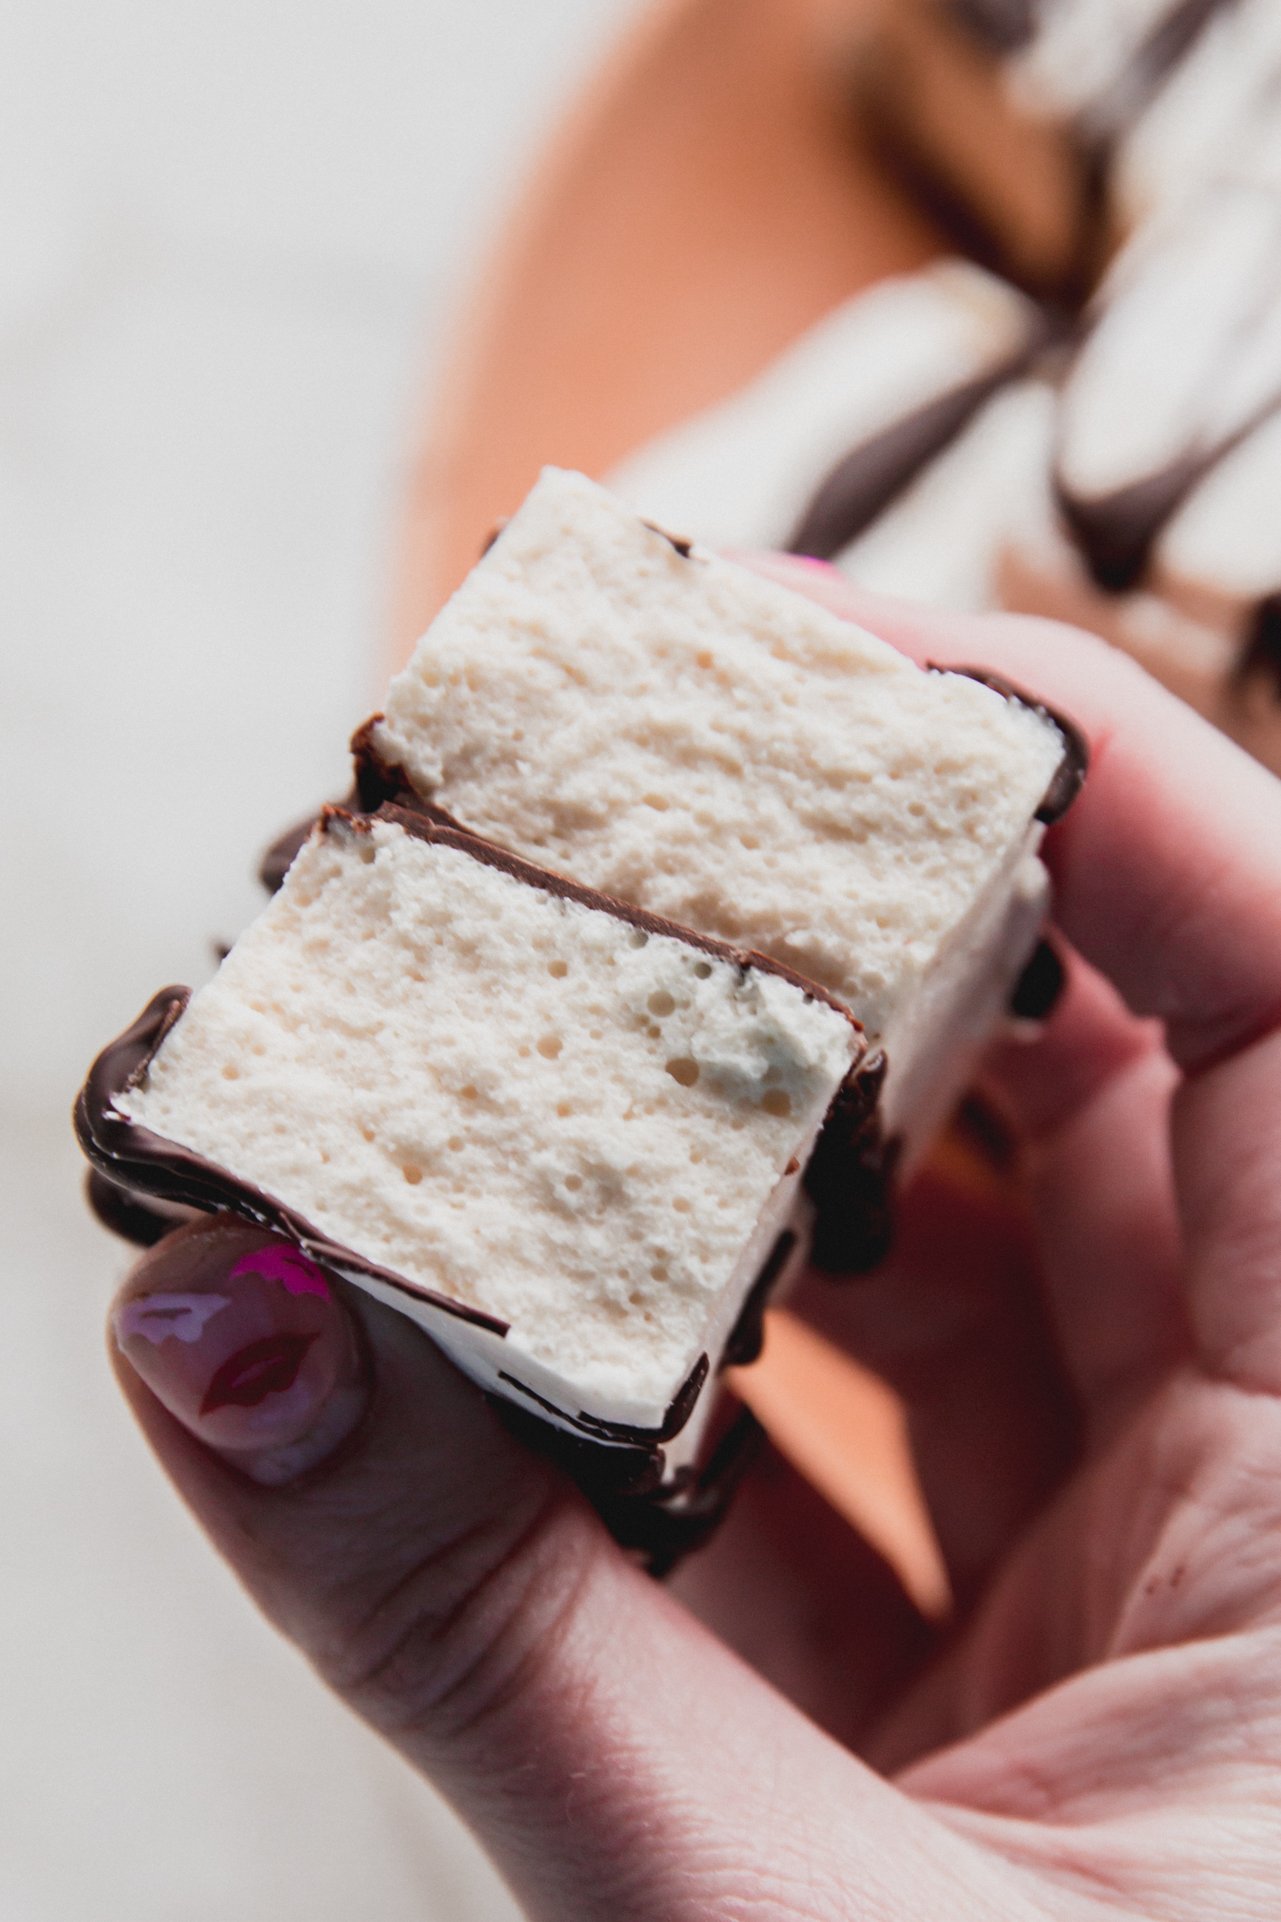
Healthy is a subjective term, but we think these are a much lighter version! Marshmallows are usually full of sugar, and these are much lower in sugar that your average marshmallow.
Other protein-packed recipes to try…
If you tried these Marshmallow Protein Bars or any other recipe on my blog please leave a 🌟 star rating and let me know how it went in the 📝 comments below. Thanks for visiting!

Marshmallow Protein Bars {dairy free}
Want to save this for later?
Just drop your name and email below. Then we’ll email right to your inbox. ✉️
Ingredients
For the marshmallows
- 1 tsp arrowroot starch
- 2 cups almond milk
- ⅓ cup gelatin
- ⅓ cup cane sugar, see notes
- 1 tsp vanilla extract
- ½ tsp marshmallow root
- 5.5 tbsp protein powder, see notes
For the chocolate coating
- ½ cup dairy-free chocolate chips
- 1 tsp coconut oil
Instructions
- Prepare an 8×8″ baking pan lined with parchment paper and lightly coated with arrowroot starch. Set side.
- Using a medium pot, combine the almond milk, gelatin and cane sugar. Allow to set for 4-5 minutes for the gelatin to harden.
- Place on the stove on medium-low heat and lightly whisk for 2-3 minutes or until the mixture is a thick liquid.
- Allow to cool slightly before adding the mixture to a stand mixer (alternatively, you can use a hand mixer) and whisk on high for 30 seconds. Add the vanilla extract, marshmallow root, and protein powder and whisk on high for 2-3 minutes or until thick.
- Pour the prepared marshmallow mixture into the prepared baking dish. Allow to set in the fridge for at least an hour or until or set. It should be soft and springy to the touch.
- Remove from the baking pan and lightly coat your knife in arrowroot starch. Slice the marshmallow into 10 bars. I prefer to trim the edges to make more uniform bars and place them on a parchment-lined baking sheet.
- Combine the chocolate chips and coconut oil in a bowl and melt in the microwave in 20-second intervals, stirring each round, or over a double boiler.
- Allow to cool slightly before dipping the bottom of each bar in the chocolate and finishing with a chocolate drizzle.
- Transfer to the fridge for another half an hour or until the chocolate is set. Serve chilled!


I’m a little stumped by the wording of the recipie. I kept whipping but never got “stiff peaks” and then mine were definitely over whipped and I had to scoop and press them into the tin. They were so fluffy, they weren’t even sweet, I think there was too much air
Thinking on it after, stiff peaks would never pour, it would give the dairy queen effect when tilted, right?
So am I just looking for not liquidy? How far after that point?
I’m wondering if maybe I didn’t get it hot enough, I just about got it warm enough to dissolve the gelatin so maybe the sugar needed higher temp to get to stiff peaks? How hot should we be going for?
Any tips for getting it tasting nice and chocolatey like the Built Puffd bars? I’m thinking cocoa powder but don’t want to mess with the ratios too much.
Woof, sorry for the bombardment of questions!
Sorry that happened, I edited this a bit and now I have a video in the recipe that may be helpful for a visual!! You can definitely add more sugar if you want it sweeter and double the chocolate for full chocolate coating!
Is the gelatin measurement of liquid or powder
Powder! In the recipe I linked to the gelatin powder I use.
My family loved this! I have made these four times. I do use 2% milk and keep them in the fridge.
Would dairy milk work in this? We can’t do almond.
I would say oat milk would be the next best swap.
Can these turn out with stevia or monk fruit powder? Or even Allulose? We are sugar free . Thanks!
You should be able to!
Could I use regular milk if I don’t care if they’re dairy free?
Hmm I think so! Let me know if you try!
This didn’t work at all for me. I’ve looked up other marshmallow recipes and it seems that this one is missing some ingredients and steps to actually make it ‘marshmellowy’. I just needed up with liquid that never ended up frothing.
Hi Anne, sorry it didn’t work out. I’ve tested this recipe 5 times and every time it’s thickened up in the marshmallow texture in the photos and videos… if anything I find that if I whip it over a few minutes, it gets too thick immediately after that. Can you share what you’re using to whip the liquid? It may not be powerful enough and you may need more time? Are you sure you’re using gelatin like the one linked and not collagen?
Hi please can I not put protein power in?
It would probably change the ratio needed for the milk and gelatin but you can try!
Am I able to use something other then arrowroot starch?
You should be able to sub tapioca starch
Is it me or do the marshmallow root and gelatin take over the flavor? I’m trying another batch and added mint extract but tasting the fluff it just tastes like toothpaste 🙁
The marshmallow root is optional, so could leave that flavor out!
Never mind ignore my previous comment! It just took a really long time to get stiff. I can’t wait for the end result. Thank you
Hi Debra! Glad to hear they turned out. Hope you enjoy them! 🙂
Not sure why but mine didn’t get stiff. Could it be because I didn’t use cane sugar?
These look like the ticket! Have you tried with agar, instead of animal gelatin?
Hi Roseann! I haven’t tested this theory myself, but the recipe conversion that you would use is 1/3rd the amount of agar that you would gelatin. Let me know how they turn out! 🙂